Install a Ceiling Fan Where a Light Used to Be
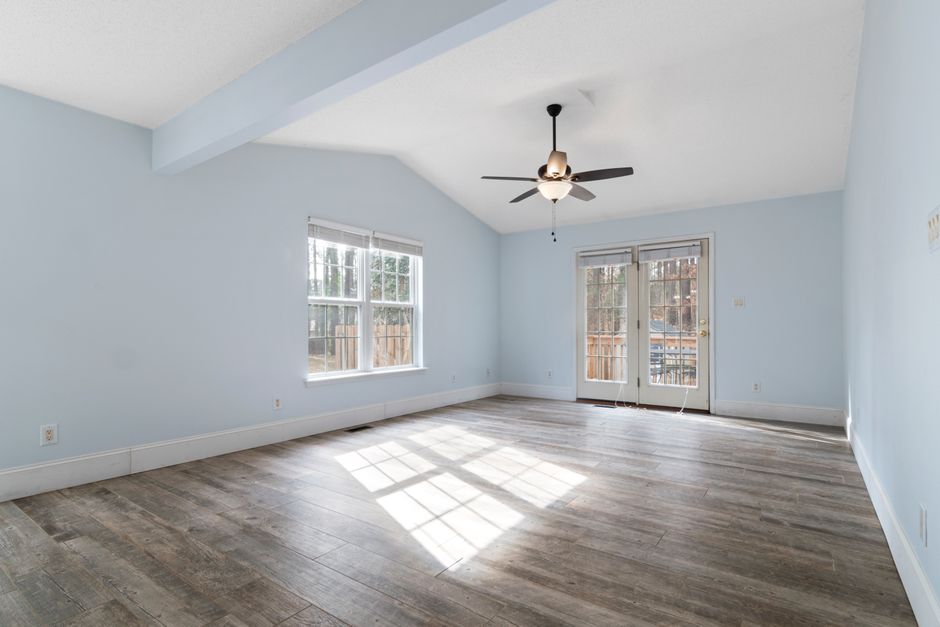
My bedroom had a single bare bulb on the ceiling when I moved in. In summer it was unbearable. I swapped it for a ceiling fan and it was the best $80 I have spent on this apartment. The installation took about an hour and a half.
The Critical Safety Step: Check the Box
Remove the old light fixture and look at the electrical box in the ceiling. If it is plastic and nailed to a joist, it is probably not rated for a ceiling fan. A spinning fan puts vibration and torque on the box that a light fixture does not. You need a fan-rated box — either a metal one screwed directly to a joist, or an “old work” fan box with a brace that spans between two joists. This is the step people skip that leads to a fan wobbling or falling.
Wiring (Turn Off the Breaker First)
- Turn off the breaker. Verify with a non-contact voltage tester — they are $10 and worth every penny.
- Mount the fan bracket to the rated box.
- Connect wires: white to white (neutral), black to black (fan hot), blue to red or the second black (light hot, if your fan has a light). Bare copper to green (ground).
- Tuck the wires neatly into the box. Attach the fan canopy.
Blade Balancing Trick
If your fan wobbles after installation, do not immediately use the balancing clip that comes in the box. First, tighten every blade screw evenly. Then measure from each blade tip to the ceiling — they should all be the same distance. If one is off, gently bend the blade holder (not the blade) until they match. Ninety percent of wobbles are fixed by this step alone.
📋 Quick Summary: Verify the ceiling box is fan-rated (critical safety step). Turn off breaker, test with voltage tester. White-white, black-black, blue-red for wiring. Balance blades by measuring tip-to-ceiling distance before using the clip.