How to Replace a Broken Tile Without Re-Tiling the Whole Floor
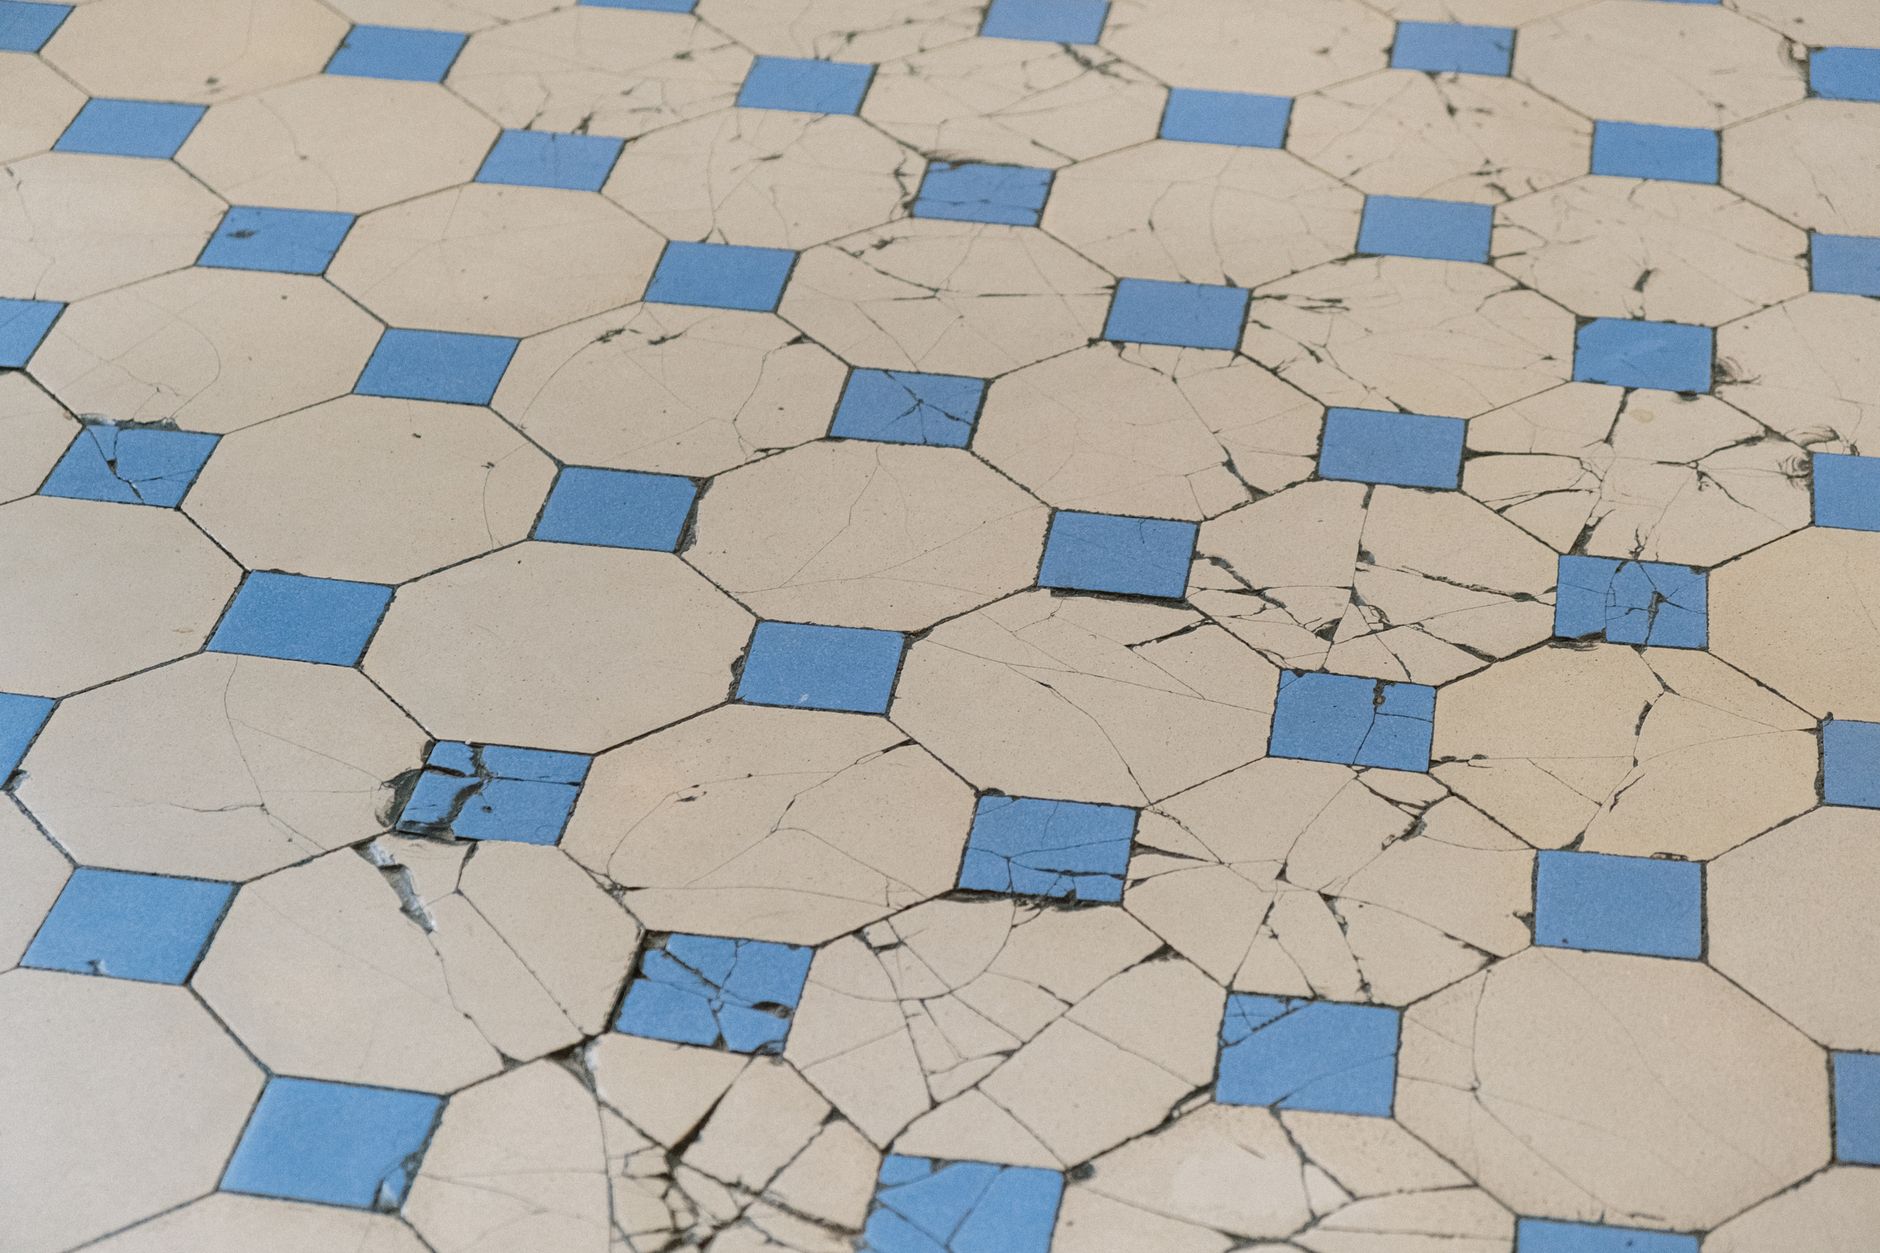
I dropped a cast iron skillet on the kitchen floor. It landed corner-first on a single ceramic tile and cracked it into four pieces. The rest of the floor was fine — twenty square feet of intact tile surrounding one crater of shame. I called a flooring guy who quoted me six hundred dollars to redo the whole section. I said no thanks and spent a Saturday learning how to do it myself for about fifteen dollars.
Replacing one tile is not hard. The tricky part is removing the broken one without damaging the tiles around it. The rest is just patience and letting things dry.
Remove the Broken Tile
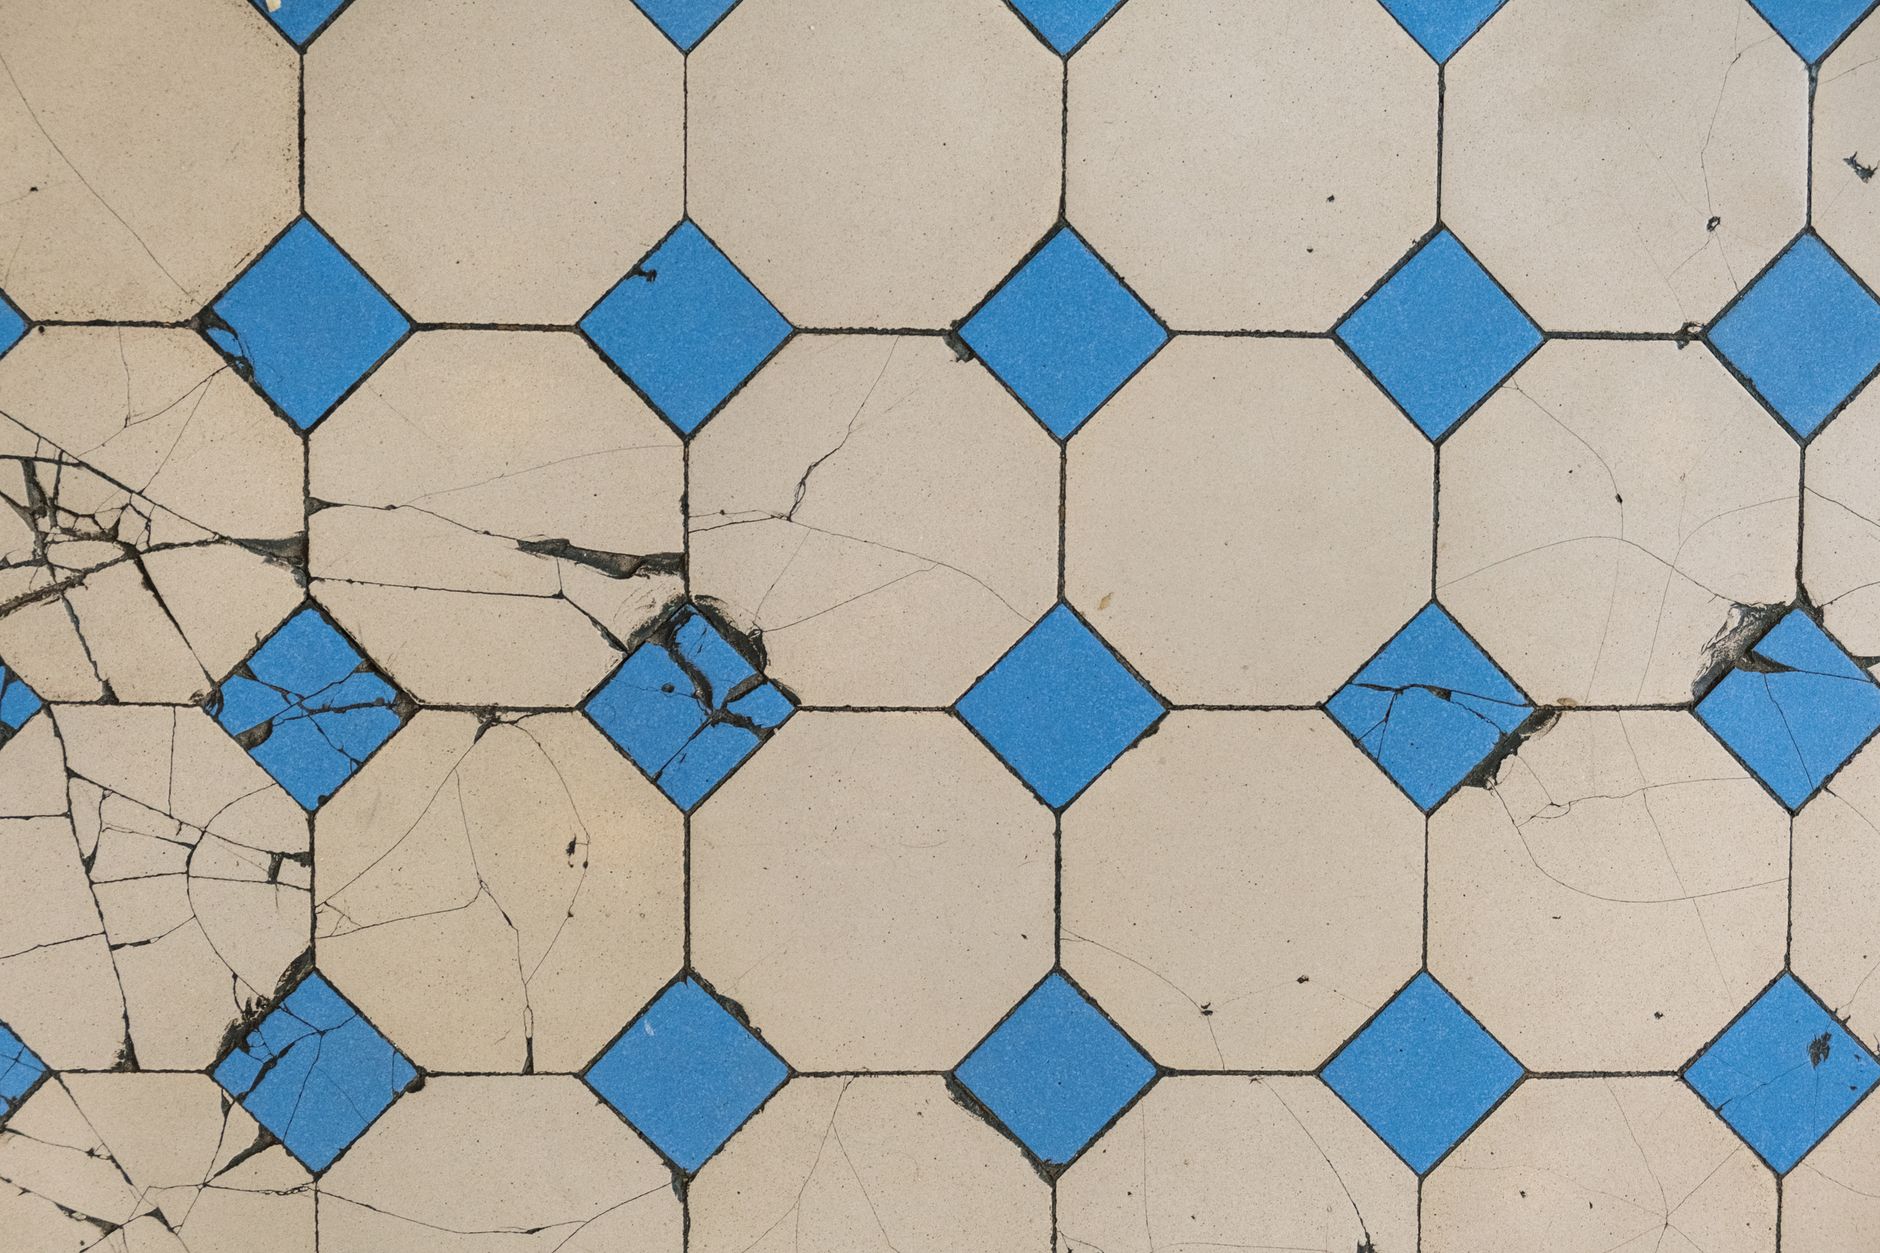
First, protect the surrounding tiles. Tape the edges of the good tiles with painter’s tape. It will not stop a hammer blow but it helps with scratches and minor slips.
Use a grout saw — a small handheld tool with a carbide blade that costs about five dollars — to scrape out all the grout around the broken tile. You need to isolate the broken tile completely from its neighbors. If the grout stays connected, the force of removing one tile can crack the adjacent ones. Go all the way through the grout until you feel the blade hit the substrate underneath.
Once the grout is gone, drill a few holes in the center of the broken tile with a masonry bit. This weakens it. Then use a hammer and a cold chisel, starting from the center and working outward, to break the tile into smaller pieces that you can pry out. Never start chiseling at the edge against a good tile. Work from inside out. The pieces should come up without touching their neighbors.
Scrape the old thinset off the subfloor with the chisel until it is smooth and flat. Vacuum thoroughly.
Set the New Tile
- Dry-fit first. Place the new tile in the hole without adhesive to make sure it sits flush and does not rock. If it sits too high, you need to scrape more old thinset. If it sits too low, you need more new thinset.
- Apply thinset. Mix a small batch of pre-mixed tile adhesive or powdered thinset according to the package. Spread it on the subfloor with a notched trowel — a putty knife works in a pinch for a single tile.
- Press the tile in. Set it in place and press down firmly. Wiggle it slightly to collapse the ridges of thinset and get full contact. Use a level to make sure it sits flush with the surrounding tiles.
- Use spacers. If your tiles have grout lines wider than a credit card, use plastic tile spacers to maintain even gaps all around. For narrow grout lines, just eyeball it.
- Wait twenty-four hours before grouting. Do not rush this. Walking on uncured thinset shifts the tile and you have to start over.
Grout and Finish
Mix grout to a peanut butter consistency. Press it into the gaps with a rubber float or your finger in a rubber glove. Wipe excess off the tile surface with a damp sponge at a diagonal angle so you do not pull grout out of the joints. After it hazes over — about thirty minutes — buff the tile with a dry cloth.
Seal the grout after seventy-two hours. The sealer costs about eight dollars and keeps the grout from staining. Do not skip it in a kitchen or bathroom.
My replacement tile does not match perfectly — the original floor is a few years old and has seen some sun. But nobody notices unless I point it out. The skillet lives in a lower cabinet now.
📋 Quick Summary: Remove grout, drill and chisel from center outward, set new tile in thinset, wait 24 hours, grout, seal after 72 hours.