How to Set Up Two-Factor Authentication Without Losing Access
I locked myself out of my Google account for three days in 2023. Got a new phone, transferred everything over — or thought I did — and my authenticator app was empty. No codes. No backup. Google wanted me to verify my identity by sending a code to… my Gmail account. Which I could not access. You see the problem.
I got back in eventually, but those three days taught me exactly how to set up two-factor authentication the right way. Not the way where you check the box and feel secure. The way where you cannot lose access even if your phone falls into a lake. Here is the setup I use now.
Step 1: Use an authenticator app, not SMS
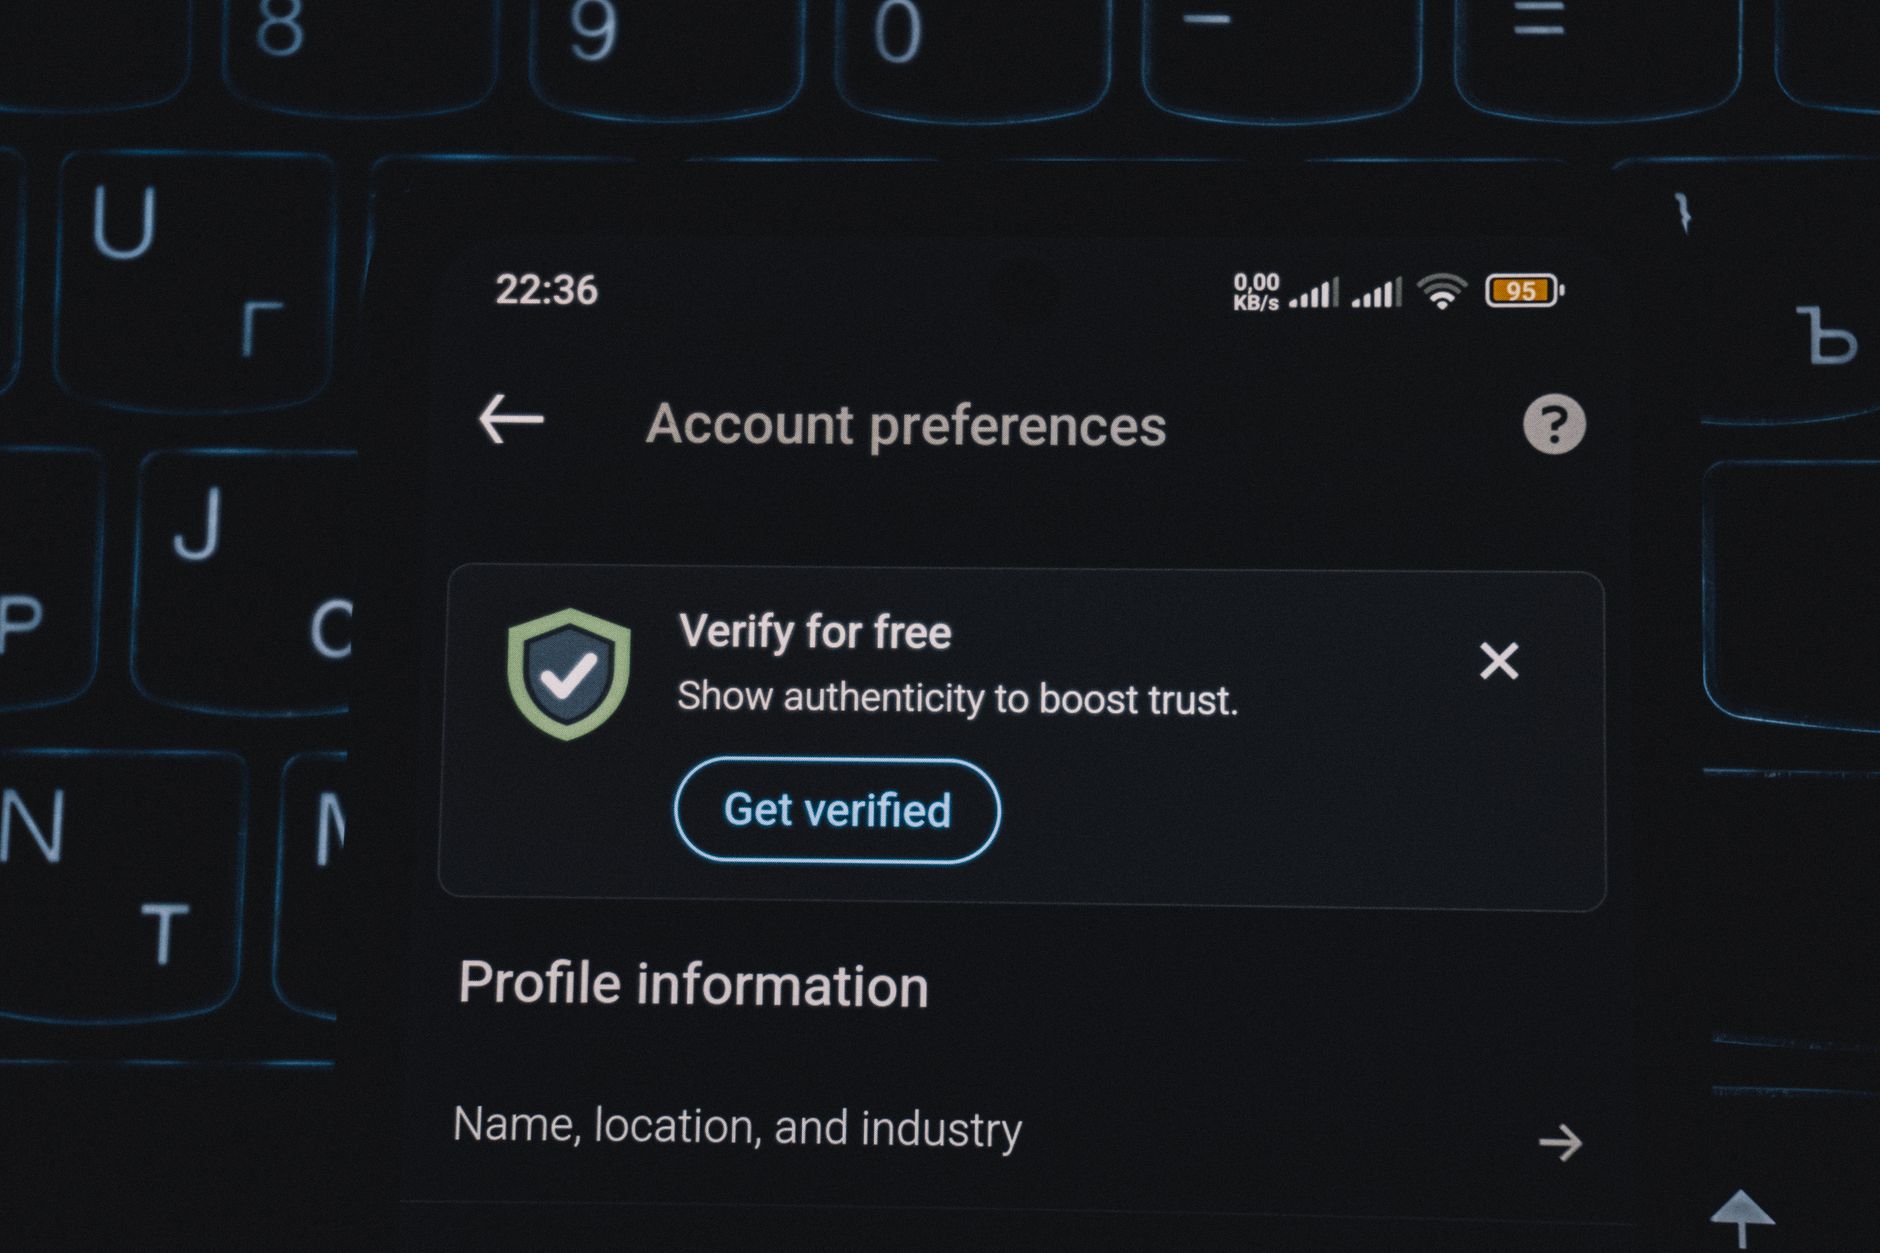
SMS-based 2FA is better than nothing, but it is the weakest form. SIM-swapping attacks — where someone convinces your carrier to transfer your number to their phone — are real and getting more common. An authenticator app generates codes on your device without relying on your phone number.
Use Authy instead of Google Authenticator. Here is why: Google Authenticator stores everything locally on one device. Lose the phone, lose the codes. Authy backs up your codes to the cloud (encrypted, behind a password) and syncs across devices. You can access your codes from your phone, tablet, or computer.
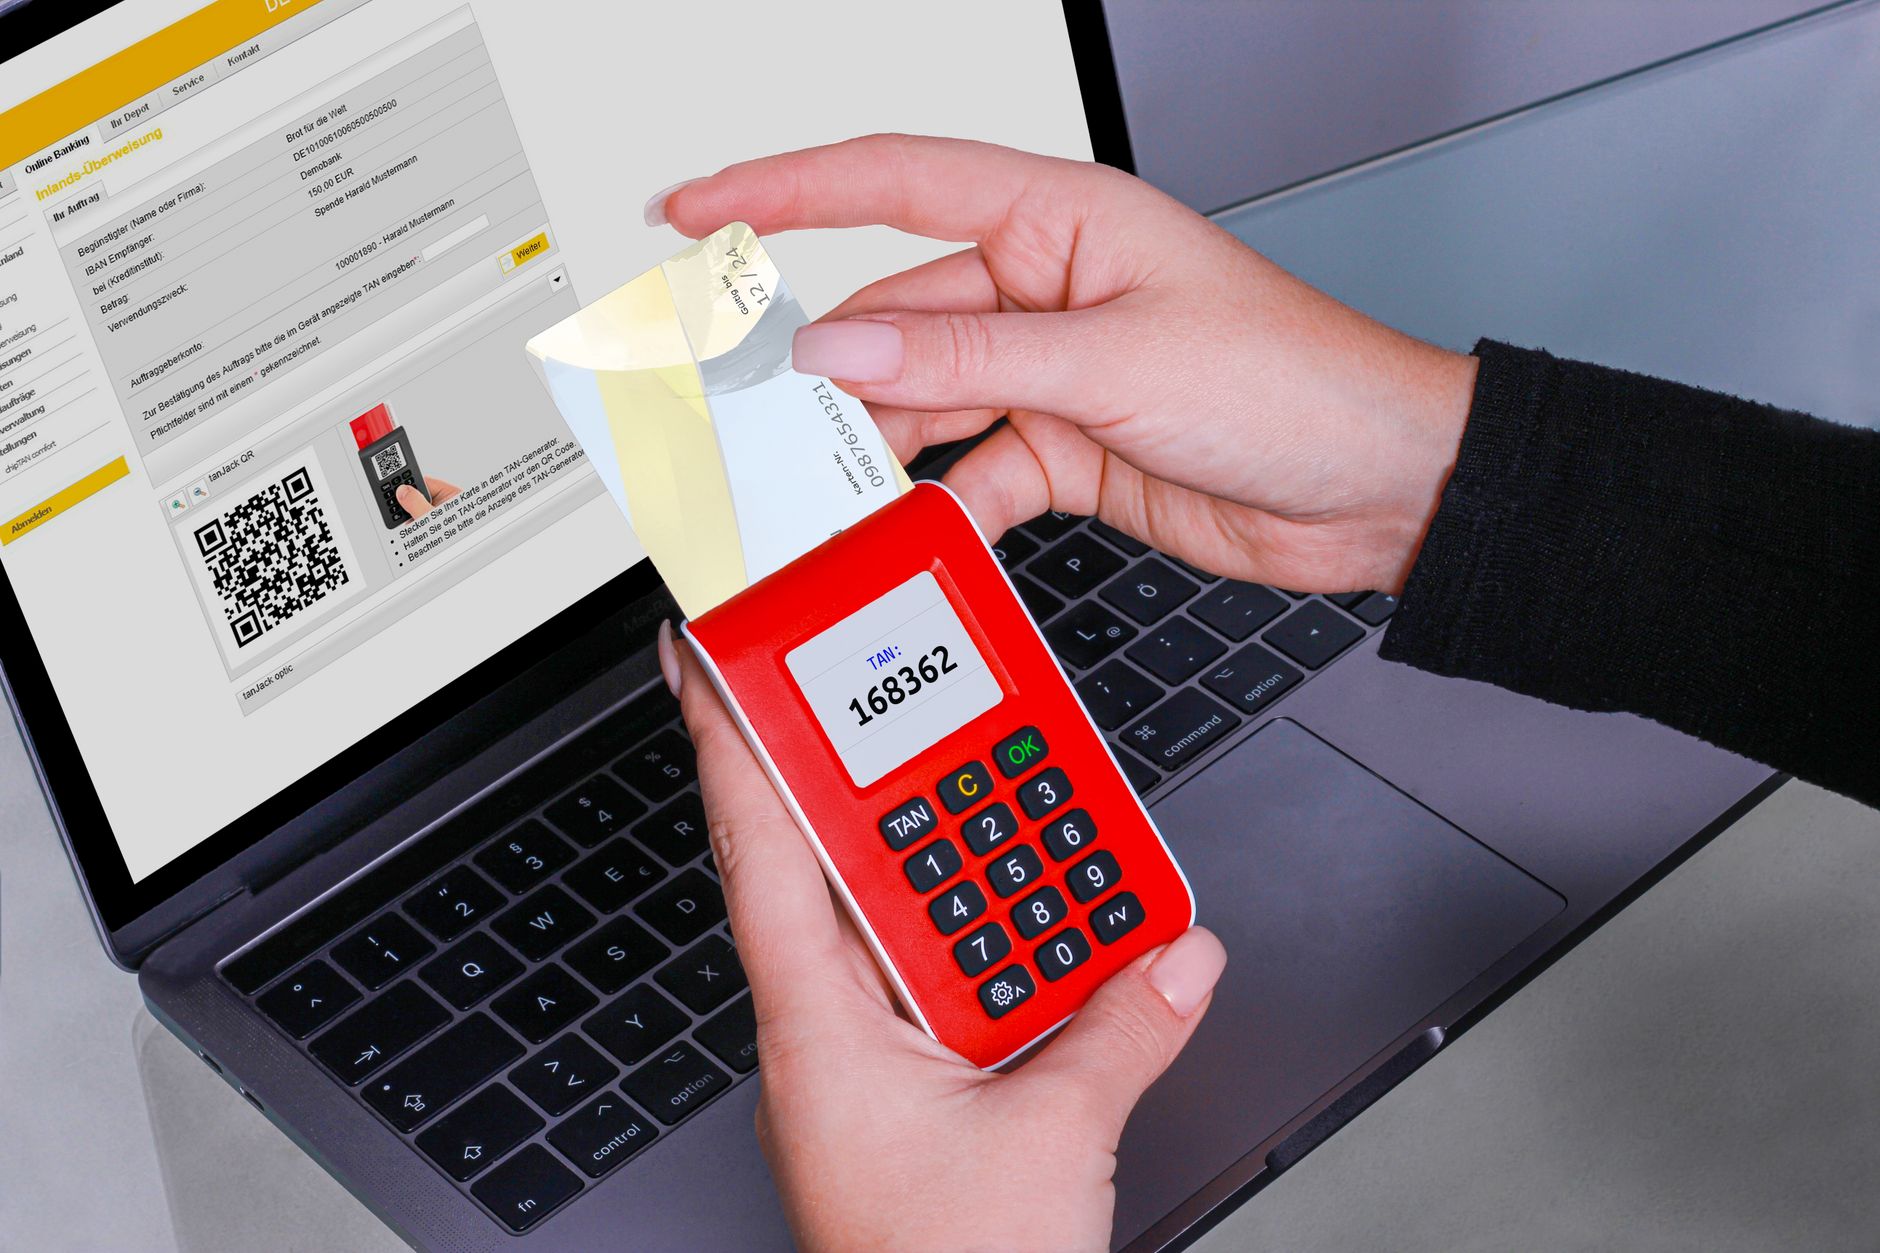
Other good options: Bitwarden (if you already use it as a password manager, it has built-in TOTP), or a YubiKey (physical hardware key, most secure but costs about $50 and you should buy two — one for daily use, one as backup).
Step 2: Save your backup codes (this is what saved me eventually)
When you set up 2FA on any account, the service gives you 8-10 backup codes — single-use codes that bypass 2FA. Print them out and put them somewhere physical. Not in a notes app. Not in an email draft. Paper, in a drawer, or a fireproof safe if you are that organized.
If you lose your phone, those backup codes are the only way back in without going through account recovery (which is slow and not guaranteed). I have mine printed and folded in an envelope in my desk. I have needed them exactly once. I was very glad they existed.
Step 3: Set up a recovery email and phone number
Most services let you add a secondary recovery email and a phone number for account recovery. Use a different email address — not the same one you are trying to protect. If you lose access to your primary Gmail, Google can send recovery instructions to your secondary email.
Same with the phone number: it should be a number you will have for years, not a burner or a work number that might change when you switch jobs.
Step 4: Log in on a second device while you still can
Keep your most important account (email, password manager) logged in on at least one other device — an old phone, a tablet, a laptop browser you rarely use. If everything goes wrong with your primary device, you have another authenticated session you can use to manage account recovery. This is what finally got me back into my Google account: my laptop was still logged in.
📋 Quick Summary: Use Authy (cloud backup) instead of Google Authenticator. Print backup codes on paper. Set up a secondary recovery email and phone. Keep at least one trusted device logged in as a backup entry point. SMS 2FA is weak; use an authenticator app or hardware key instead.