How to Paint a Room Fast With a Roller Without Leaving Lines
I painted my bedroom in a single Saturday once. By Sunday morning, in daylight, the walls looked like a topographical map — ridges and lines everywhere. I had done it too fast, too dry, and in the wrong order. The room had to be repainted. That was a very long Sunday.
The difference between a professional-looking paint job and a disaster is not skill — it is technique and patience with the right steps. Here is the order that has not failed me since.
Prep Is Not Optional — It Is Half the Job
Remove or cover everything. Furniture goes to the center of the room and gets covered with drop cloths, not bedsheets (paint drips through fabric). Tape the edges — baseboards, window trim, door frames — with painter’s tape, and press the edge down firmly with a putty knife or your fingernail. The tape is not magic; paint bleeds under it if you do not seal the edge. Wipe walls with a damp cloth to remove dust. Fill holes and cracks with spackle, let dry, sand smooth. I used to skip this step. My walls looked terrible and I did not know why.
The W Technique That Eliminates Roller Lines
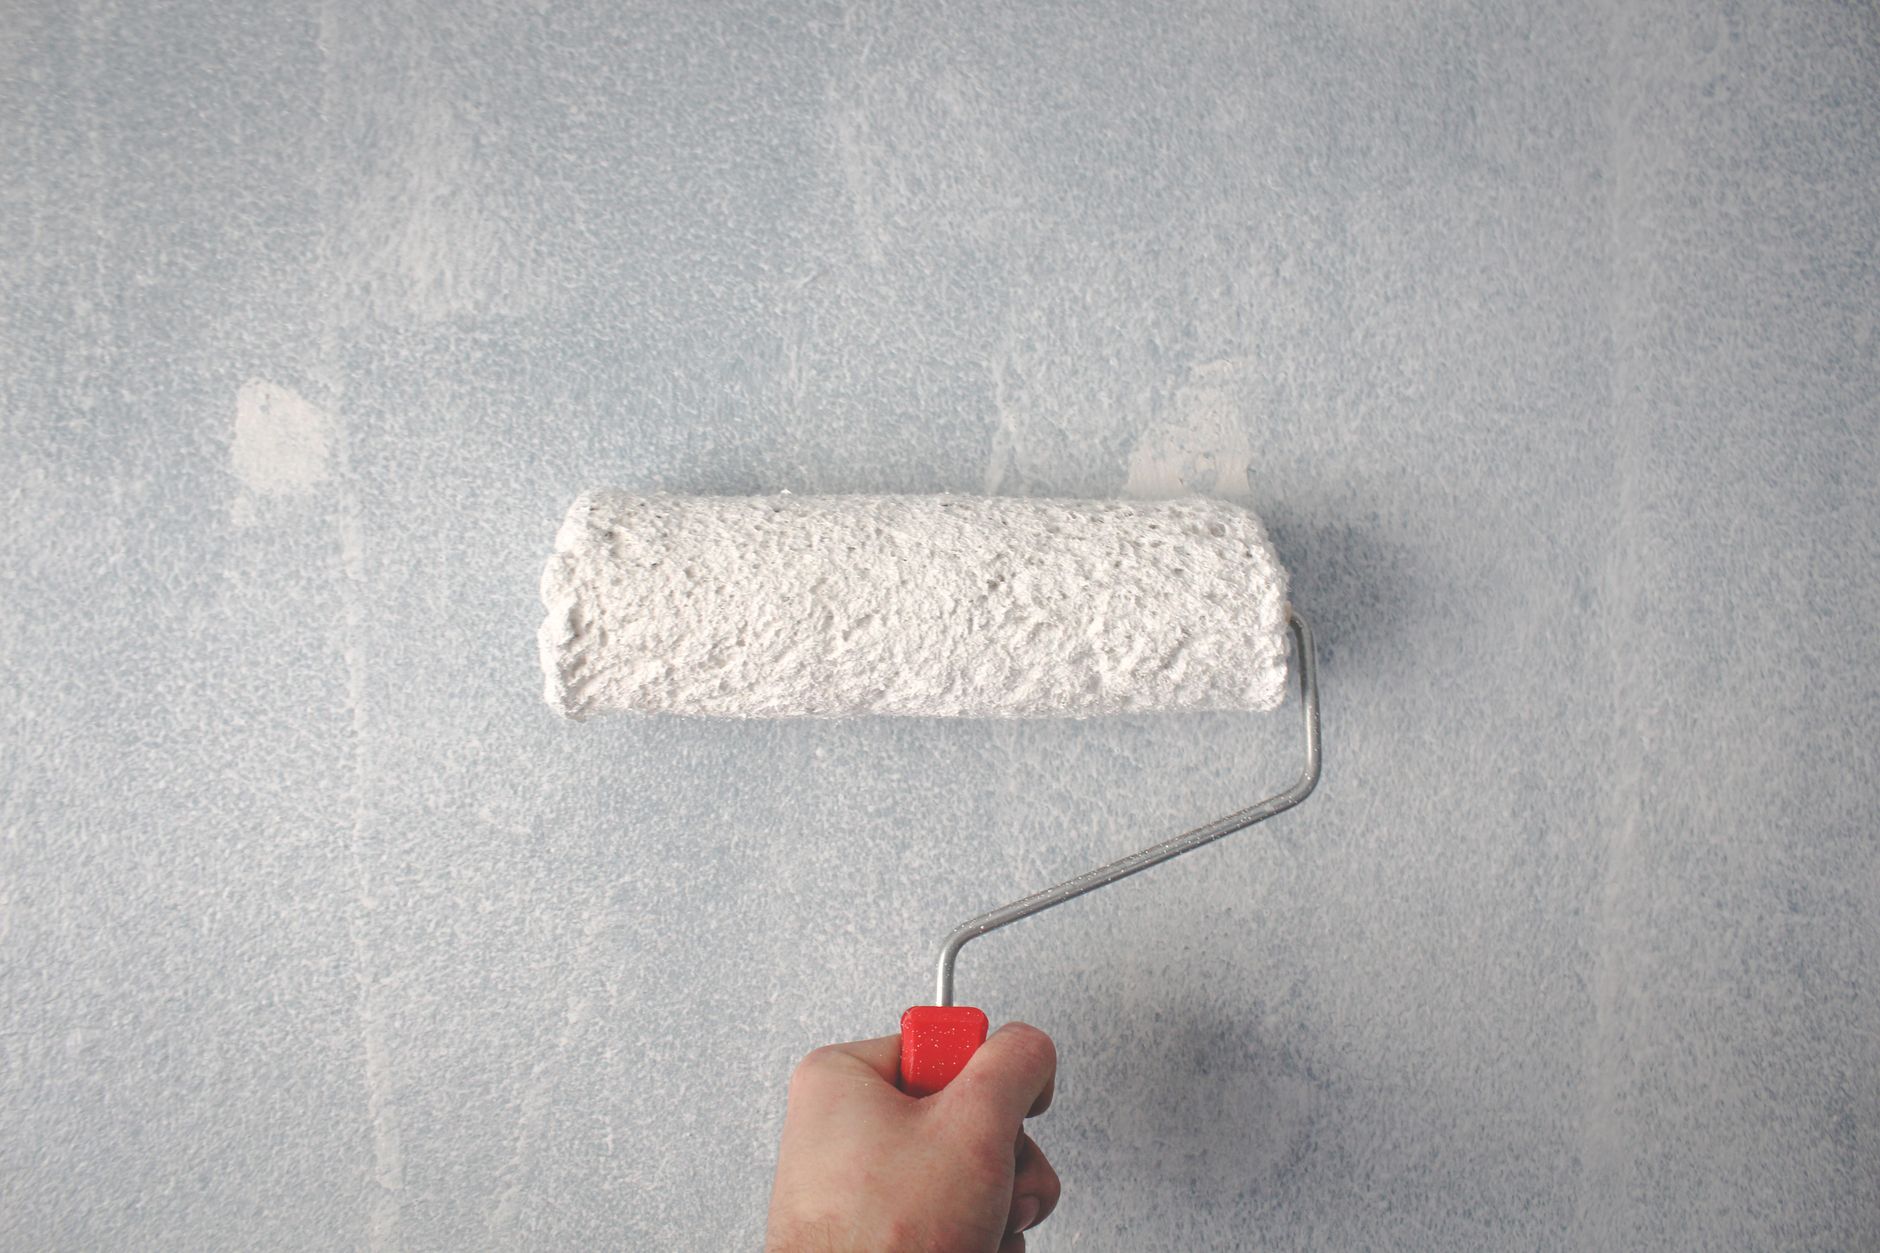
Load the roller evenly — roll it through the paint tray until it is saturated but not dripping. Start in the middle of the wall and roll a large W shape about three feet wide. Then fill in the W with horizontal strokes. This distributes paint evenly and avoids the start-stop lines you get from straight vertical rolling. Keep the roller half-loaded for the final pass — too much paint creates texture ridges. I practiced on a piece of cardboard in the garage before doing a real wall and it genuinely helped.
Cut In First, Roll Immediately After
Use a 2-inch angled brush to cut in along the ceiling, baseboards, and corners — about two to three inches wide. Do one wall at a time. Roll that wall immediately while the cut-in paint is still wet. If the cut-in dries before you roll, you will see a visible border between the brushed edge and the rolled surface — the “picture frame” effect that screams amateur. I cut in, roll, then move to the next wall. One wall, start to finish.
Two Thin Coats Beat One Thick Coat
Trying to cover everything in one thick coat creates drips, sags, and uneven texture. Apply a thin, even first coat and let it dry completely — two to four hours depending on humidity. Then apply a second thin coat. The coverage will be perfect, and the texture will be smooth. I know it is tempting to lay it on thick and be done, but that is exactly what gave me the topographical-map walls. Thin coats, always.
The Right Roller Nap for Your Wall Texture
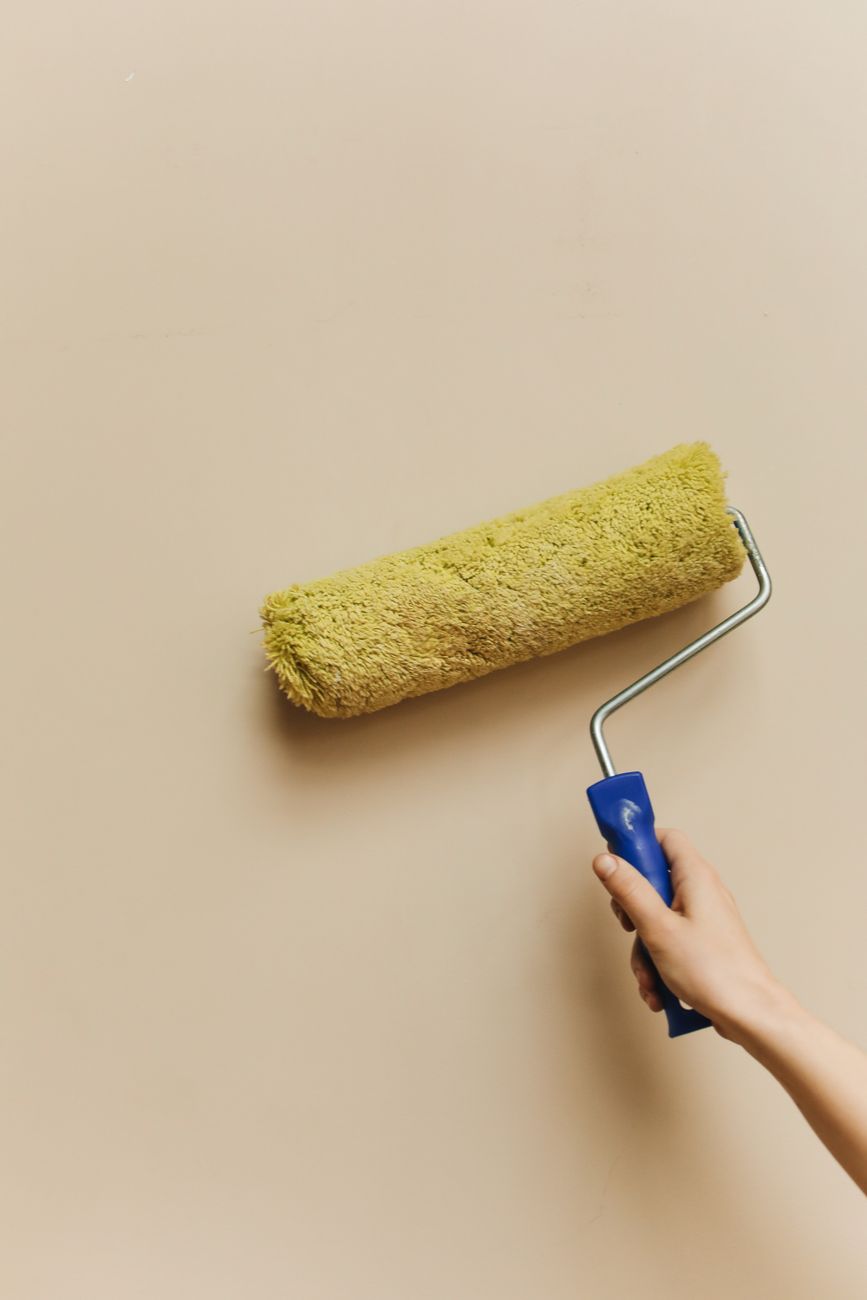
Smooth drywall needs a 3/8-inch nap roller. Textured walls need a 1/2-inch nap. Using the wrong nap means either too little paint reaches the wall or too much pools in the texture. I painted an orange-peel textured hallway with a 3/8-inch nap once and had to go over every section three times. Switched to 1/2-inch and one coat covered better than three thin ones.
📋 Quick Summary: Prep: tape edges + spackle holes + wipe walls. W technique with roller, half-loaded final pass. Cut in one wall → roll immediately (wet edge). Two thin coats, never one thick. Match roller nap to wall texture (3/8″ smooth, 1/2″ textured). A well-prepped wall paints itself.