Paint a Room in One Weekend Without Making a Total Mess of Everything
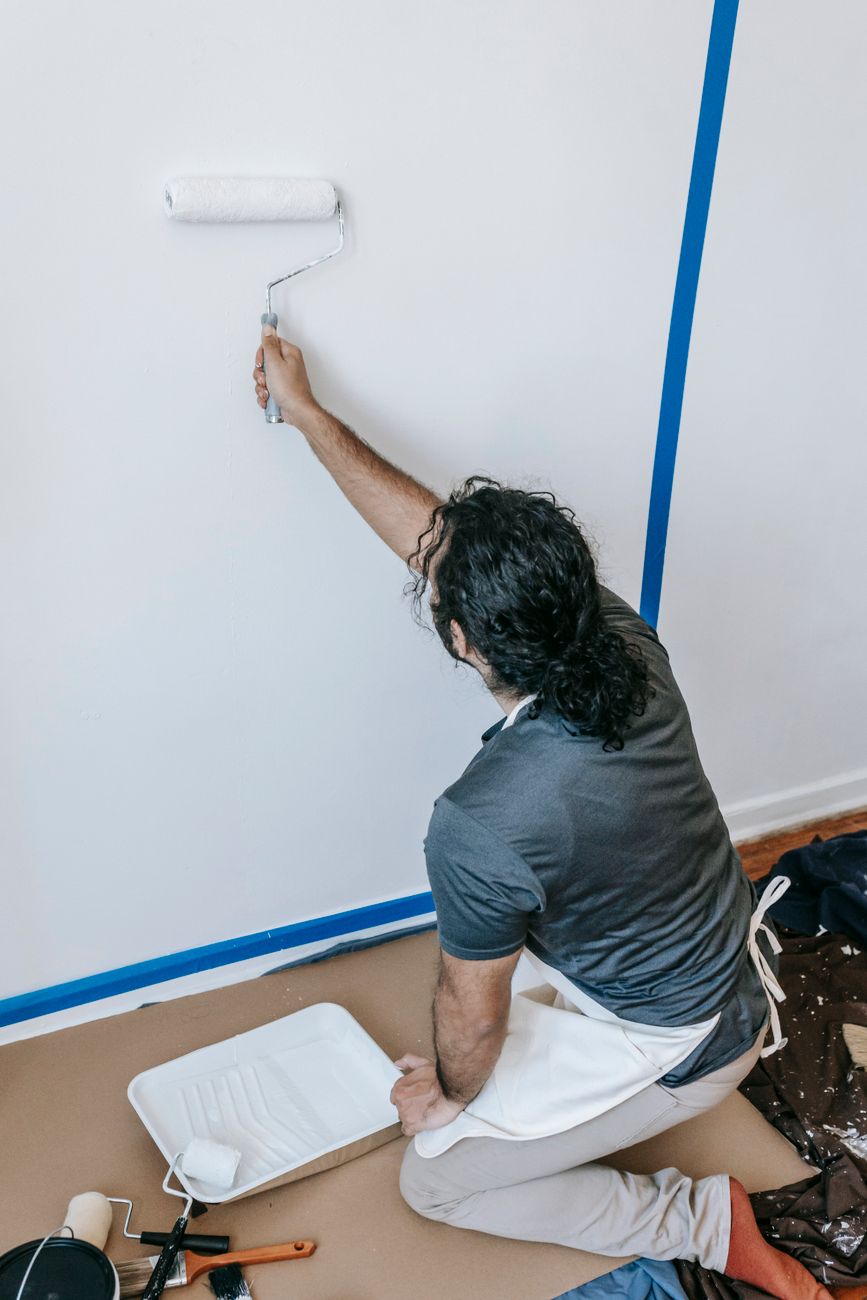
The first time I painted a room, I spent more time cleaning up than painting. Paint on the ceiling. Paint on the baseboards. A perfect footprint of Eggshell White on the hallway carpet because I stepped in the tray. I did not use drop cloths because “I would be careful.” I was not careful. Nobody is careful enough.
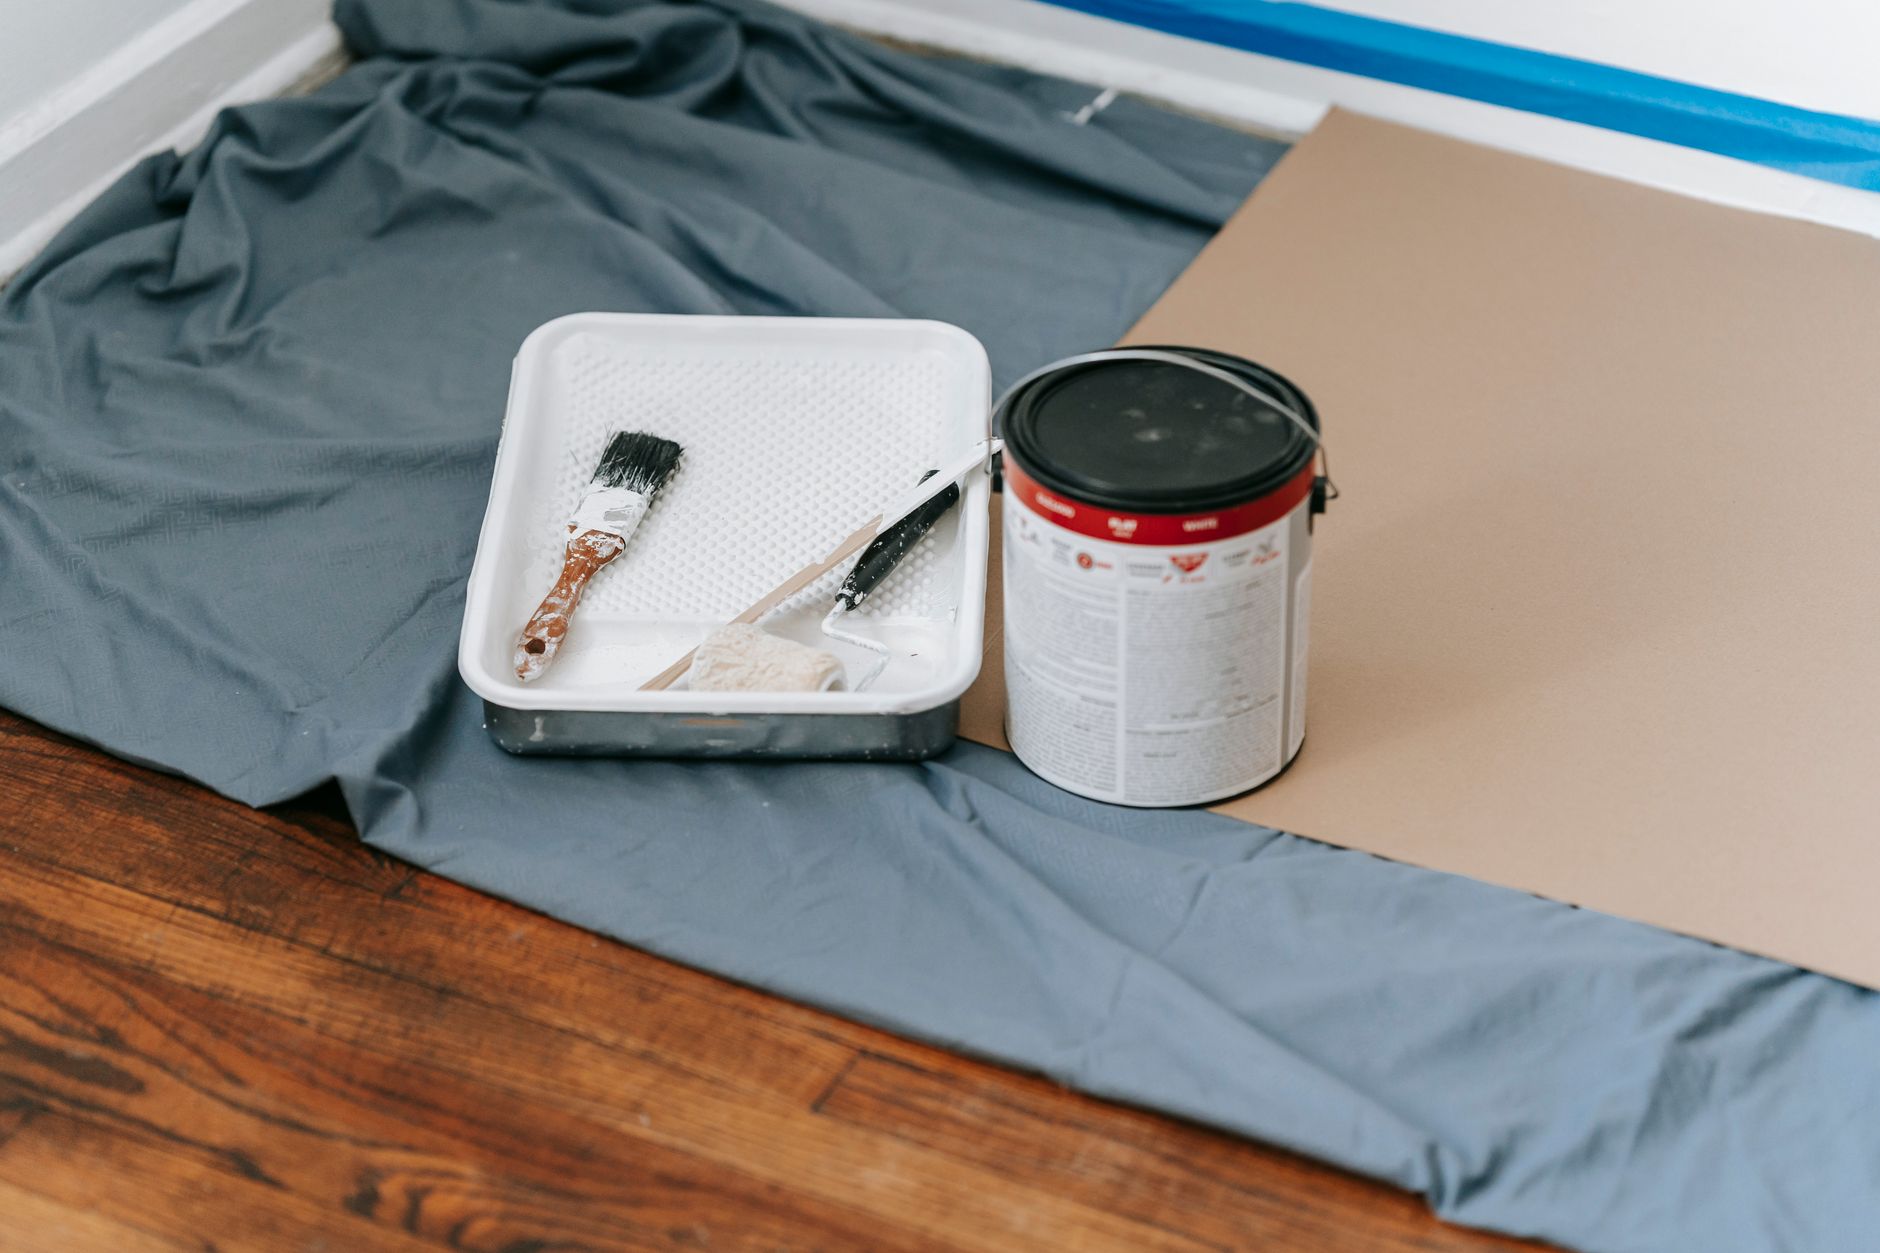
Painting is the most popular DIY project and the most commonly regretted one. But if you set up right — and I mean before you open the can — the actual painting is the easy part. Here is what I learned after that disaster and the four rooms I have painted correctly since.
Prep Is 80 Percent of the Job
Clear the room. Not push furniture to the center — get it out. Every piece. The time you save painting around a sofa you lose crawling under it to touch up drips. Remove switch plates and outlet covers. Tape a plastic bag over light fixtures. Cover the floor with canvas drop cloths, not plastic — plastic is slippery and paint pools on top instead of absorbing.
Then the taping. This is where people rush and regret it. Use FrogTape or 3M blue painter’s tape — not the cheap masking tape that bleeds and tears. Run it along baseboards, crown molding, window frames, and door trim. Press the edge down firmly with a putty knife or your fingernail. The tape is only as good as the seal.
I tape everything the night before. Next morning I wake up and the room is ready. No decision fatigue. Just paint.
Cutting In (Without the Shaky Hand)
“Cutting in” is painting the edges — where walls meet ceiling, trim, and corners. It is the part everyone hates because it requires a steady hand.
Here is the cheat: use a 2-inch angled sash brush and load it with paint only about halfway up the bristles. Too much paint and it drips. Tap — do not wipe — the brush against the inside of the can. Start about half an inch from the edge, paint a short stroke that pushes paint toward the edge, then a second stroke along the edge itself. The first stroke acts like a reservoir.
Cut in the entire room before you roll. I do ceiling edges first, then corners, then baseboards. It takes about an hour for an average bedroom. Put a podcast on.
Rolling: The W Technique
Pour paint into the roller tray about a third full. Roll the roller through so it is evenly loaded but not dripping. On the wall, paint a W shape about three feet wide, then fill it in with vertical strokes. The W distributes paint evenly and prevents the “striped” look where each roller pass leaves a visible edge.
Overlap each W section by about half a roller width. Work top to bottom, one wall at a time. Roll immediately after cutting in — if the cut-in edges dry before you roll, you get a visible “picture frame” effect where the edges are a different texture.
Cleanup That Does Not Ruin Everything
Wrap your roller and brush in plastic wrap or aluminum foil between coats. They stay wet for hours — even overnight in the fridge. No need to wash them between coat one and coat two. After the final coat, wash them in warm soapy water until the water runs clear. Spin the roller dry by holding the handle and whipping it — outside — to fling water out.
Remove tape while the paint is still slightly tacky, not fully dry. Dry paint can peel off with the tape, taking your hard work with it. Pull tape at a 45-degree angle, slow and steady.
📋 Quick Summary: Paint a room in a weekend: clear the room, tape everything the night before, cut in edges with an angled brush, roll walls in a W pattern, wrap tools in plastic between coats, and remove tape while paint is still tacky. Proper prep makes the actual painting fast and clean.