I Installed a Peel-and-Stick Backsplash With Zero Experience. It Is Still Up.
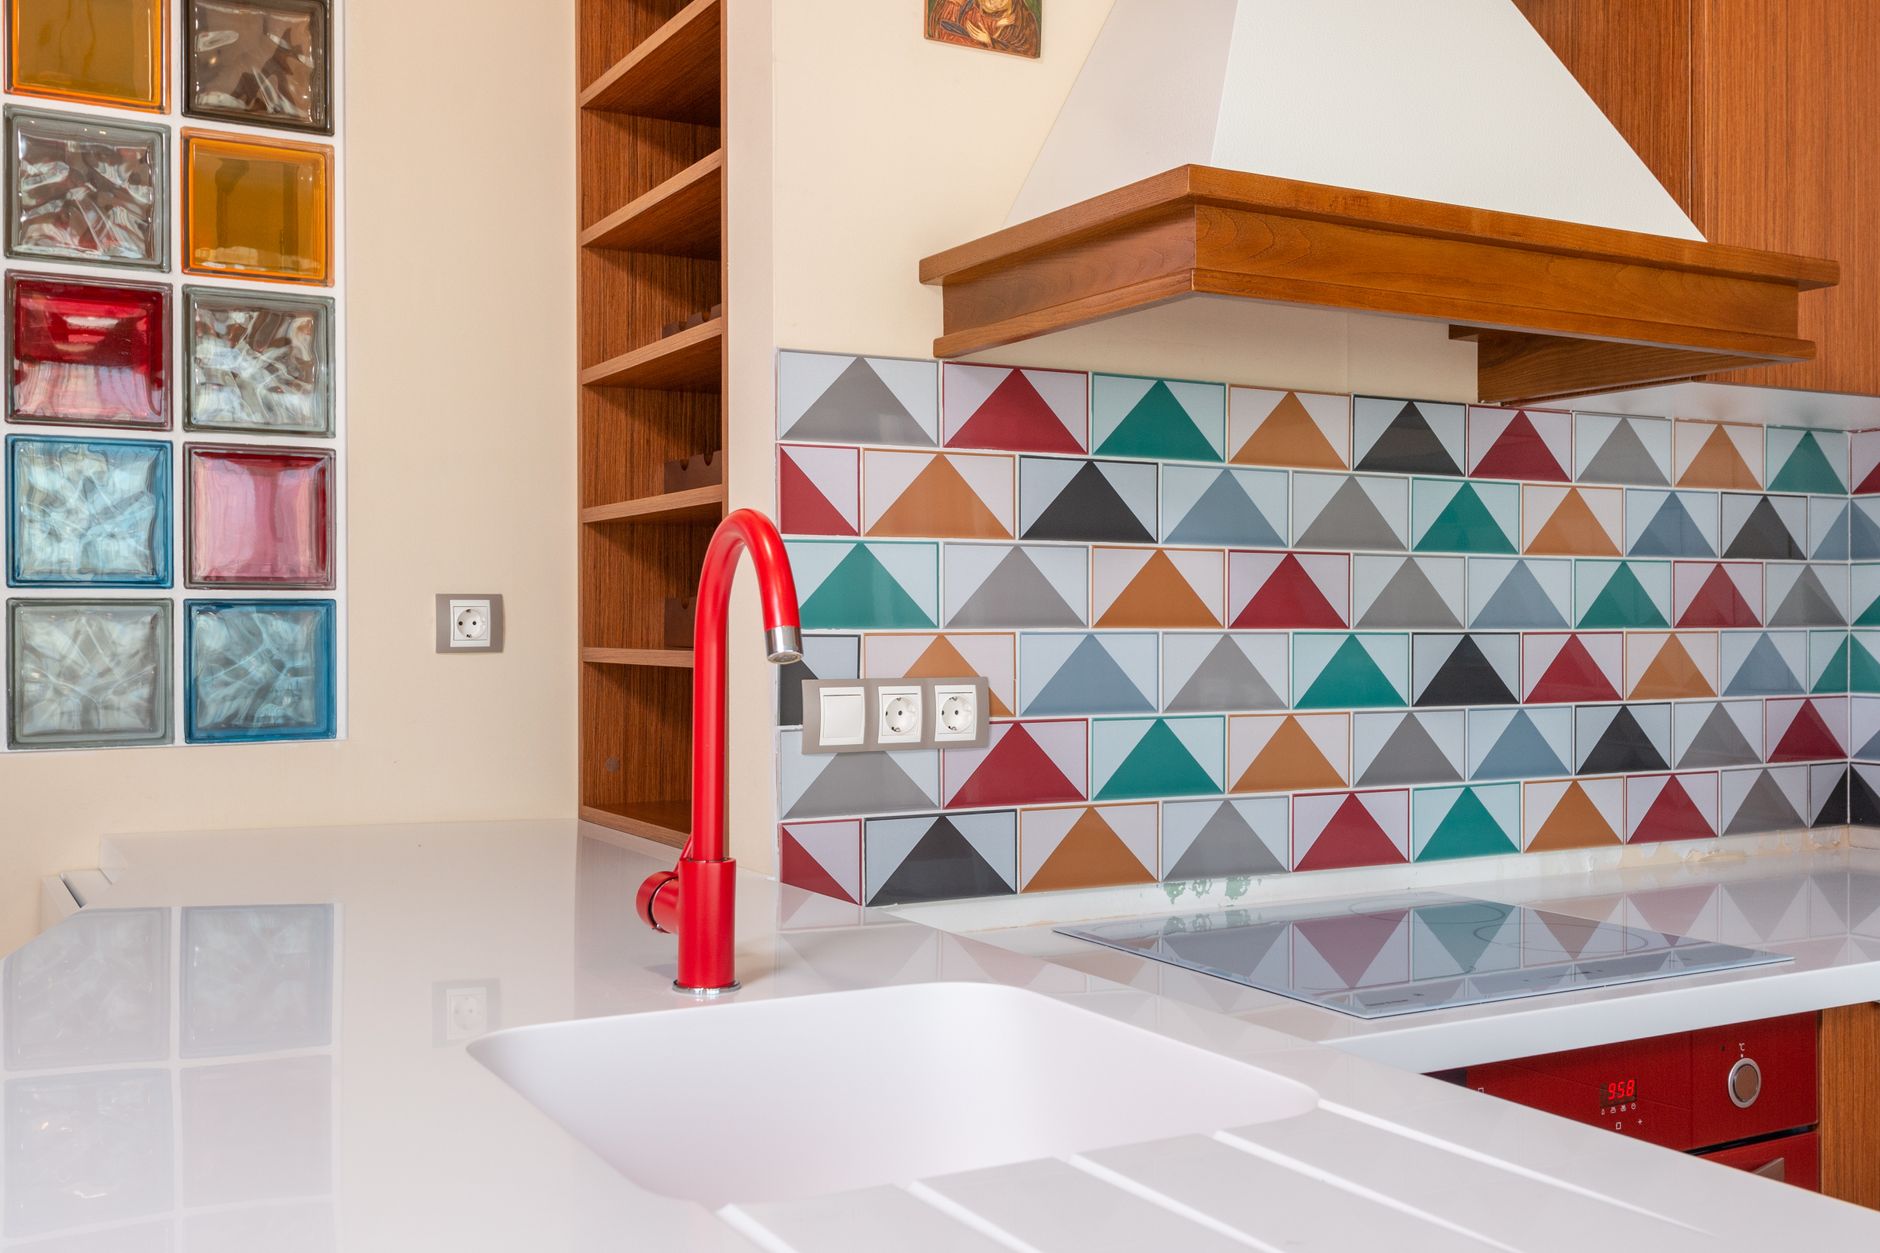
My kitchen had a four-inch strip of laminate backsplash. Builder-grade. Beige. It was the most boring four inches of my entire apartment. I wanted something better but I rent—no tile, no grout, no permanent changes I would have to undo.
Peel-and-stick backsplash tiles sat in my Amazon cart for two months before I finally ordered them. The installation took one afternoon. It has been two years. Not a single tile has fallen off.
What You Need
- Peel-and-stick tiles (measure your square footage and add 10% for cuts)
- Utility knife with fresh blades—dull blades tear the vinyl
- Level
- Straight edge or ruler
- Cleaning supplies: degreaser, microfiber cloth
The Step Everyone Skips (Do Not Skip It)
Clean the wall like you mean it. Degreaser, then rubbing alcohol. Kitchen walls accumulate a fine film of cooking oil you cannot see. If you stick tiles onto greasy drywall, they will peel off within weeks.
After cleaning, let the wall dry completely. Run your hand over it—it should feel slightly tacky, not greasy. If your hand slides, clean it again.
Installation Order
- Draw a level line where your first row will sit. Do not trust the countertop to be level.
- Start in the least visible corner. Your cuts will be on the opposite end where they are hidden by appliances or upper cabinets.
- Peel half the backing, align the tile to your level line, press from the center outward. Peel the rest, press.
- Overlap the next tile’s pattern to match, peel, press. Work across the row.
- For outlets: measure, mark, cut with the utility knife. Outlet covers will hide imperfect cuts.
The Heat Gun Upgrade
If your kitchen gets cold in winter or you live somewhere humid, hit each tile with a hair dryer for 10 seconds after pressing it on. The heat activates the adhesive more thoroughly. I did this for the tiles behind my stove where steam and heat are constant. Those tiles are the most solid of all.
When I eventually move out, I can peel these off. The landlord will not know they were ever there.
Quick Summary: Degrease the wall thoroughly, draw a level line, start from the least visible corner, use a hair dryer for 10 seconds per tile to activate the adhesive—especially behind the stove.