Fix a Leaky Faucet With Basic Tools
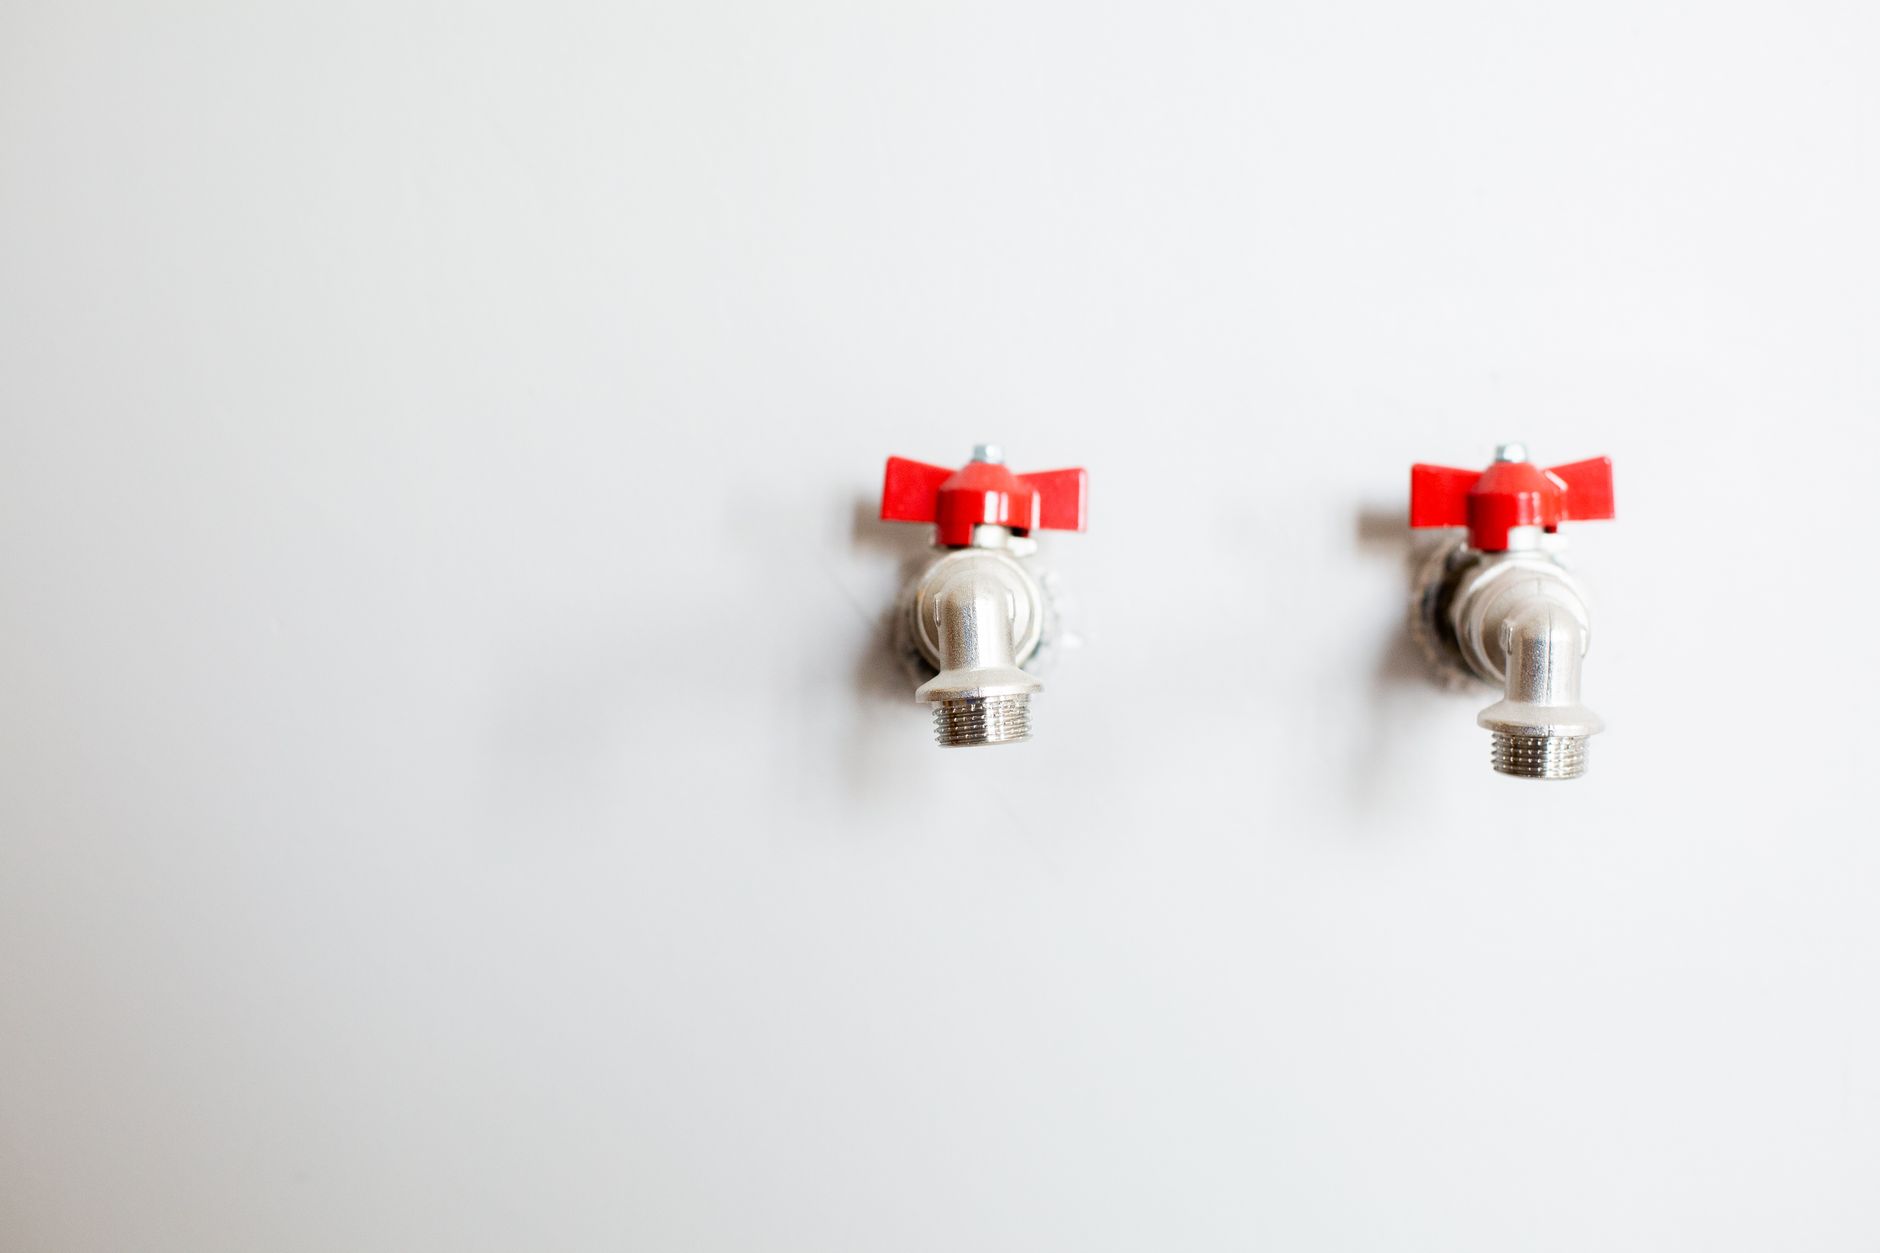
Turn off the water under the sink. Pop off the handle cap with a flathead screwdriver. Unscrew the handle. Pull out the cartridge or unscrew the valve stem. Replace the rubber washer or O-ring. Put everything back in reverse order. Turn the water back on.
That is the entire repair for ninety percent of leaky faucets. It takes fifteen minutes and costs about two dollars in parts. I have done this four times across three different apartments, and every time it has been exactly this simple.
Identify Your Faucet Type First
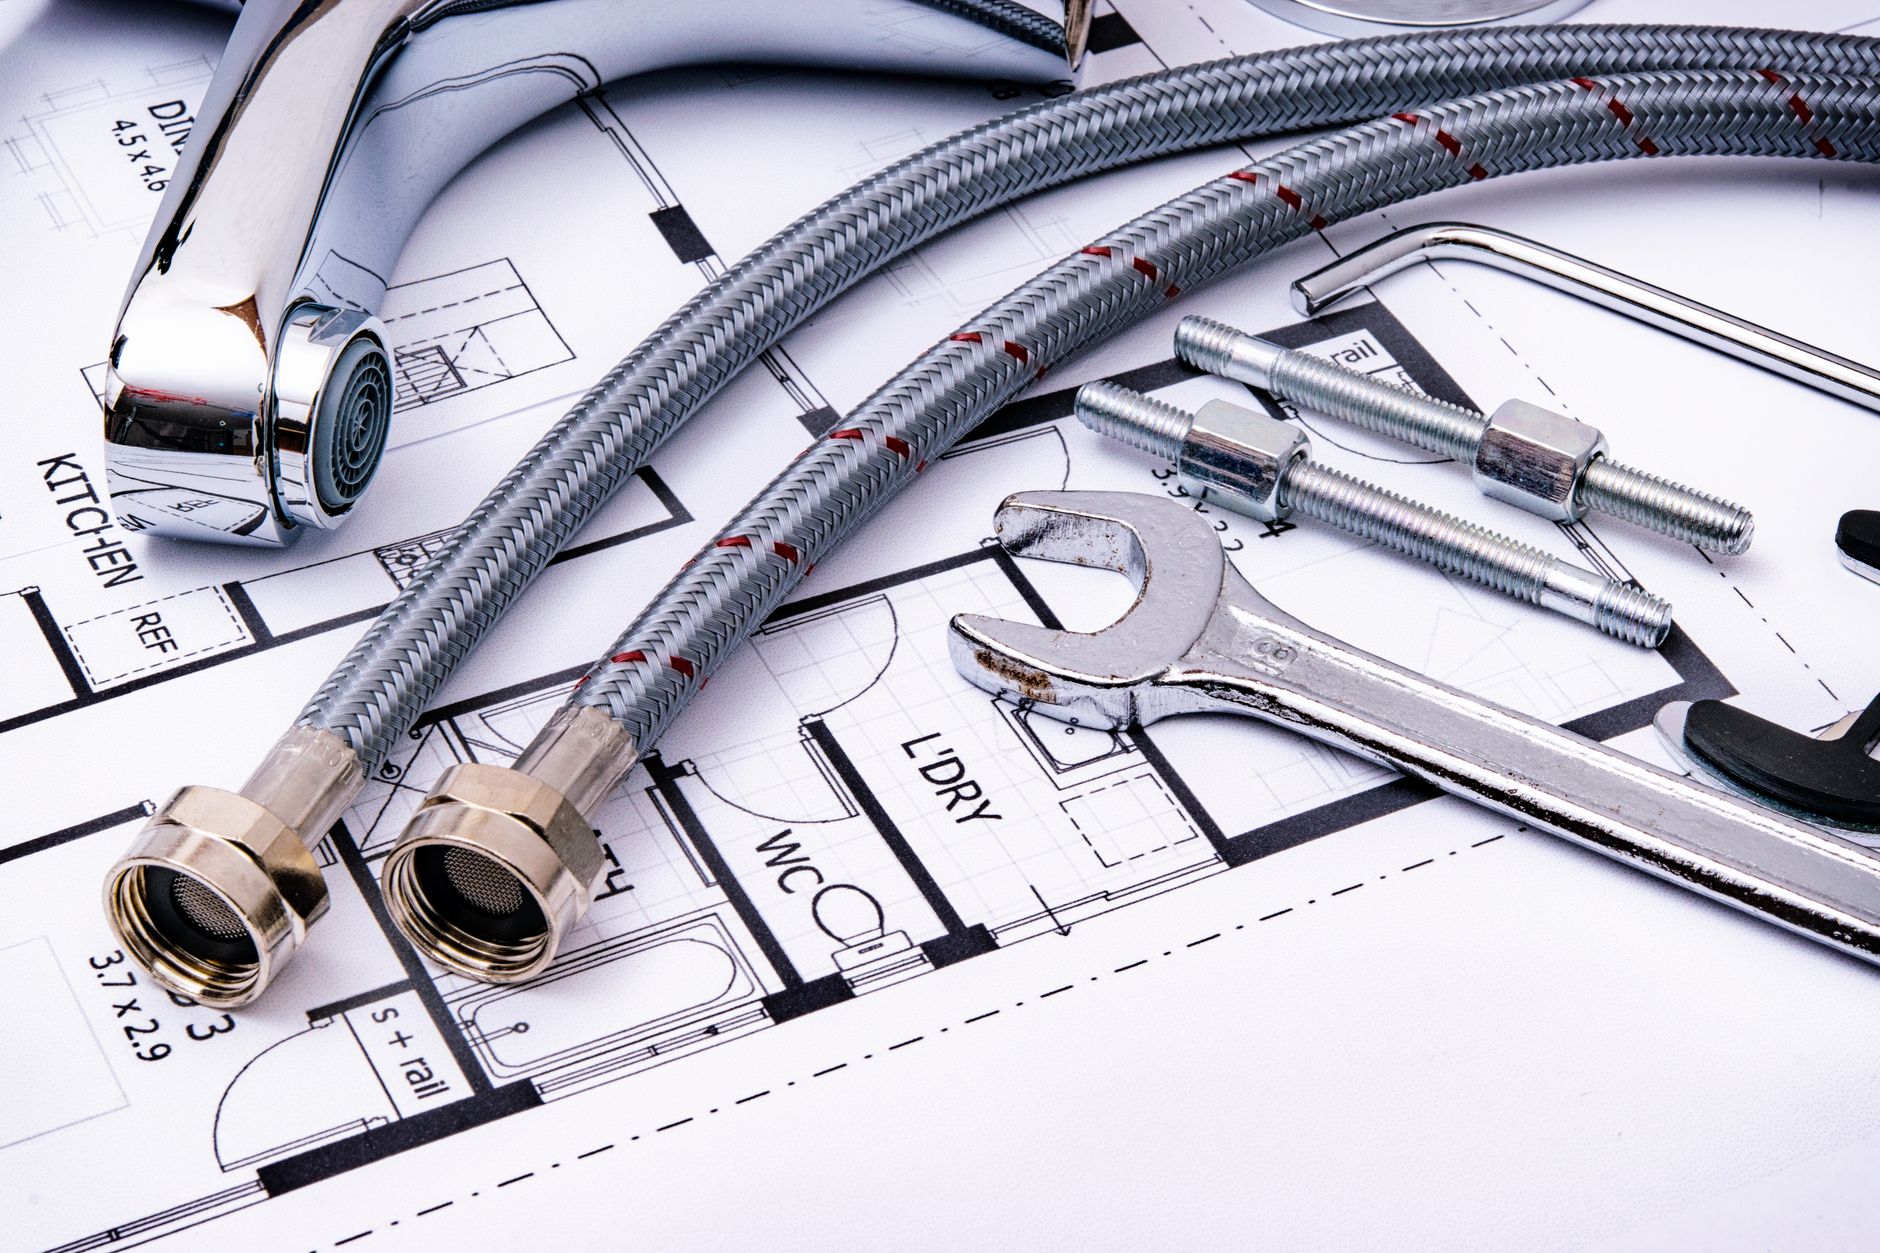
There are three common types, and the parts are different for each. Compression faucets have separate hot and cold handles — the leak is usually a worn rubber washer at the base of the valve stem. Cartridge faucets have a single handle that moves up and down, and the leak is a failed O-ring on the cartridge. Ball faucets have a single handle that swivels, and they are more complicated — if you have one of these, buy a full rebuild kit and follow the diagram that comes with it.
Take the old part to the hardware store. Do not guess at the size. I once guessed and made three trips to Home Depot in one afternoon. The guy at the plumbing aisle recognized me by the third visit.
Do Not Overtighten When Reassembling
This is where I messed up the first time. I cranked the packing nut down as hard as I could, thinking tighter equals better. It does not. Overtightening crushes the new washer and the faucet leaks again within a month. Tighten until you feel resistance, then give it a quarter turn more. That is enough.
If the faucet drips after the repair, try tightening slightly more. If it still drips, you probably put the washer in upside down. It happens.
The Plumber’s Tape Rule
If you disconnect any threaded pipe connections, wrap the threads with Teflon tape before reconnecting. Three wraps, clockwise. Wrap it the wrong direction and the tape unwinds as you screw the fitting on, doing absolutely nothing. I made this mistake once and flooded the cabinet under my bathroom sink.
Test the repair by turning the water supply back on slowly. Watch the connections for a full minute before you close the cabinet doors. A slow drip at a pipe connection looks fine for the first ten seconds and then ruins your cabinet floor by morning.
📋 Quick Summary: Turn off water, identify faucet type, replace the rubber washer or O-ring, don’t overtighten, and wrap threads clockwise with Teflon tape — fifteen minutes and two dollars fixes that drip.