How to Winterize Your Outdoor Faucets Before the First Freeze
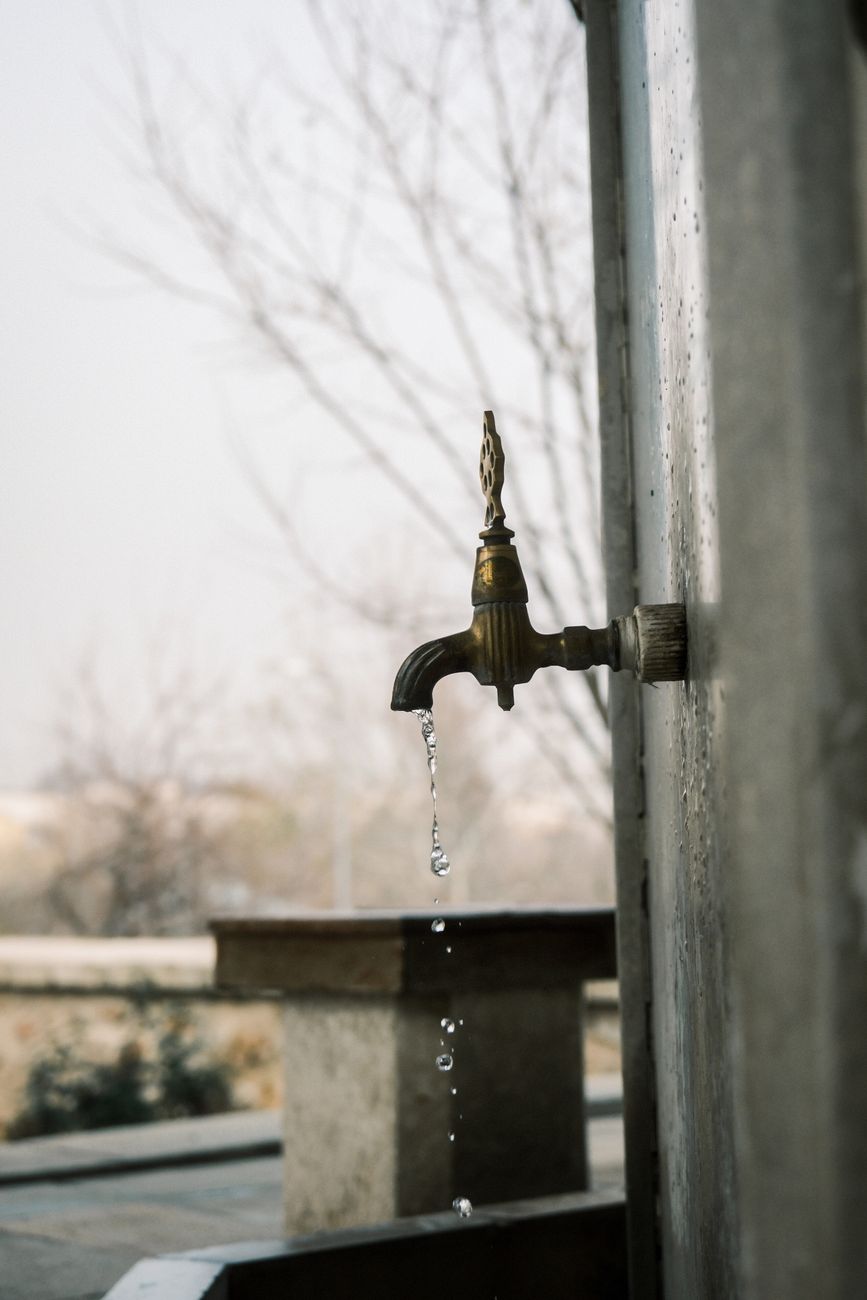
The most expensive mistake I almost made in my first house was ignoring the outdoor faucet. A plumber told me that a frozen outdoor spigot can crack the pipe behind the wall, which means water damage inside the house, not just a leaky yard hose.
Winterizing a faucet takes about ten minutes and costs nothing. Here is the routine I do every November now.
Find the Shut-Off Valve
Most homes have a shut-off valve inside for each outdoor faucet. It is usually in the basement, crawl space, or utility closet, near where the pipe heads out through the wall. Turn it clockwise until it stops. This isolates the outdoor section of pipe from the water supply.
Drain the Faucet
Go outside and open the outdoor faucet fully to let any trapped water drain out. Leave it open for the winter. An open faucet gives leftover water room to expand if it freezes, instead of building pressure that cracks the pipe.
Add a Faucet Cover
Pick up a foam faucet cover from any hardware store for a few dollars. It slips over the spigot and insulates it from the worst cold snaps. I have seen people wrap a towel and a plastic bag in a pinch, and that honestly works too, but the foam cover is sturdier and reusable for years.
Do Not Forget the Hose
Disconnect any hose and store it before the freeze. Water trapped in a connected hose is what cracks faucets most often, because people leave the hose attached and forget. Drain the hose and coil it in the garage.
Check for Drips After the First Freeze
After the first hard freeze, go out and look at the spigot area for frost or drips inside the wall. If you see anything, call a plumber before the pipe fully bursts. Catching it early turns a small fix into a tiny one.
Ten minutes in the fall has kept my pipes happy through three winters. Do not learn this one the expensive way like I almost did.
📋 Quick Summary: Close the indoor shut-off valve, open the outdoor faucet to drain it, and add a foam cover. Store the hose inside.