How to Replace a Kitchen Faucet Without Calling a Plumber
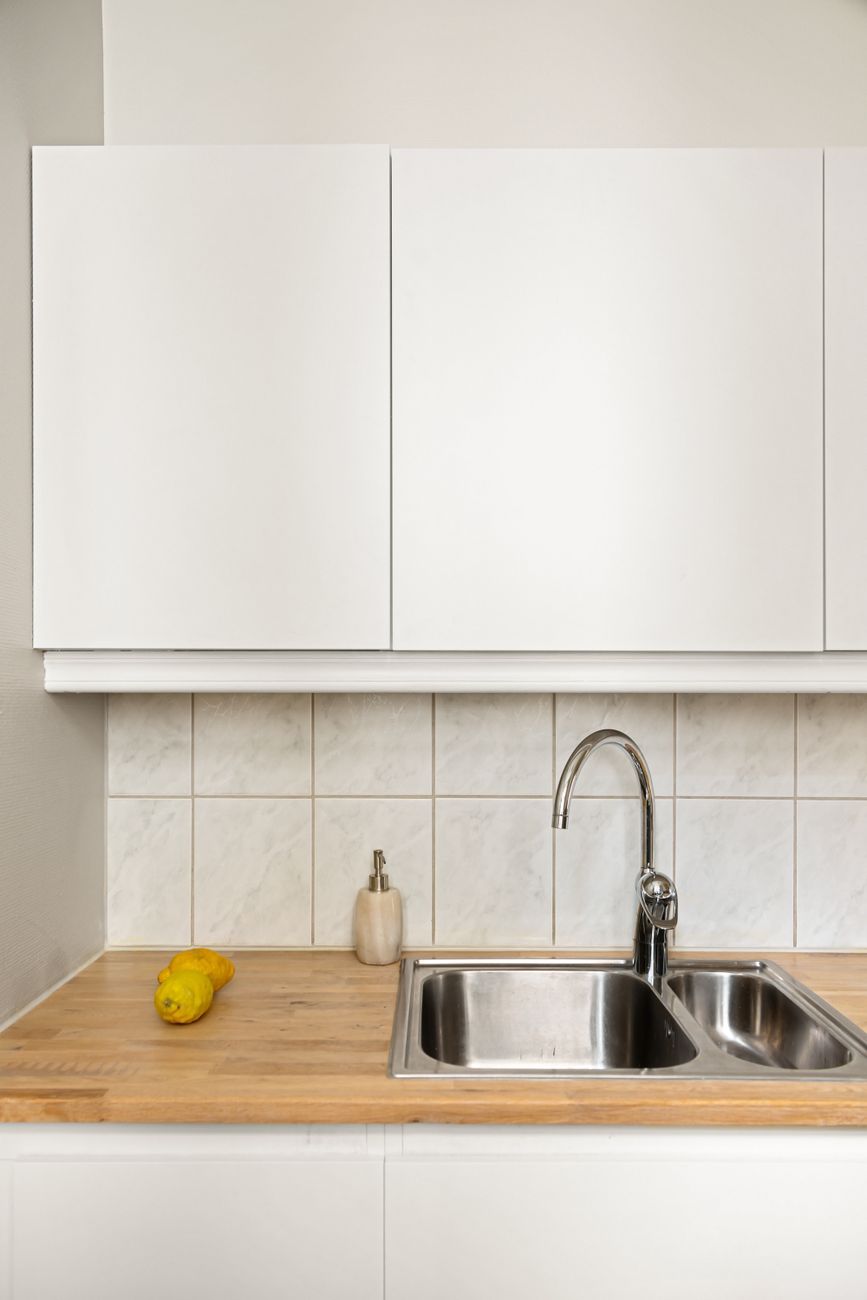
My kitchen faucet developed a drip that no amount of tightening could stop, and the finish was peeling like a sunburn. A plumber quoted me a number that made me laugh out loud. So I watched a couple of videos, bought a replacement faucet, and did the swap myself in under two hours. If I can do it, you can too.
Buy the right faucet
Before you buy anything, figure out what you have. Check how many holes your sink or countertop has and measure the spacing. Most sinks have one center hole, some have three with a deck plate covering the extras. Count the supply lines under the sink and check whether they end in valves you can shut off. Take a photo of the underside with your phone and show it to the store staff if you are unsure. A faucet that does not fit is a wasted trip.
Turn off the water and drain the lines
Under the sink you should see two shutoff valves, one for hot and one for cold. Turn both valves clockwise until they stop, then open the faucet to release pressure. If you do not have shutoff valves, you will need to shut off the main water valve for the house. Lay down a towel and keep a bucket handy, some water always hides in the lines.
Remove the old faucet
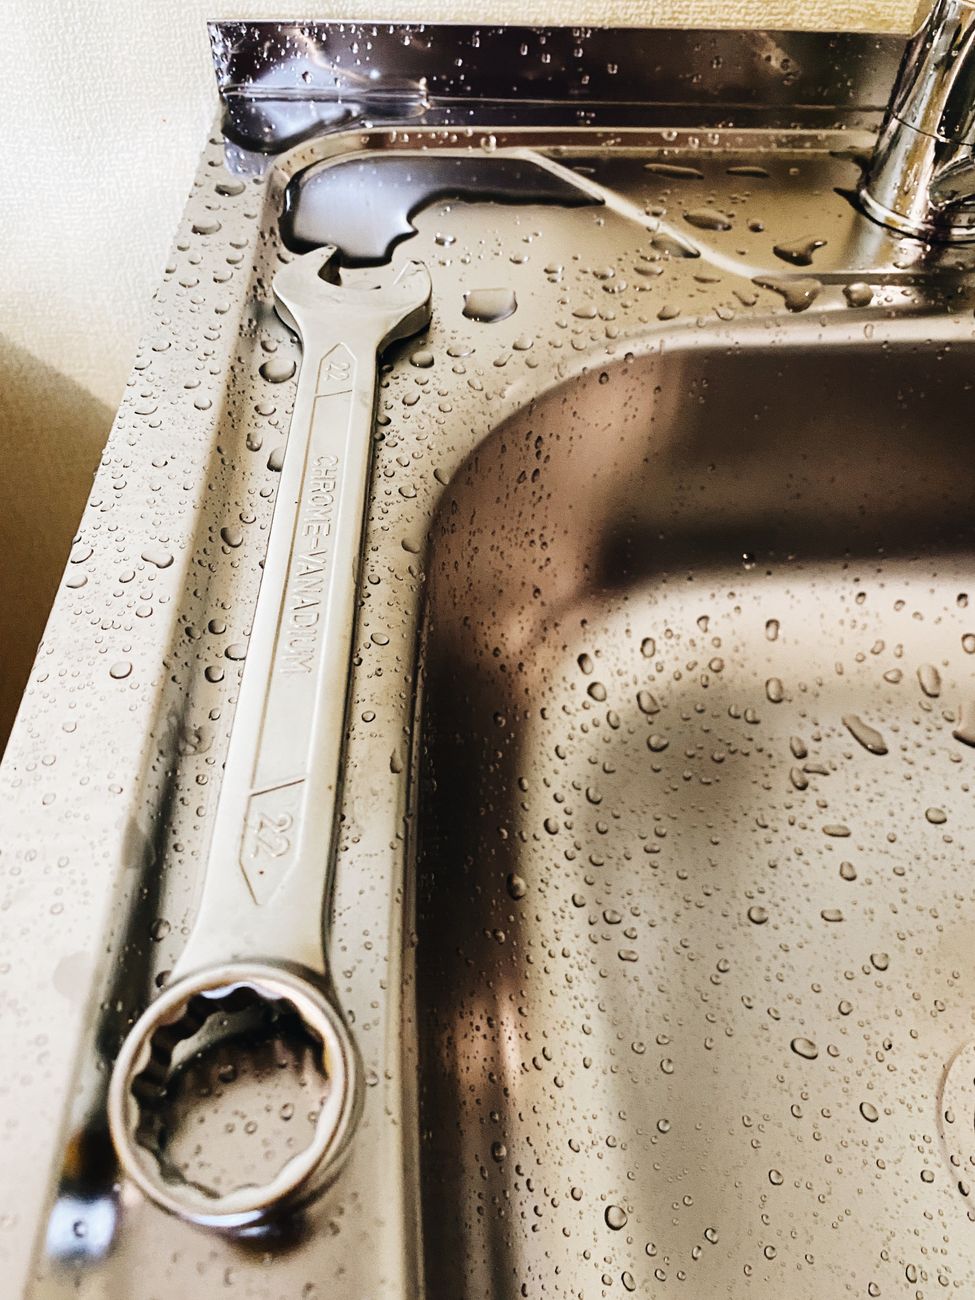
Look under the sink and you will see nuts holding the faucet in place. A basin wrench is the right tool here, it reaches the awkward nuts from below. Loosen and remove the mounting nuts, then lift the old faucet out from above. Clean the old putty or caulk off the sink surface so the new base sits flat.
Install the new faucet
Most new faucets come with a gasket or need a thin ring of plumber’s putty under the base. Feed the supply lines and any sprayer hose down through the mounting hole, then tighten the mounting nut from below. Connect the supply lines to the shutoff valves. Hand tighten first, then snug them with a wrench, but do not overtighten. A quarter turn past snug is usually enough.
Test before you celebrate
Turn the shutoff valves back on slowly and check every connection for drips. Run the water hot and cold and wiggle the faucet to make sure it is secure. Let it run for a minute and check underneath again with a dry paper towel. If you see a leak, tighten that connection a little more. Nine times out of ten that fixes it.
My swap cost me the price of the faucet plus a fifteen dollar basin wrench, and it has run drip free for a year. Faucet replacement looks intimidating but it is mostly turning nuts with the right tool. Take your time, watch the water pressure when you test, and you will never pay a plumber for this job again.
📋 Quick Summary: Match the faucet to your sink hole pattern, shut off the supply valves, remove the old unit with a basin wrench, and snug the new connections before testing for leaks.