How to Fix a Leaky Single-Handle Faucet Cartridge
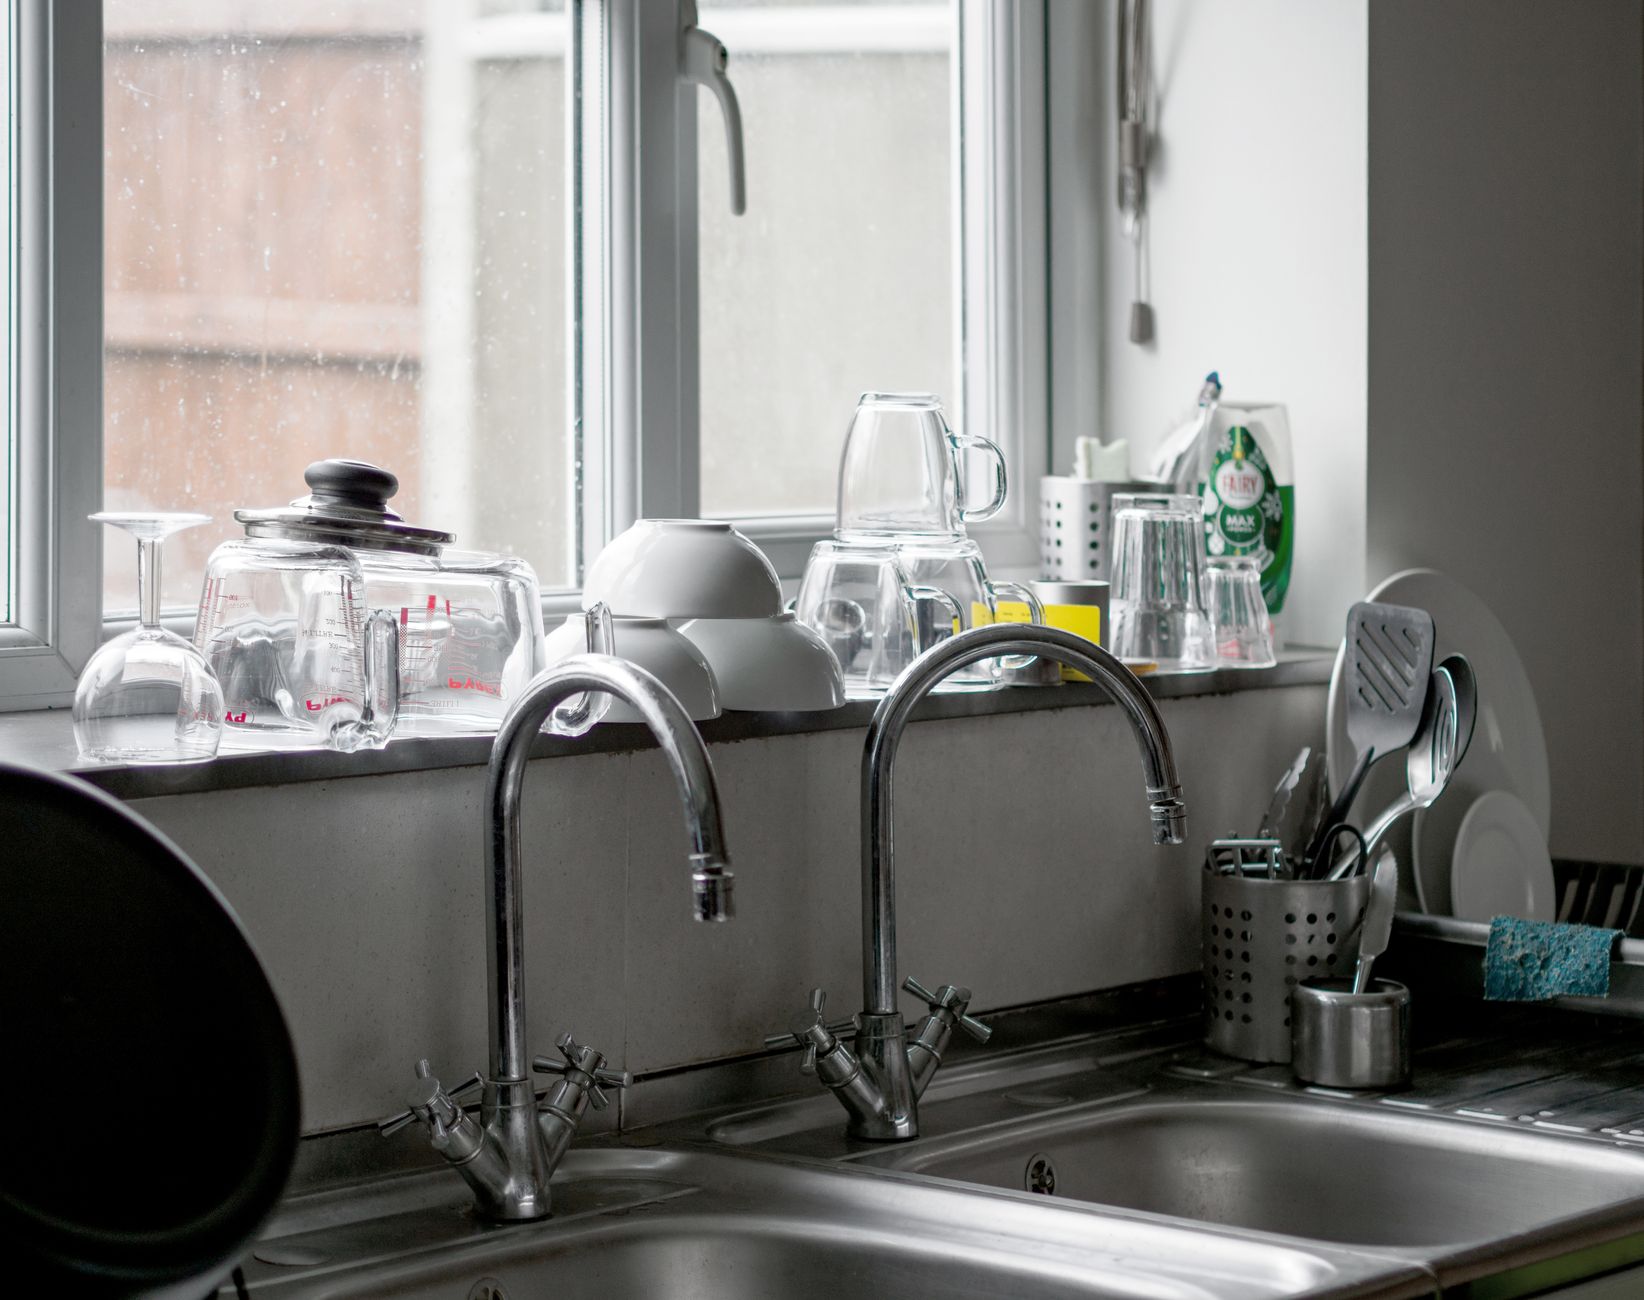
A dripping faucet sounds small until it is 2 am and every drop is a drum beat in your skull. Mine dripped for a month before I fixed it, and the whole repair cost less than ten dollars.
Most single handle faucets leak for the same reason: a worn out cartridge. Replacing it is a thirty minute DIY job that needs no plumber.
Turn off the water first
There are shutoff valves under the sink, usually two small knobs. Turn both off before touching anything. Then open the faucet to drain the water left in the line.
Take off the handle
Look for a small screw, often under a cap on the handle. Remove it and pull the handle straight up. Some handles have a set screw on the side instead. Keep the parts in order, a small cup works great.
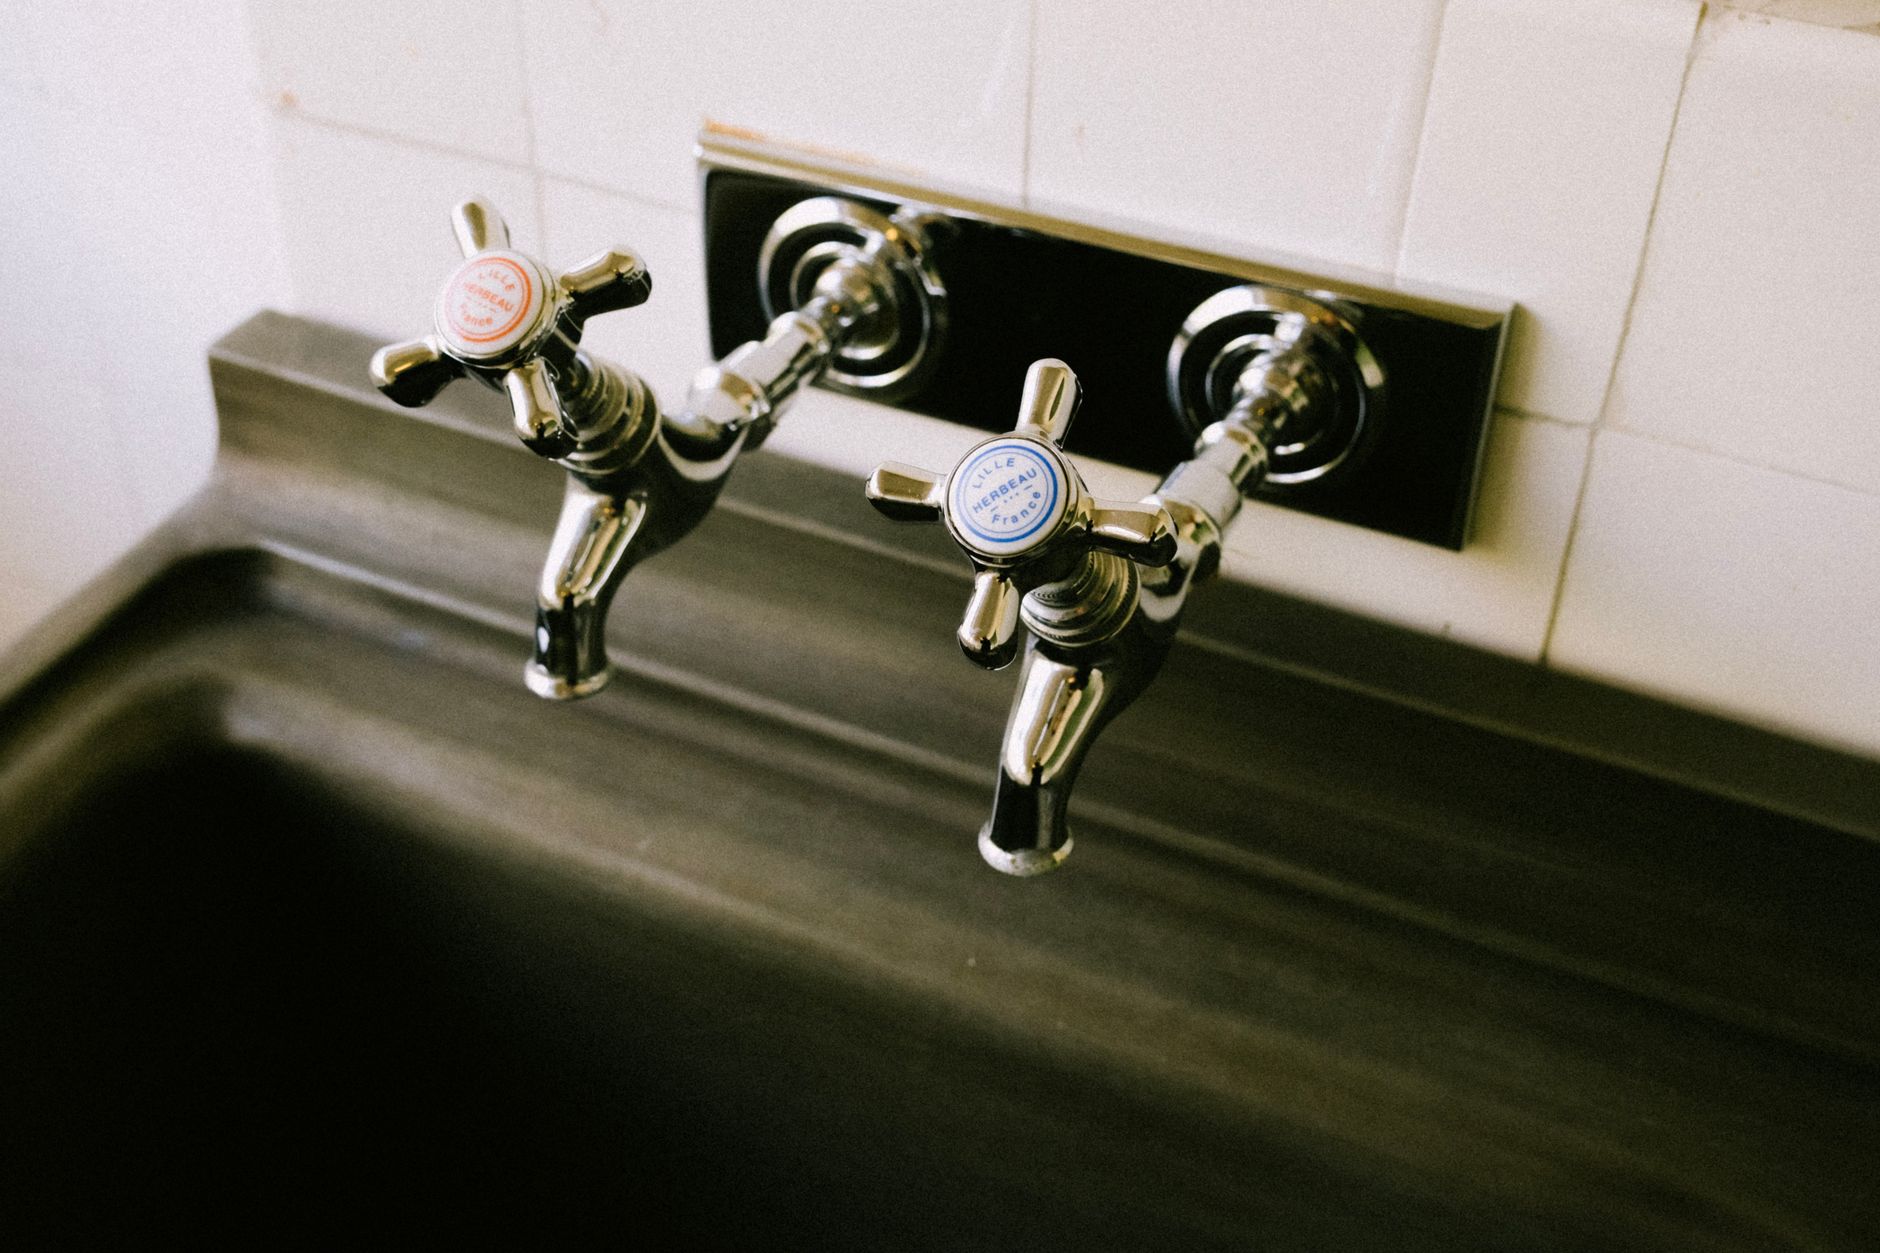
Remove the retaining ring and cartridge
Under the handle you will see a metal or plastic retaining ring. Unscrew it, then grip the cartridge and pull it out. If it is stuck, wiggle it gently with pliers. Do not force it, it will come.
Match the new cartridge
Take the old cartridge to the hardware store or match it by brand and model. Most are standard sizes. Get the exact match and the new one drops right in. Note which way the tabs point before you remove the old one.
Reassemble in reverse
Push the new cartridge in the same position, tighten the retaining ring, put the handle back on, and turn the water on slowly. Check for leaks at the base. Tighten the ring a little more if it weeps.
Why cartridges wear out
Every time you move the handle, the cartridge slides and wears. Hard water makes it worse. Replace it every few years even if it is not leaking, and your faucet will last much longer.
My faucet is silent now, and the drip stopped the moment the new cartridge went in. The hardest part was kneeling under the sink, not the repair itself.
📋 Quick Summary: Fix a dripping single handle faucet by shutting off the water and swapping the cartridge, a cheap DIY.