How to Replace a Bathroom Fan with a Quieter Model
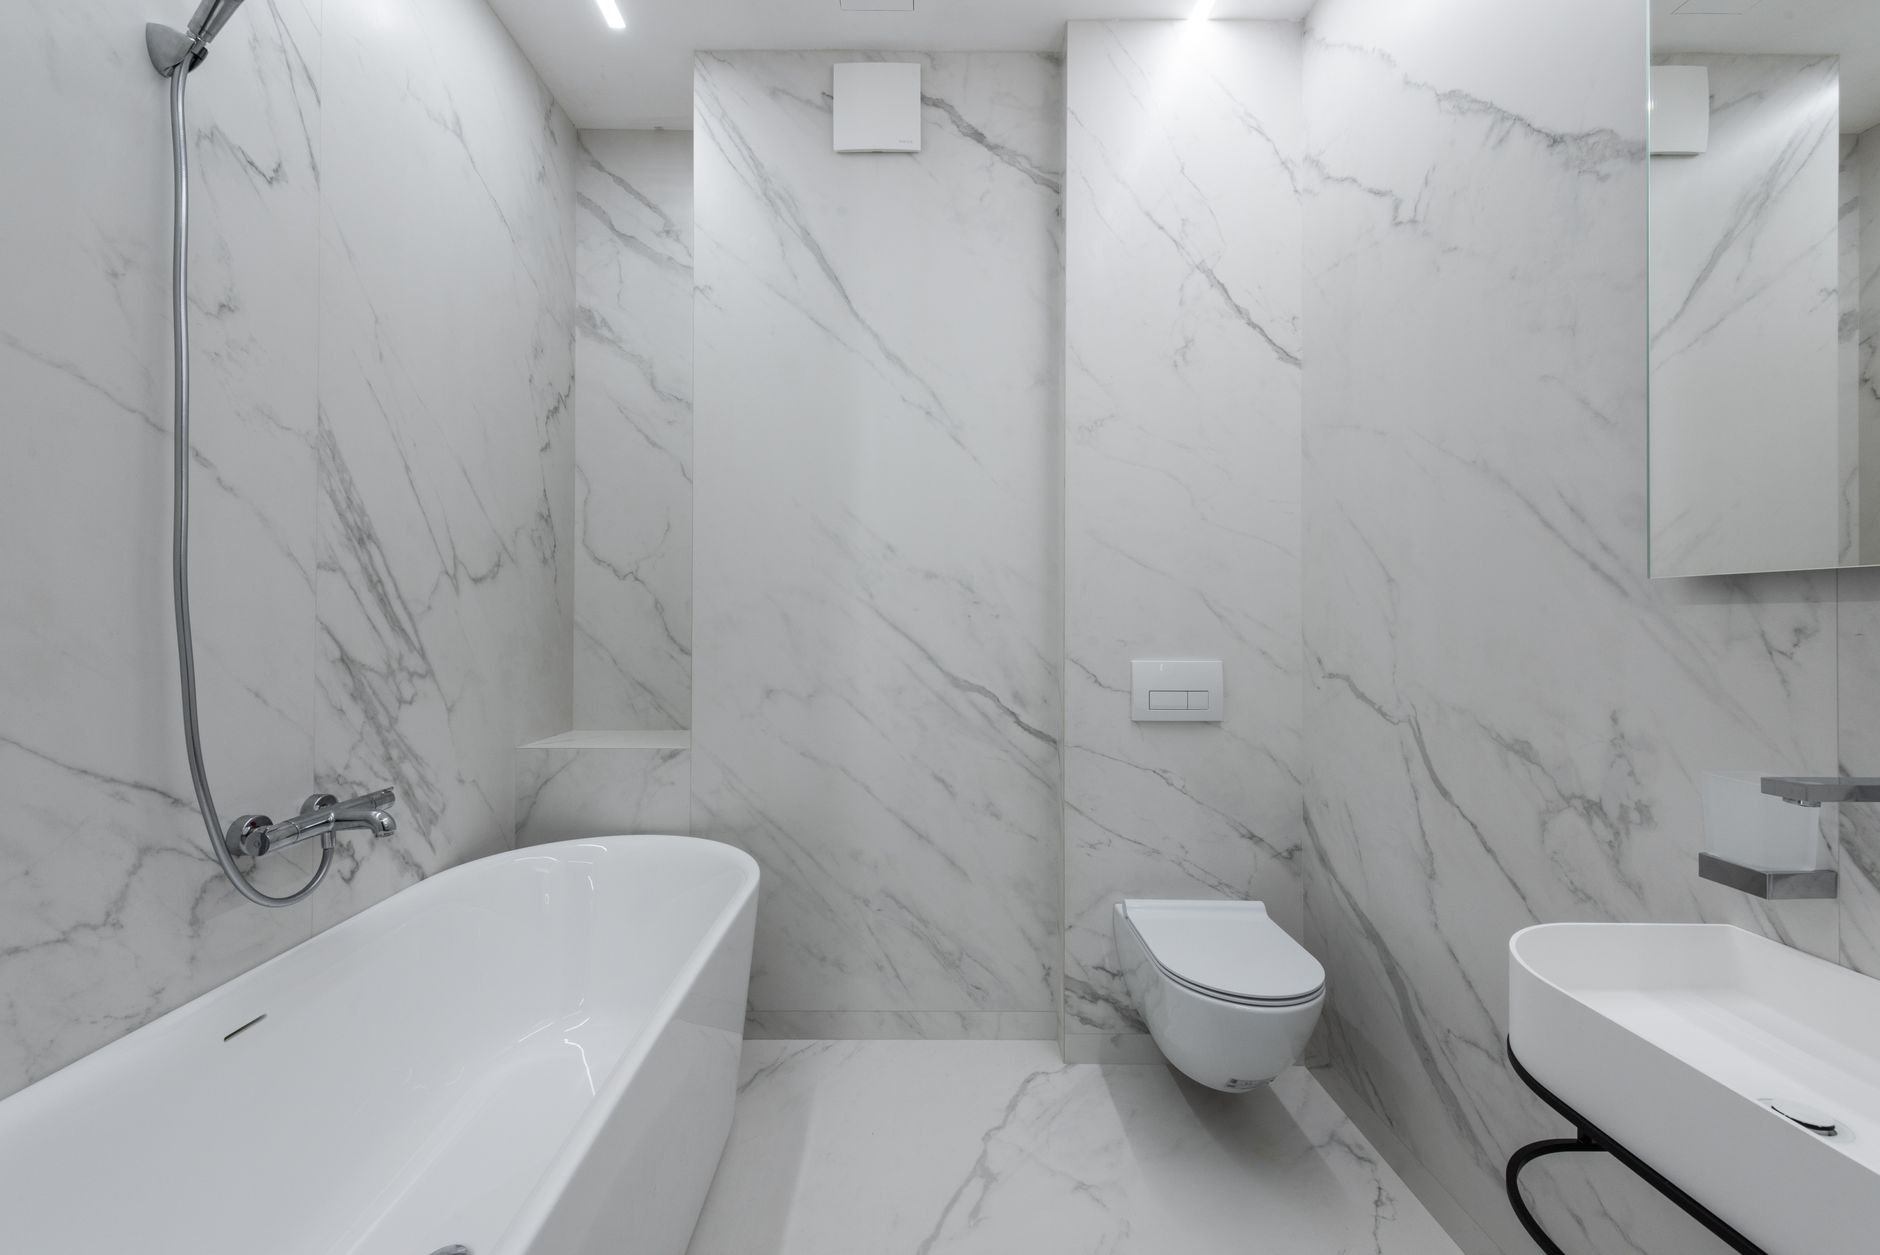
The bathroom fan in my house sounded like a lawnmower stuck in a closet. It ran loud, vibrated the ceiling, and, I found out later, was doing almost no actual venting. I lived with it for two years because I assumed replacing a fan meant rewiring and drywall work.
It is a two hour job you can do with a screwdriver and a ladder, and the difference is honestly shocking.
Buy the Right Replacement
Measure your opening first. Bathroom fans come in standard sizes, mostly four inch and six inch ducts, and the housing width matters. I measured mine, found a quiet model rated around 1.0 sones or less, and checked the CFM rating against my bathroom size.
A 50 to 80 CFM fan handles most bathrooms up to about eighty square feet.
Turn Off the Power and Remove the Old Fan
Flip the breaker for the bathroom circuit before you touch anything. Then:
- Remove the cover grille and the fan motor assembly
- Disconnect the wiring, noting which wires go where
- Unscrew the housing from the ceiling joists
- Pull the housing out and disconnect the duct
Take a photo of the wiring before you disconnect it. I did, and it saved me from guessing later.
Install the New Fan
Slide the new housing into the opening, screw it to the joists, and reconnect the wiring using the same connections you photographed. Attach the duct and seal the joint with foil tape, not duct tape, which dries out and falls off.
Test Before You Button Up
Turn the breaker back on and test the fan before you clip the grille on. Check that it runs quiet, that air actually moves, and that there is no rattling.
My new fan cost about sixty dollars. It is quiet enough that I sometimes leave it on by accident, which is the best possible review for a bathroom fan.
📋 Quick Summary: Measure the opening, pick a low-sone fan, kill the power, photograph the wiring, and swap the housing in about two hours.