The Painters Tape Trick for Perfectly Straight Caulk Lines Every Time
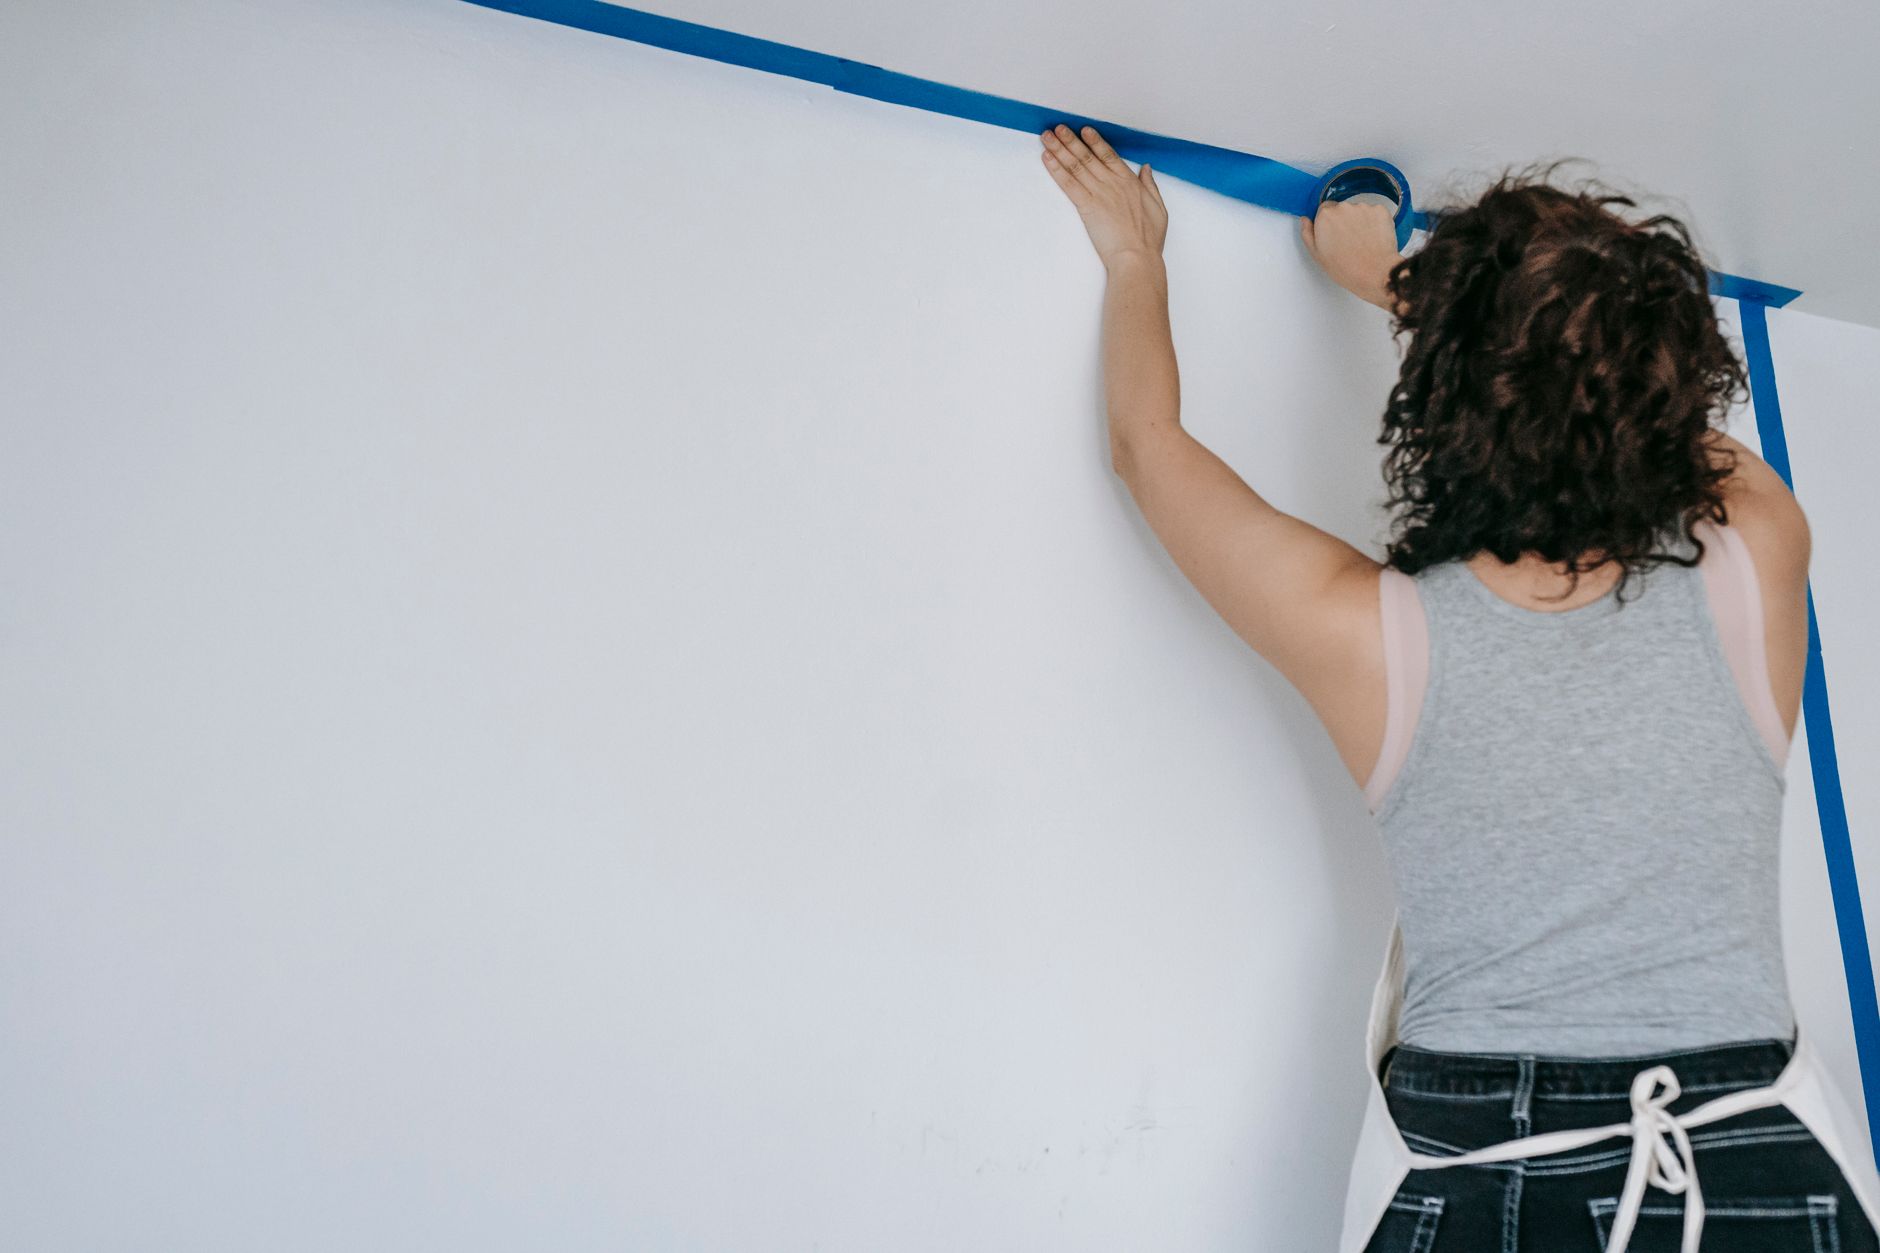
My first caulk job looked like a toddler had squeezed the tube with both fists. Thick in some spots, thin in others, smeared across the tile because I tried to smooth it with my finger and just made everything worse. The caulk line was doing the exact opposite of what caulk is supposed to do — it was drawing attention to the joint instead of hiding it.
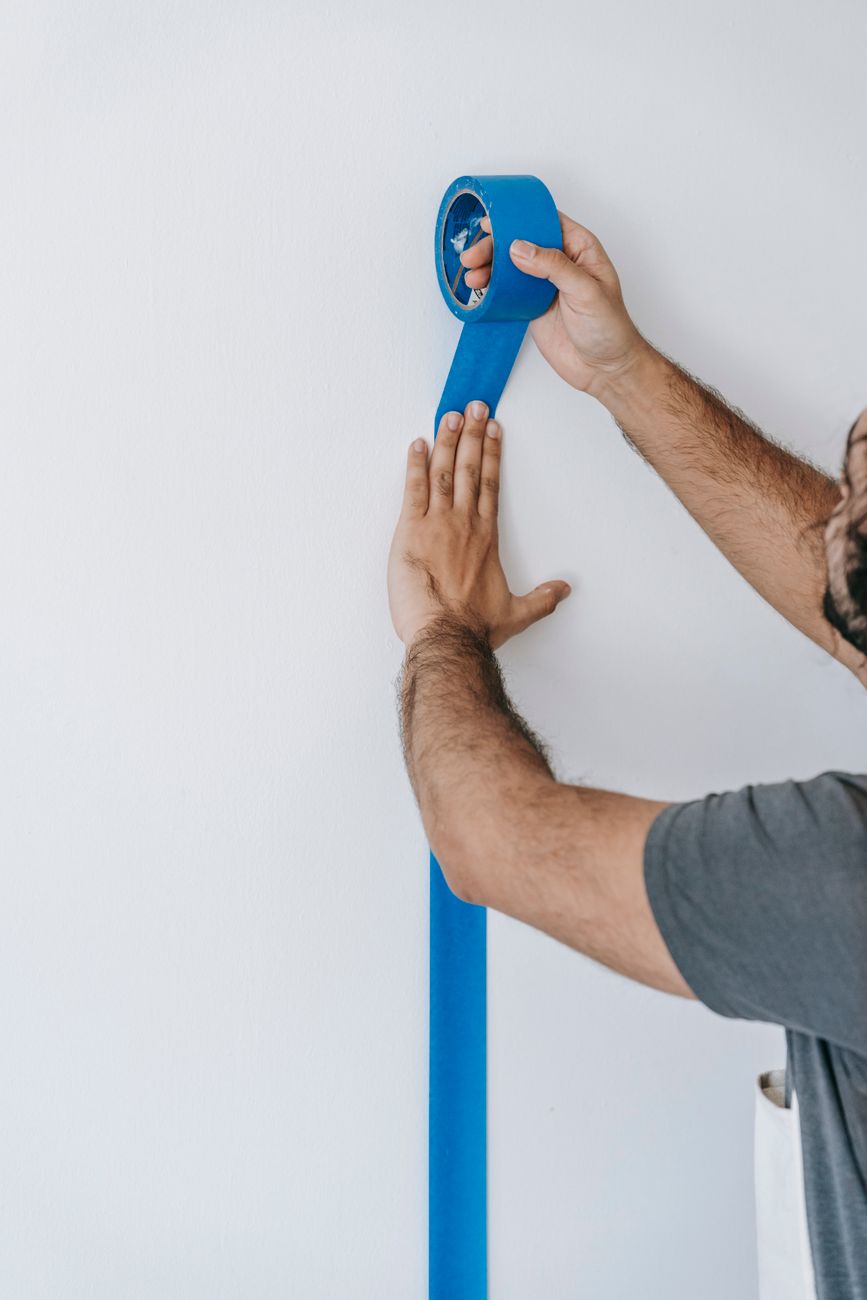
I watched about six YouTube videos and discovered the secret: painter’s tape.
The Tape Method
- Apply painter’s tape on both sides of the joint — one strip above, one strip below. Leave a gap exactly the width you want your caulk line to be. For most tubs and countertops, that is about 1/8 inch.
- Press the tape down firmly along the inside edge. The edge closest to the gap is the one that matters — that is your caulk line boundary.
- Apply the caulk. Run a smooth continuous bead along the gap. Do not worry about it getting on the tape — that is what the tape is for.
- Smooth with a wet finger in one continuous pass. Wipe excess on a paper towel.
- Remove the tape immediately — do not wait for the caulk to dry or you will pull the caulk up with the tape. Pull at a 45-degree angle away from the joint.
The result: a perfectly straight caulk line with crisp edges. It looks professional. It took me maybe ten minutes total the first time.
Why Remove the Tape Right Away?
Caulk skins over in about 5-10 minutes. If the tape is still on when the surface skins, pulling the tape tears the caulk. You end up with a ragged edge that looks worse than if you had never used tape at all. Caulk, smooth, peel — do it all in one go.
What Caulk to Use
For bathrooms: 100% silicone. It is waterproof, flexible, and resists mold. The downside is it is harder to tool and cannot be painted. For baseboards and trim that will be painted: paintable acrylic latex caulk. For kitchen counters: silicone or a siliconized acrylic. Read the label — “Kitchen & Bath” means mold-resistant.
📋 Quick Summary: Apply painter’s tape on both sides of the joint, caulk, smooth with a wet finger, and remove the tape immediately — before the caulk skins over. Perfectly straight lines in ten minutes.