I Painted Trim Without Tape — And It Looks Professional
Taping trim takes forever. The tape costs money. Half the time, paint bleeds under it anyway and you end up with wobbly lines that look worse than if you had just been careful with a brush.
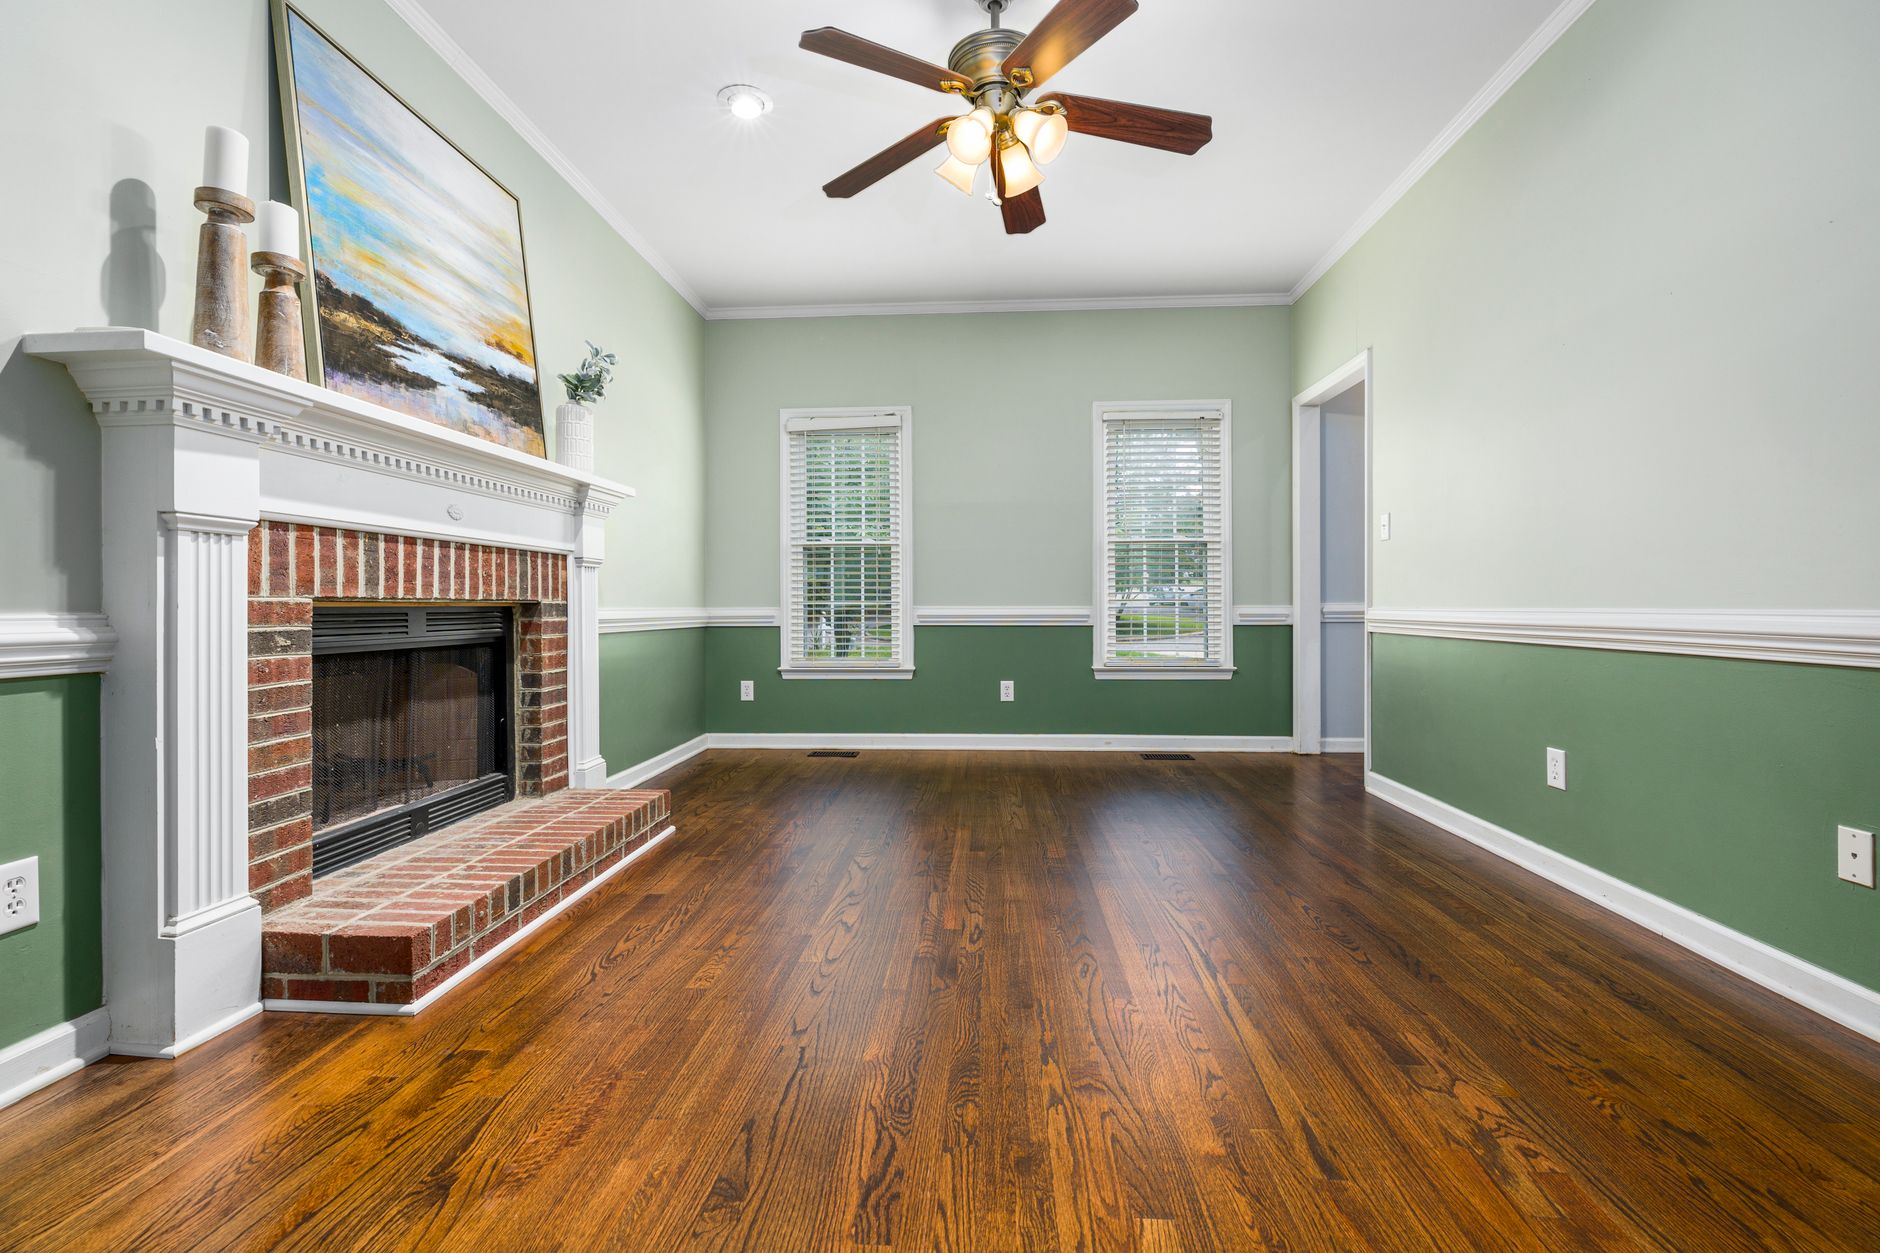
I painted my entire living room trim freehand last month. No tape. It took less time, looked cleaner, and I saved about fifteen dollars in painter’s tape. Here is the technique.
The Brush Matters More Than Your Hand
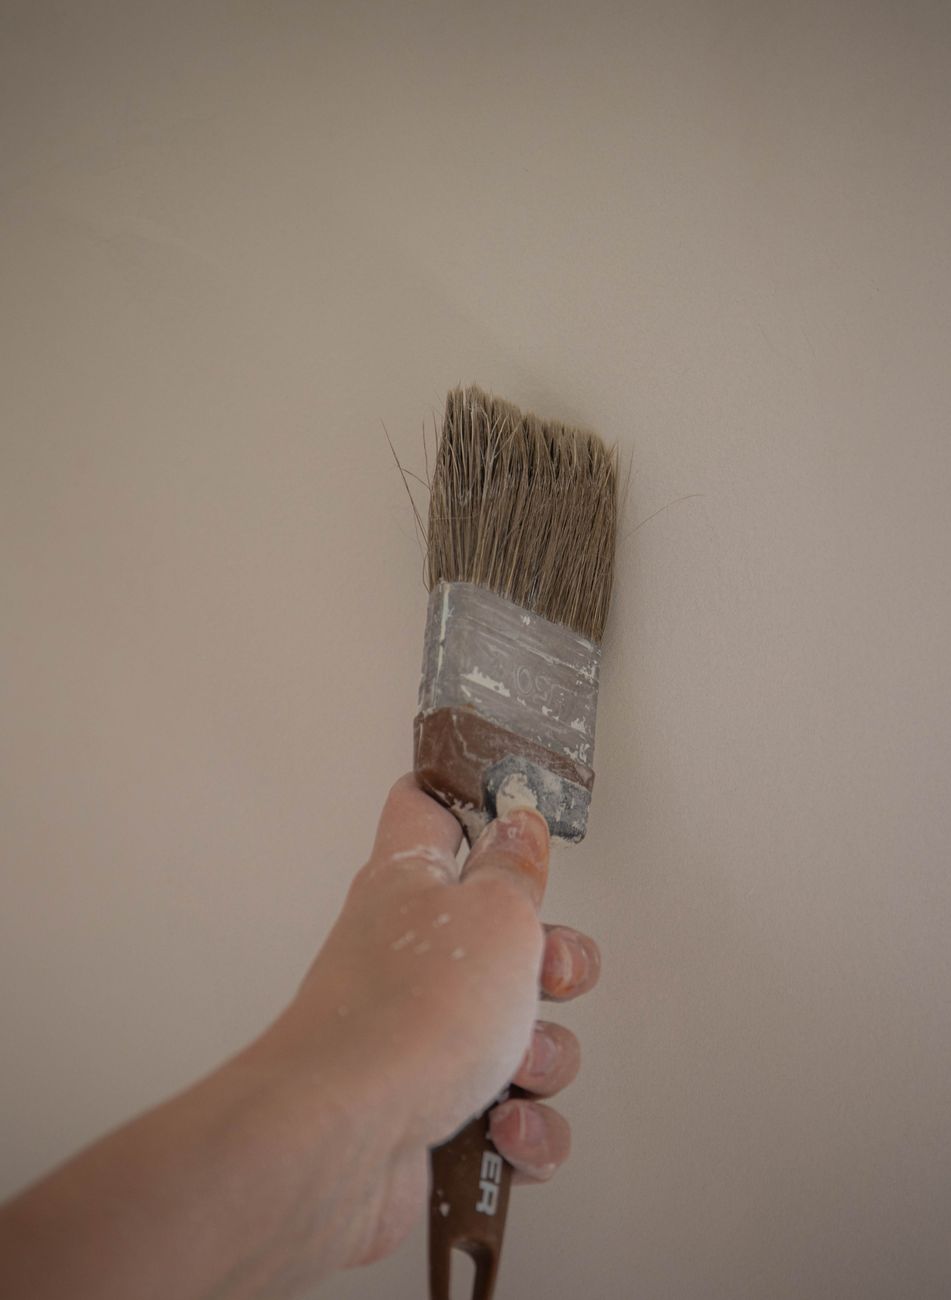
Buy a 2-inch angled sash brush. Not a flat brush. Not the cheapest brush in the aisle. A good angled sash brush has bristles cut at a slant — the tip of the angle is what gives you a clean line. I use a Purdy or Wooster brush, about twelve dollars, and I have had the same one for three years because I clean it properly.
A cheap brush has bristles that splay out in every direction. You cannot cut a clean line with bristles pointing eight different ways. Spend the twelve dollars.
The Loading Technique
Dip only the bottom third of the bristles into the paint. Tap — do not wipe — the bristles against the side of the can. You want the brush loaded but not dripping. Overloaded brush = paint squeezing out when you press it against the wall = blobs on your trim.
The Actual Motion
- Start about a quarter inch away from the trim edge. Do not try to paint right on the line on your first stroke.
- Press gently so the bristles fan out slightly. The angled tip should be pointing toward the trim.
- Pull the brush in a long, steady stroke. Do not stop mid-stroke. Do not go back and forth like you are coloring in a shape.
- As you pull, guide the tip closer to the edge. The bristles will naturally flex and create a clean line.
- If you wobble, stop. Let the paint dry. You can scrape off a small mistake with a fingernail or a 5-in-1 tool later. Trying to fix wet paint makes it worse.
What Nobody Tells You
Paint consistency matters. If your paint is too thick, the brush drags and skips. If it is too thin, it drips. Add a few drops of water (for latex) and stir well. It should flow off the brush smoothly, not glop.
Lighting is everything. Shine a work light or flashlight along the edge you are painting. The shadows will show you exactly where the brush tip is relative to the trim. I paint with a headlamp now — it looks ridiculous but I have not cut into a ceiling since.
I am never taping trim again. This is faster, cheaper, and honestly looks better once you get the feel for it.
📋 Quick Summary: Use a quality 2-inch angled sash brush. Load only the bottom third. Start a quarter inch from the edge, pull a long steady stroke, and guide the tip in. Shine a light along the edge to see what you are doing.