The Trick to Painting Furniture So It Looks Professional Not Chalky
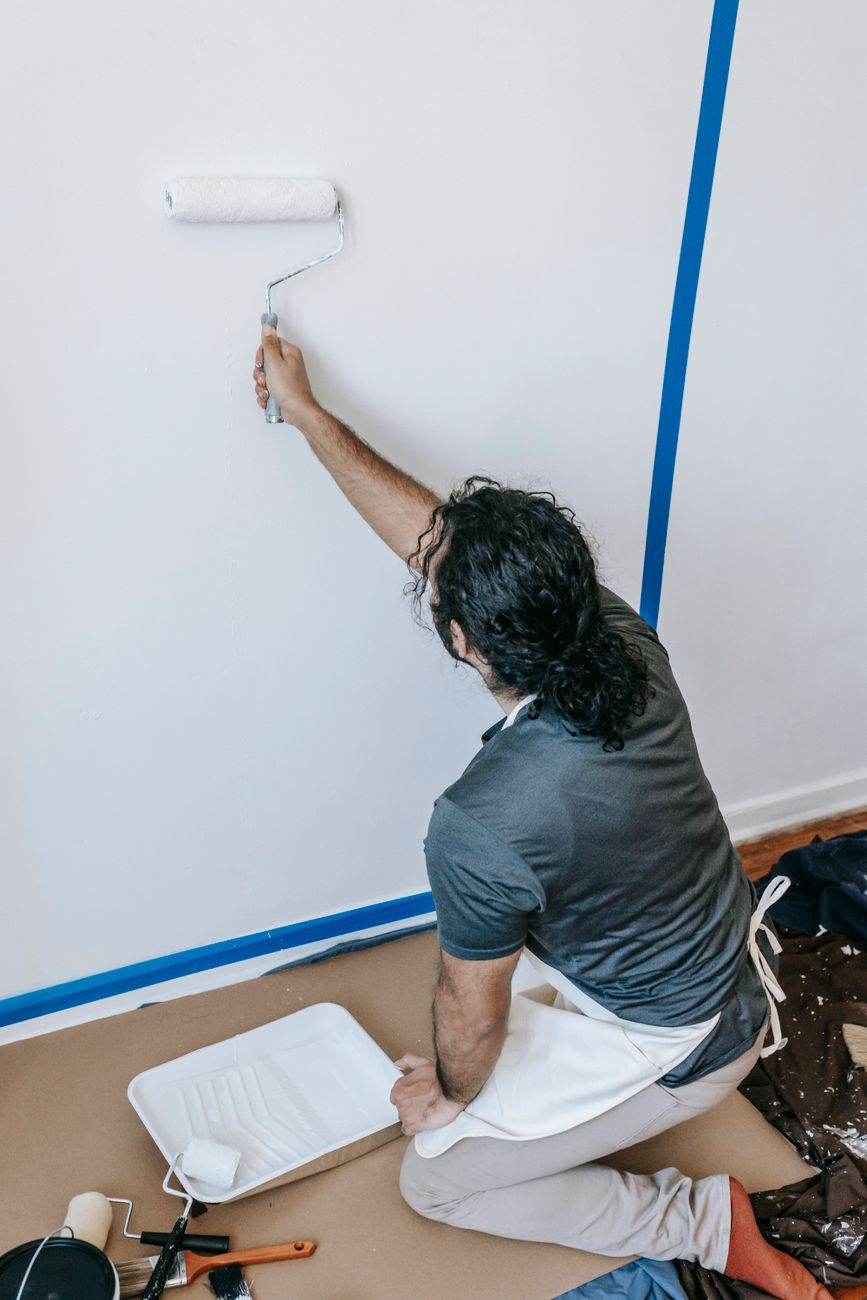
The first piece of furniture I ever painted was a nightstand I found on the curb. I sanded it for maybe three minutes, slapped on a coat of white paint, and waited for it to look like something from a design catalog.
It looked like a middle school art project. Brush strokes everywhere. The surface felt rough, almost chalky. In certain light you could see the original brown wood showing through in streaks. I used that nightstand for two years and every time I looked at it I felt a tiny flicker of shame.
The second piece — a dresser I bought for twenty dollars at a thrift store — I did differently. Totally different result. Here is what changed.
The prep step everyone tries to skip
Sand properly. Not a quick once-over. Start with 120-grit sandpaper to rough up the old finish, then move to 220-grit to smooth it out. The goal is not to strip the old paint — just to give the new paint a surface to grip.
After sanding, wipe everything down with a tack cloth or a damp rag. If you paint over sawdust, the finish will be gritty. I know because I did it. The nightstand felt like fine sandpaper for two years.
Prime or regret it
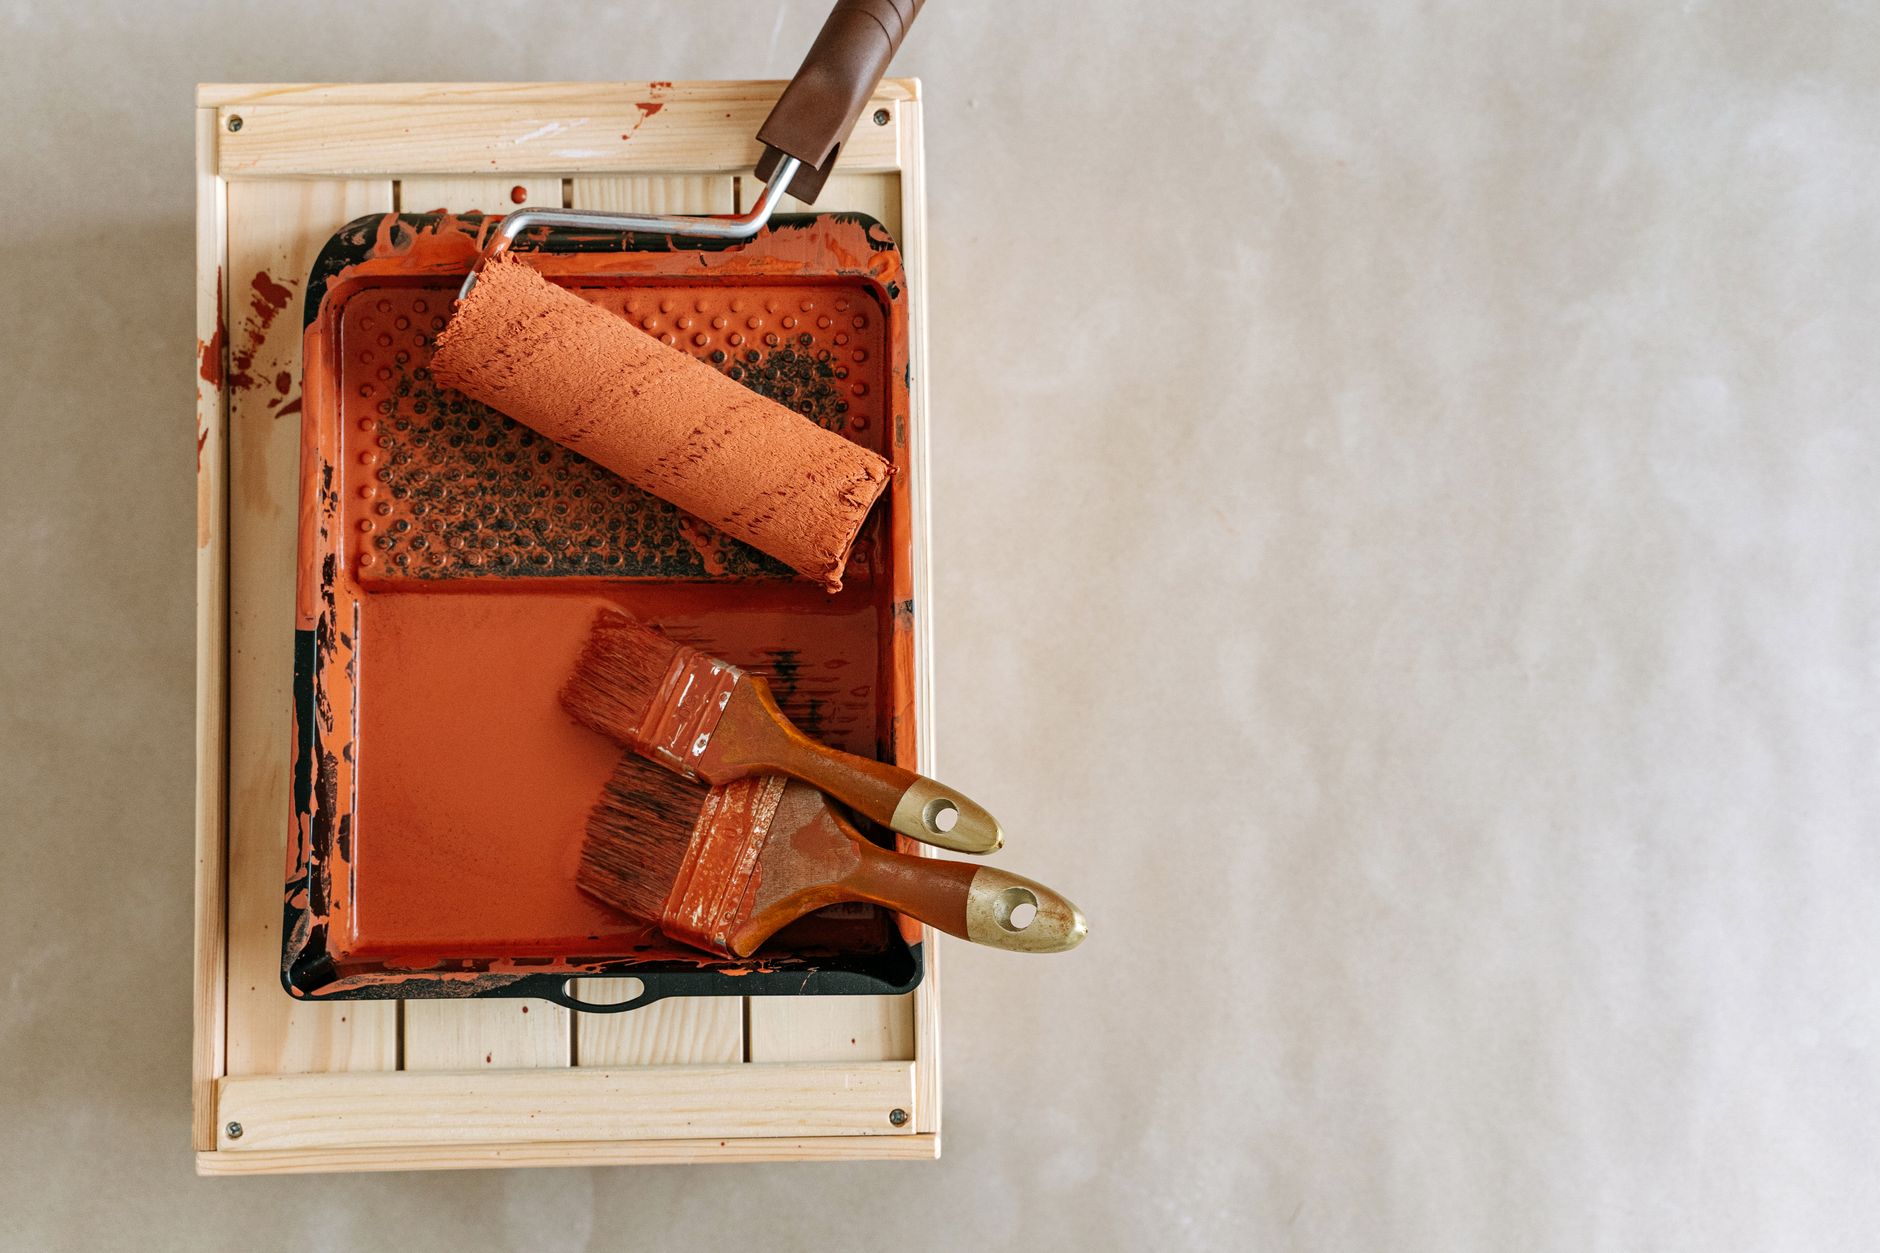
On my first attempt I skipped primer because the paint can said “paint and primer in one.” That is marketing. Primer does two things that paint alone cannot: it blocks stains and tannins from bleeding through, and it gives paint a uniform surface to adhere to.
Use a bonding primer — it is designed for slick surfaces like laminate and old varnish. One coat, let it dry completely. On the dresser I waited a full four hours even though the can said one hour. Patience pays.
Brush technique that actually matters
Do not load the brush like you are buttering toast. Dip only the bottom third of the bristles into the paint. Tap it against the side of the can — do not wipe, that removes too much.
Apply in long, smooth strokes in one direction. Overlap each stroke by about fifty percent. Then — and this is the part nobody told me — lay off: hold the brush at a low angle and very lightly drag it across the wet paint from one end to the other in a single stroke. This smooths out brush marks. One stroke per section, do not go back over it.
On the dresser I did one coat of primer, two thin coats of paint (sanding lightly with 320-grit between coats), and a water-based polycrylic topcoat for durability. The finish is smooth enough that people have asked me where I bought it.
Spray versus brush
If you have outdoor space and a respirator, a paint sprayer gives the smoothest finish of all. But for most apartment dwellers, a high-quality short-nap foam roller plus the lay-off brush technique gets you about eighty percent of the way there. Do the large flat surfaces with the roller and the edges with the brush.
📋 Quick Summary: Sand 120 then 220 grit, apply bonding primer, two thin coats of paint, lay off brush strokes, polycrylic topcoat. Skip the primer and you will see it in the final result.