The Simple Way to Winterize Your Outdoor Faucets
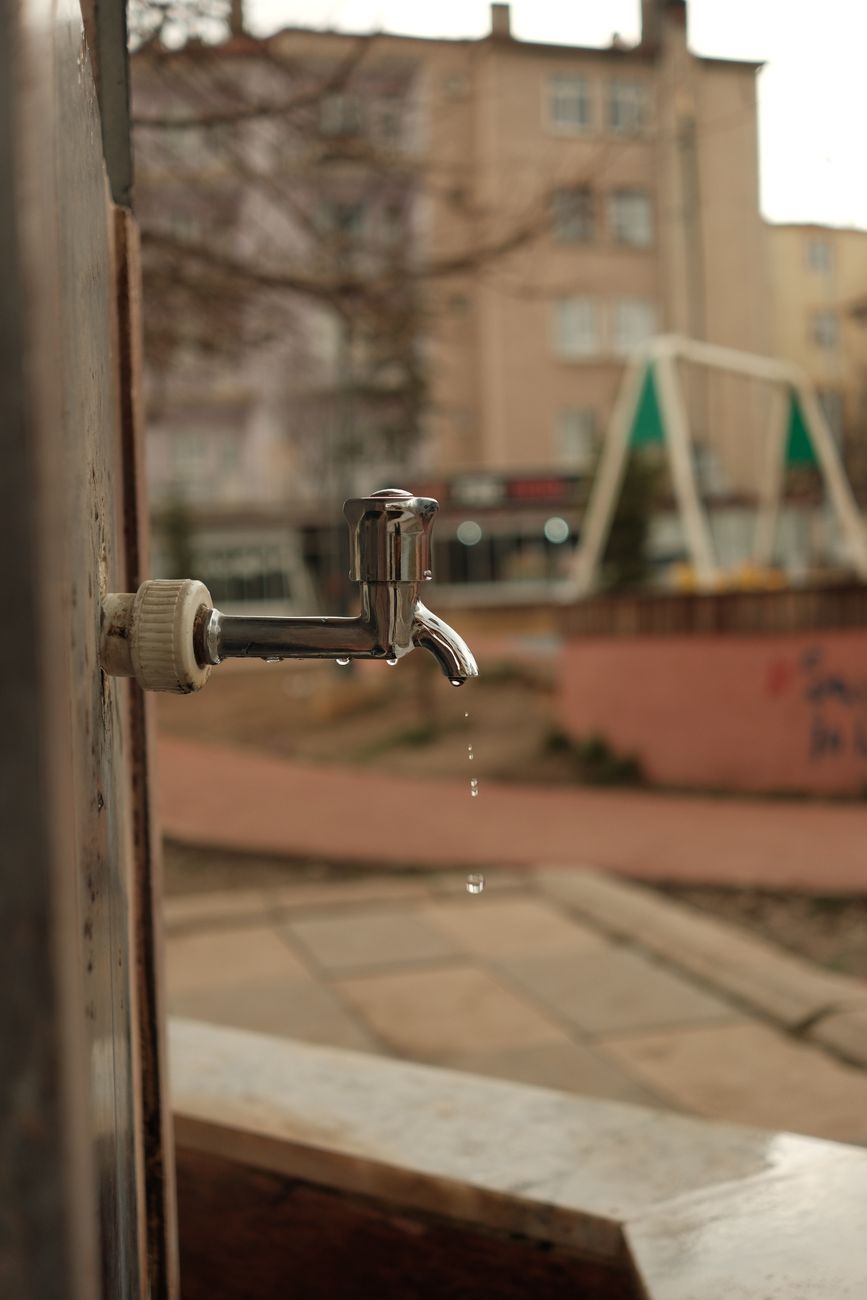
My neighbor, a retired plumber, told me he makes a small fortune every spring fixing frozen pipes for people who forgot one fifteen minute chore in the fall. The freeze happens in winter, but the repair bill shows up in April.
Winterizing an outdoor faucet is boring, quick, and way cheaper than a burst pipe. Here is what he showed me.
The whole job in five steps
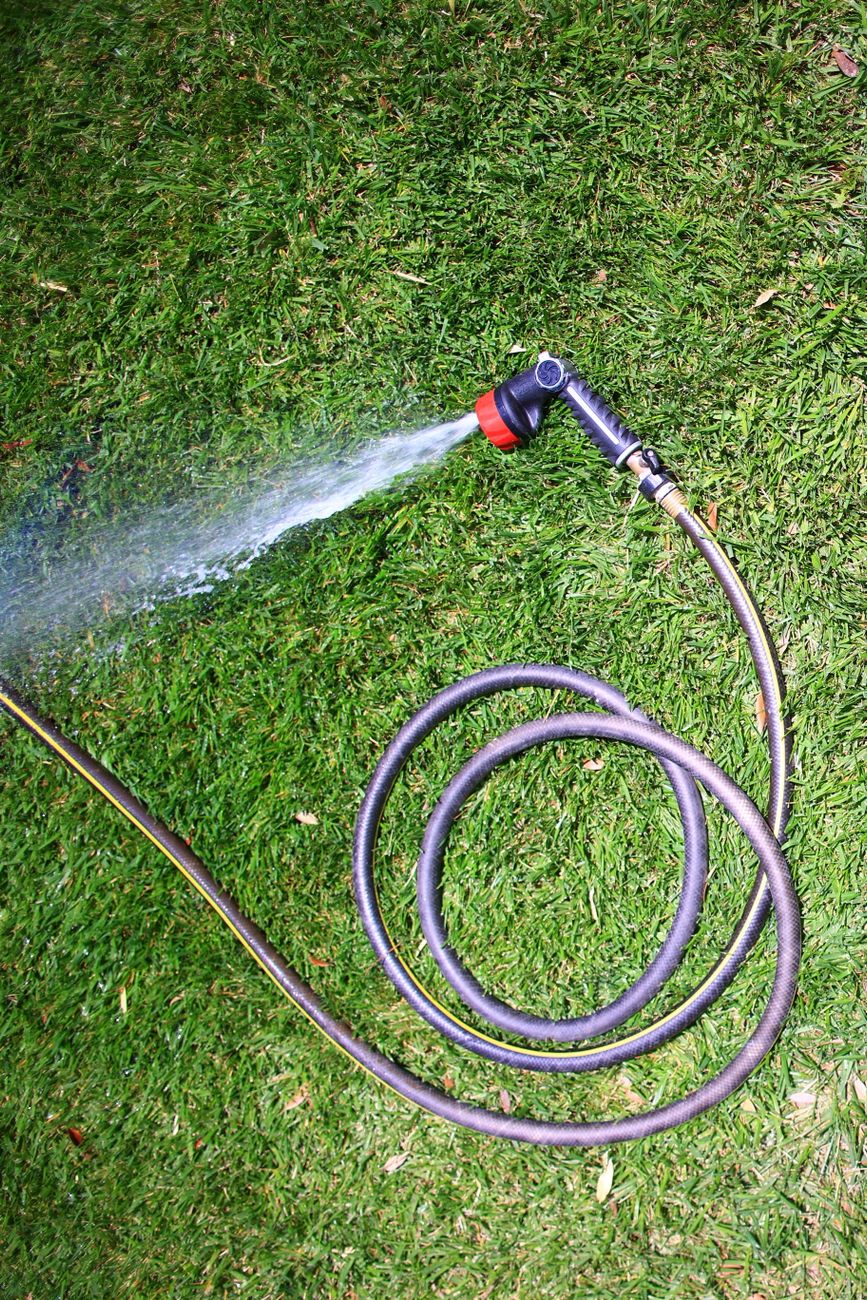
- Disconnect every hose and drain it out completely.
- Shut off the indoor valve that feeds the outdoor faucet, usually in the basement or a crawl space.
- Open the outdoor spigot and leave it open so any trapped water can escape.
- Drain the shutoff valve if it has a little cap for that.
- Cover the outdoor spigot with an insulated cover, or wrap it in a towel and a plastic bag.
The step everyone skips is leaving the spigot open. Water trapped inside is what freezes, expands, and cracks the pipe. Leaving it open gives that water somewhere to go.
Why this matters more than you think
A burst outdoor pipe does not just ruin the faucet. If the pipe runs through an interior wall, the water can leak inside your house, and then you are dealing with drywall and mold on top of the plumbing bill.
My first winter in this house I only disconnected the hose and called it done. The faucet survived by luck. The plumber neighbor looked at it and said the only reason it did not burst was that the previous owner had already installed a frost free spigot.
Do not rely on luck. Fifteen minutes on a mild fall afternoon beats a four figure repair in the spring.
📋 Quick Summary: Disconnect and drain hoses, shut off the indoor valve, leave the outdoor spigot open, and cover it. Trapped water is what freezes and bursts the pipe.