The Best Way to Caulk a Bathtub So It Stays White for Years
The caulk around my bathtub turned black within six months of moving in. Not dirty black — mold black. I scraped it out and re-caulked with the cheapest tube I could find at the hardware store. Three months later, black again. I assumed it was my bathroom’s ventilation. It was not. It was how I was caulking.
Properly applied caulk should last five to ten years without molding. If yours is failing inside a year, one of these steps is missing.
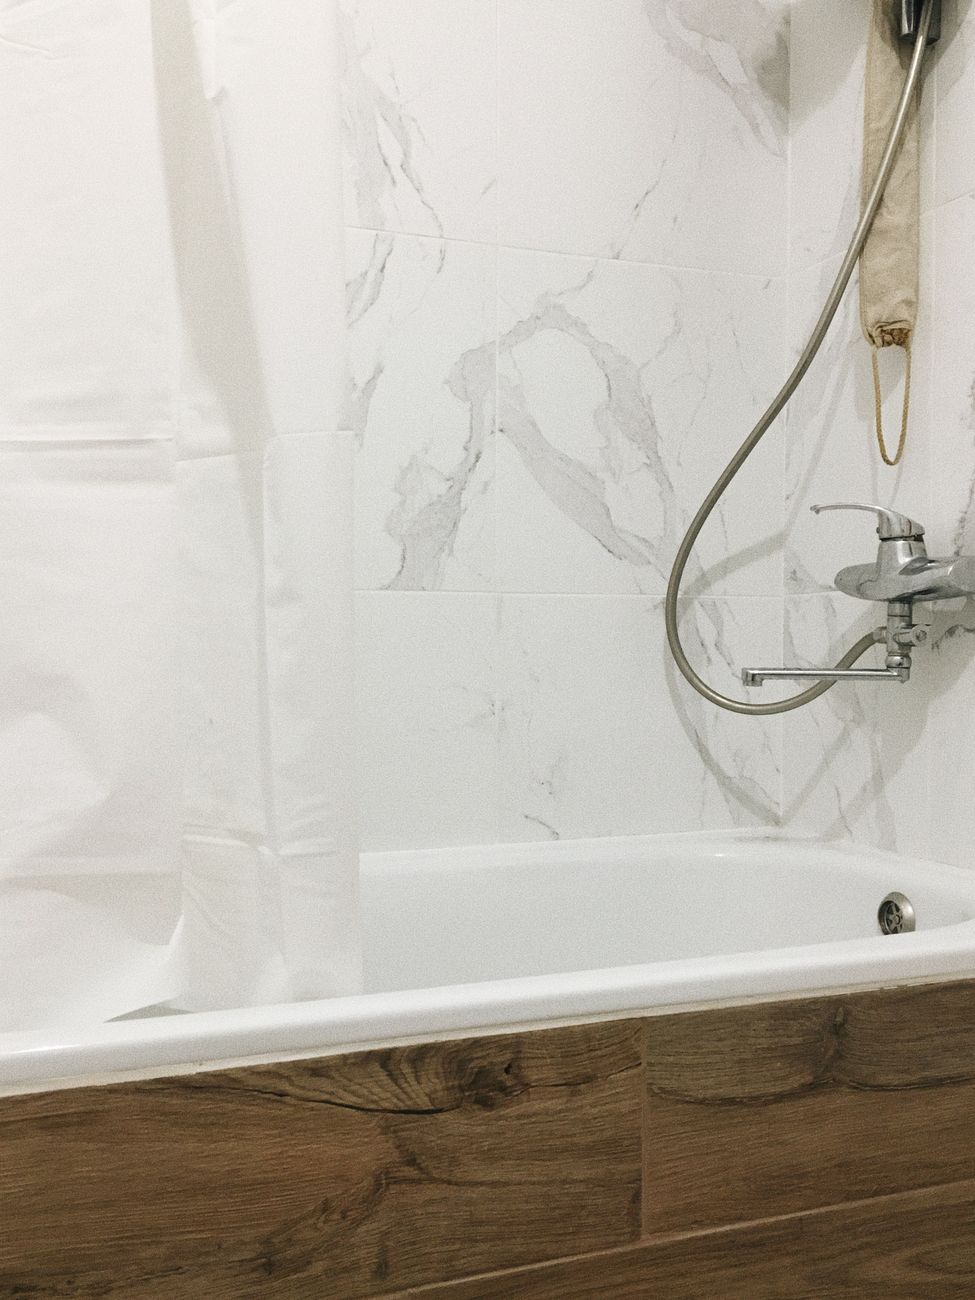
Remove Every Trace of Old Caulk
New caulk will not stick to old caulk. Not even a little. Use a utility knife and a caulk removal tool (a five-dollar plastic scraper with a metal tip) to get every last bit out. Then scrub the joint with rubbing alcohol on a rag — this removes soap scum, body oil, and invisible residue that prevents adhesion. Let it dry completely. Any moisture in the joint when you apply new caulk will cause it to fail within weeks.
Fill the Tub Before Caulking
This is the trick that changed everything for me. Fill the bathtub with water before you caulk and leave it full while the caulk cures (24 hours). A full tub weighs hundreds of pounds and pulls the tub down slightly, opening the joint to its maximum width. If you caulk with the tub empty, the caulk will stretch and tear the first time someone takes a bath. This is the number one reason bathtub caulk fails — and almost nobody does it.
Use 100% Silicone, Not Acrylic
Acrylic caulk is easier to apply and clean up, but it will mold in a bathroom. Buy 100% silicone caulk labeled “kitchen and bath” with mold inhibitors. Yes, it is harder to tool. Yes, you need mineral spirits to clean it up. Yes, it is worth it. I switched from acrylic to silicone and the difference in longevity was night and day — the silicone still looks white two years later while the acrylic failed in six months.
Tool the Bead With a Caulk Tool or Your Finger
After applying a smooth bead, tool it — press the caulk into the joint for a concave profile that sheds water. A caulk finishing tool costs about three dollars and gives a consistent, professional curve. If you use your finger, dip it in a mixture of water and a drop of dish soap first so the caulk does not stick. Wipe away the excess immediately. Do not leave a thick ridge — it traps water and soap.
Wait 24 Hours Before Using the Shower
Read the tube — most silicone caulks say “water-ready in 30 minutes.” Ignore that. That is for splashes, not full shower use. Give it 24 hours to fully cure before running water on it. I took a shower after 12 hours once because the tube said “ready in 30 minutes” and the caulk peeled right off in sheets. A full day of curing makes all the difference.
📋 Quick Summary: Remove all old caulk, scrub with alcohol, dry completely. Fill the tub with water before caulking (keeps the joint open). Use 100% silicone with mold inhibitors. Tool the bead into a concave shape. Wait 24 hours to cure. Five years of white caulk starts with an hour of prep.