Pantry Organization Ideas That Look Like Pinterest
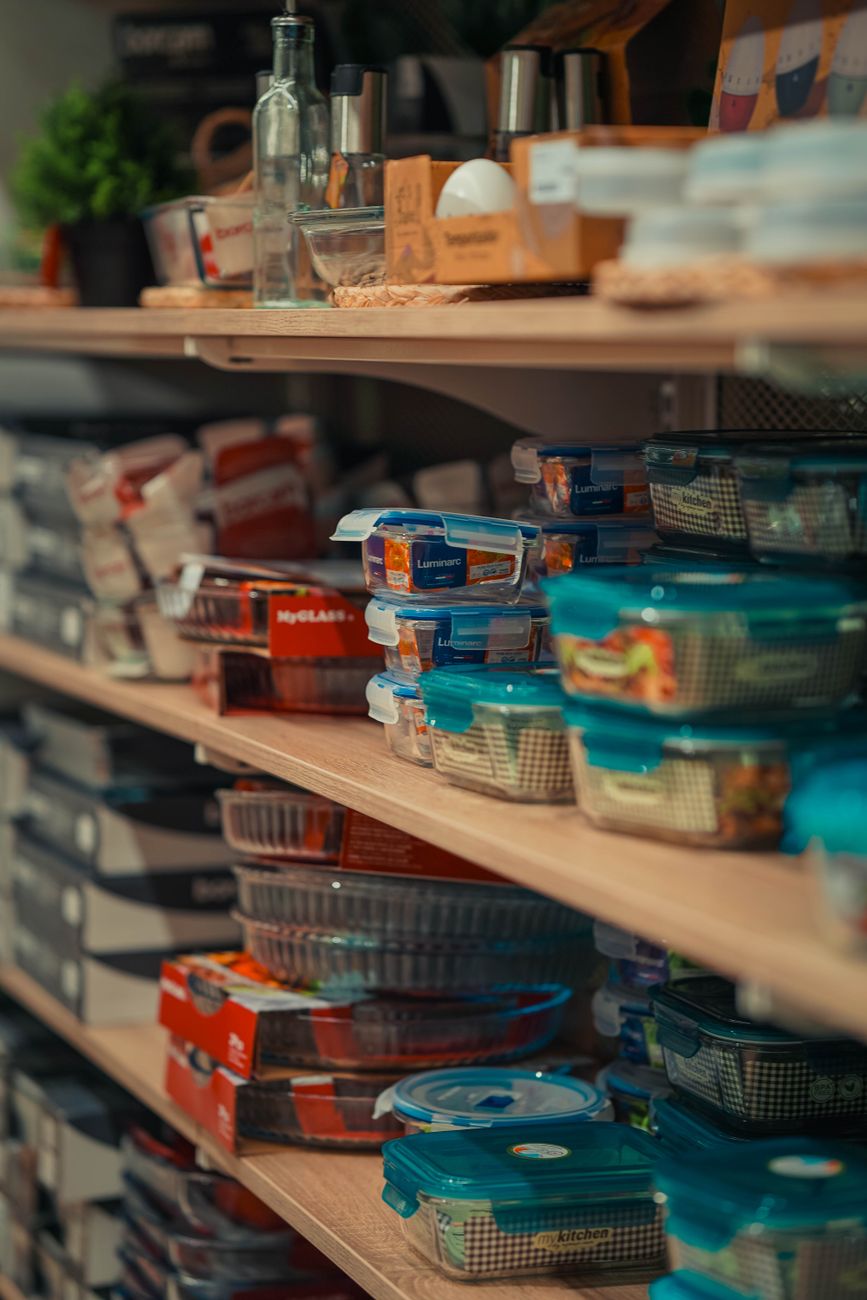
My pantry used to be where pasta went to die. Half-open boxes of spaghetti, bags of lentils I forgot I bought, three containers of the same spice because I could not see what was already in the back. Opening the door was a game of Jenga with snack bars.
I did not spend a fortune fixing it. I spent a Saturday and about sixty dollars. Here is what actually made a difference versus what just looked pretty in photos.
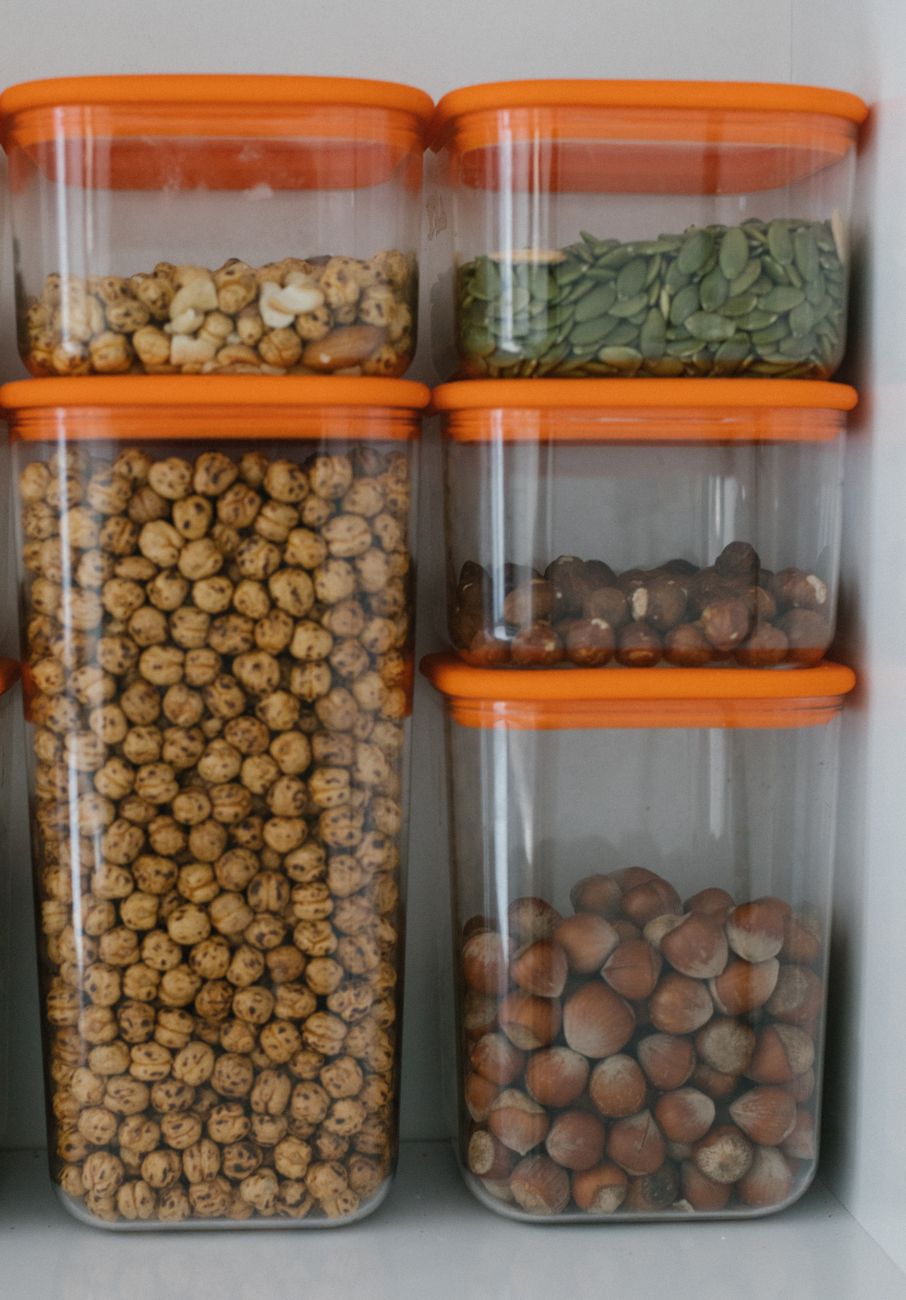
Decant everything into clear containers
This is the one thing that genuinely transforms a pantry. Clear, square containers not round, round wastes corner space stack neatly and let you see exactly what you have. Square containers use about 25 percent more shelf space than round ones of the same volume. I bought a set of twelve from a big box store for thirty dollars.
The key detail nobody mentions: label the bottom of the container, not the front. Write what it is and the expiration date on a piece of masking tape stuck to the underside. When the container is empty, you know what to buy. When it has been there forever, you know to toss it.
Zone your shelves
Group items by how you use them, not by what they are. My zones: breakfast (oats, cereal, pancake mix, syrup), baking (flour, sugar, chocolate chips, vanilla), dinner staples (pasta, rice, canned tomatoes, beans), snacks (crackers, granola bars, dried fruit), and oils and vinegars on the lowest shelf where drips do not cascade down onto everything.
The snack zone goes on a middle shelf at eye level. Not because of some psychological trick it is just the most accessible spot and snacks are what you grab most often. Baking ingredients go higher since you use them less frequently.
Risers and turntables
Cans disappear behind other cans. A tiered shelf riser lets you see three rows of cans at once back row elevated, middle row lower, front row on the shelf itself. Similarly, a lazy Susan turntable in a corner makes everything reachable with a spin. I put oils and vinegars on a turntable and can grab the soy sauce without moving the olive oil every single time.
The risers are cheap pressed metal ones from the kitchen organization aisle work fine. Ten dollars each. I have three.
What I would skip next time
I bought pretty matching baskets for potatoes and onions. They looked great for about a week. Then a forgotten potato liquified in the bottom basket and the smell taught me that produce needs airflow, not cute containers. Wire baskets or mesh bags only for anything that can rot.
I also went overboard with chalkboard labels. You will not rewrite “flour” every time you refill the container. A strip of masking tape and a sharpie takes three seconds and works just as well.
Quick Summary: Square clear containers, labels on the bottom, zone by use not by type, tiered risers for cans, and skip anything that looks good in photos but traps moisture or takes too long to maintain.