Organize Under the Bathroom Sink So Nothing Falls Over
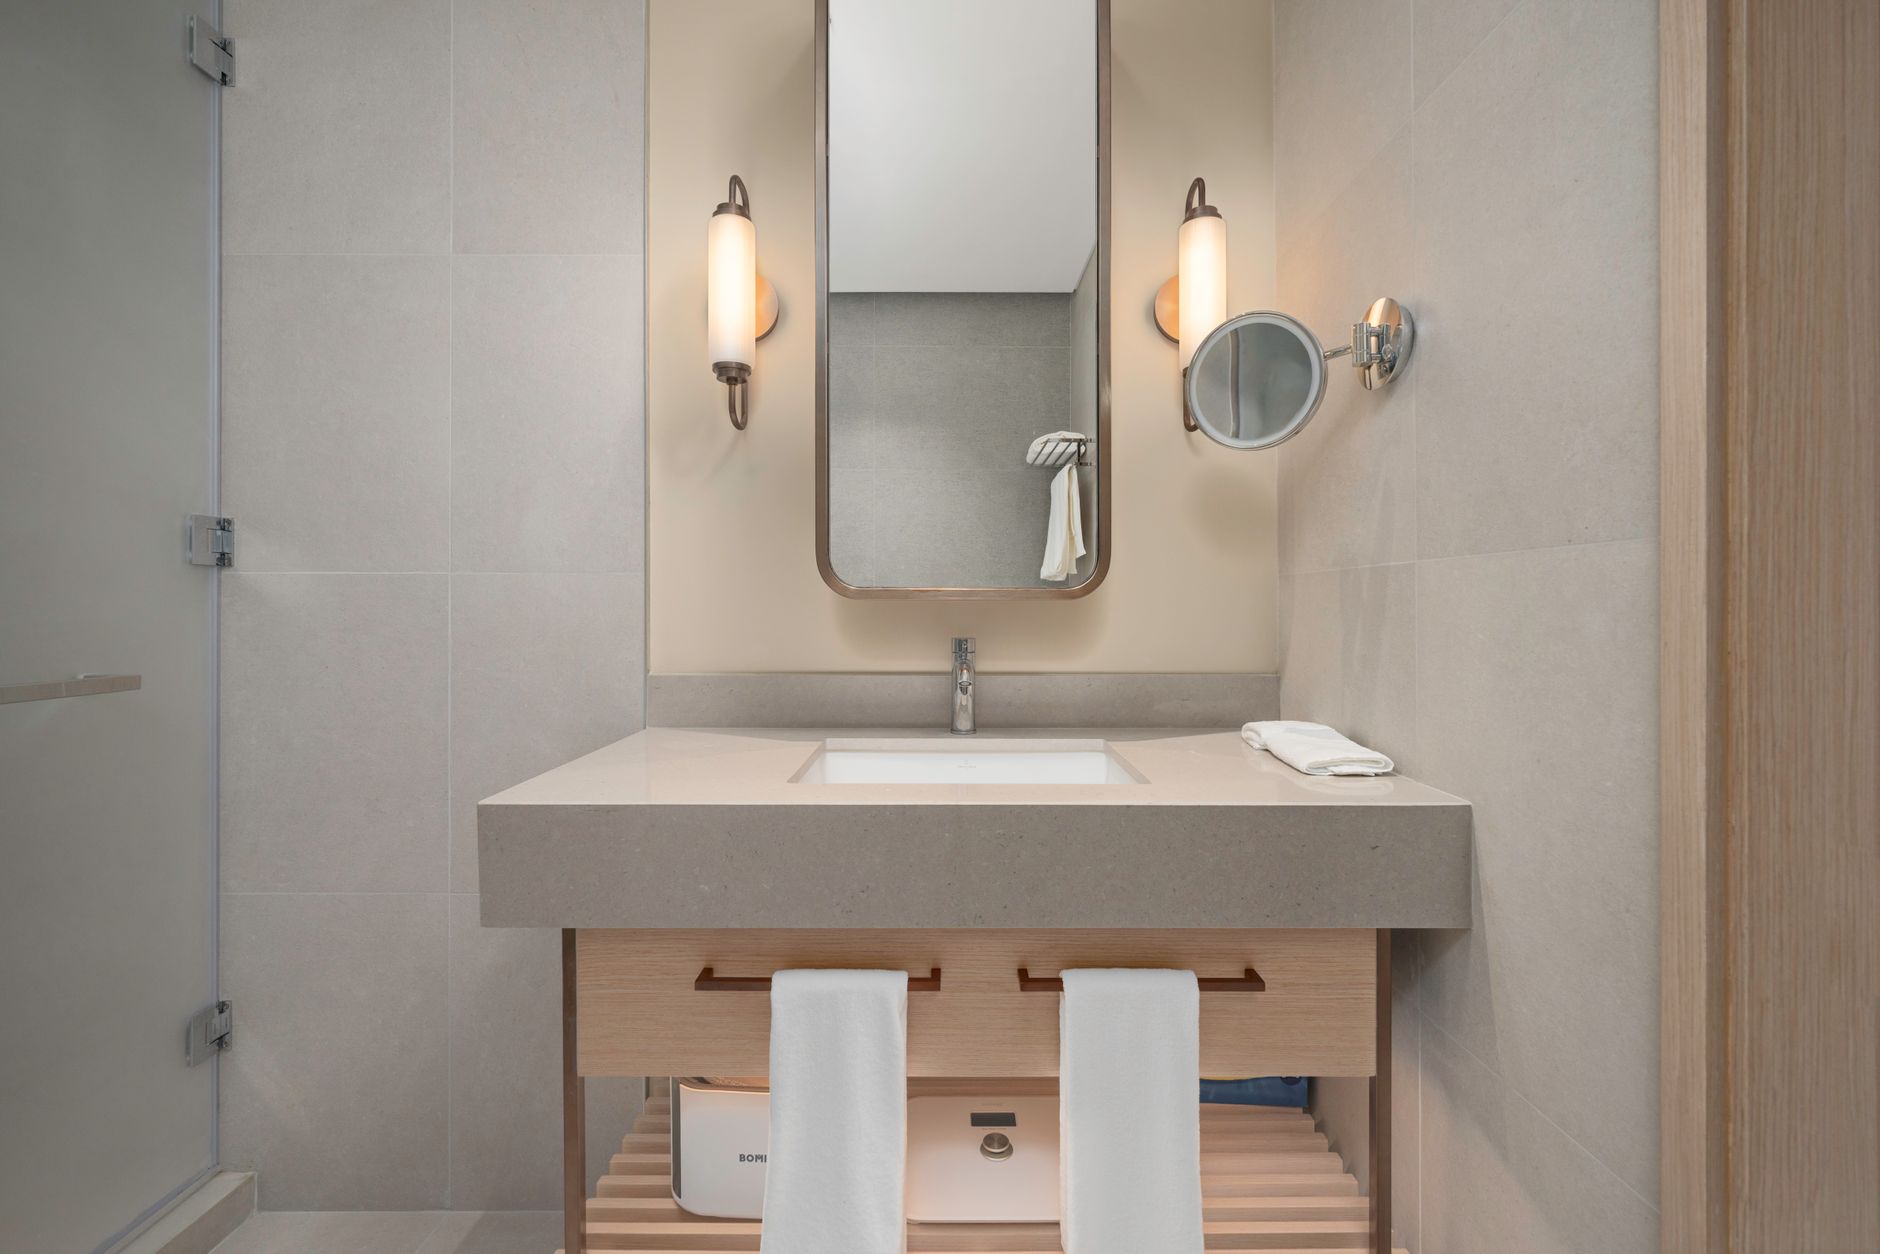
For two years, opening the cabinet under my bathroom sink was a gamble. Bottles would tumble out. The hairdryer cord would snag on something. I would shove everything back in, close the door fast, and pretend it was fine.
It was not fine. It took a single Saturday morning and about twelve dollars to fix permanently.
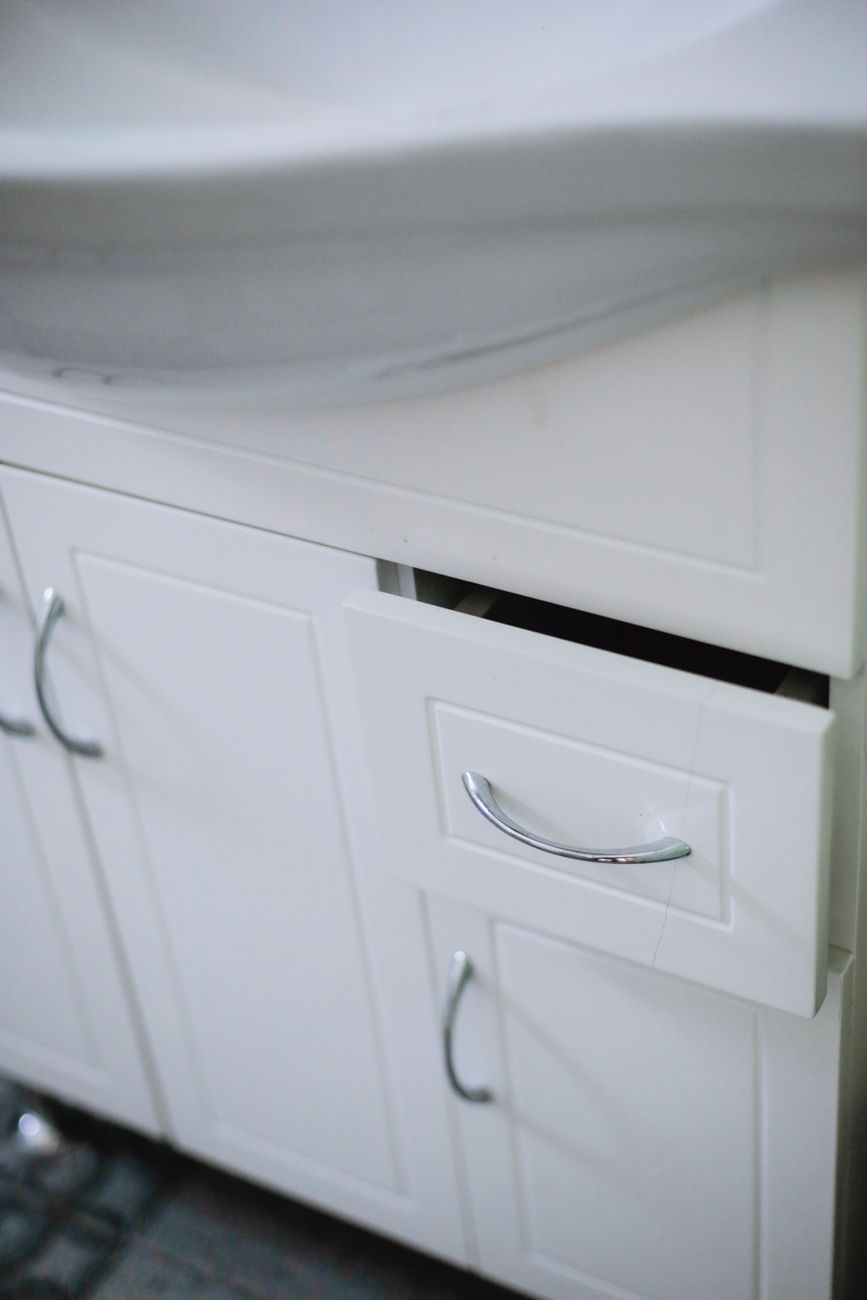
The Real Problem Is the Pipe
Under-sink cabinets have one awkward feature: a drainpipe running through the middle. Standard storage bins do not fit around it. So we end up stacking bottles in front of and behind the pipe, creating an unstable tower that collapses the second you grab the shampoo.
The fix is not fancier bins. The fix is realizing you need two separate storage zones—one on each side of the pipe—with nothing bridging across it.
Step 1: Pull Everything Out
Yes, all of it. Put it on the bathroom floor. You will find things you forgot you owned. I found three half-empty bottles of the same face wash. That alone saved me from buying more for months.
Wipe down the cabinet floor while it is empty. Under-sink cabinets collect a weird sticky dust.
Step 2: Toss the Expired Stuff
Check expiration dates on anything medicated—acne treatments, prescription creams, eye drops. If it smells different than it used to, toss it. If the texture changed, toss it. If you cannot remember buying it, you are not using it—toss it.
Step 3: Get Two Narrow Bins
Measure the space on each side of the pipe. You want bins that fit in those gaps without touching the pipe. Dollar store plastic bins work fine. I used two small dishpans—they are shallow, easy to slide out, and cost a dollar each.
Bin 1 (left side): daily essentials. Toothpaste, face wash, moisturizer, contact solution. The stuff you reach for every morning and every night. This bin sits closest to the door so you can grab it without moving anything.
Bin 2 (right side): backups and occasional items. Extra shampoo, first aid supplies, the hairdryer (coiled cord tucked under), cleaning wipes.
Step 4: Use the Door
An over-the-door organizer or adhesive hooks on the inside of the cabinet door hold the small loose items that otherwise vanish into the abyss—hair ties, bobby pins, tweezers, nail clippers. I stuck a magnetic strip on the inside of the door for tweezers and scissors. They stay put and are always visible.
Step 5: Label Nothing, Just Group
Labels look great in organizing videos and get ignored in real life. Instead, group by when you use it. Morning routine in one bin. Evening routine in the other. The pipe naturally separates them. You do not need a label maker.
📋 Quick Summary: Use two narrow bins—one on each side of the pipe—grouped by daily vs occasional items. Add adhesive hooks to the cabinet door for small tools. Everything stays upright and nothing falls out.