Install Under Cabinet LED Lighting Without Any Visible Wires or Electrician
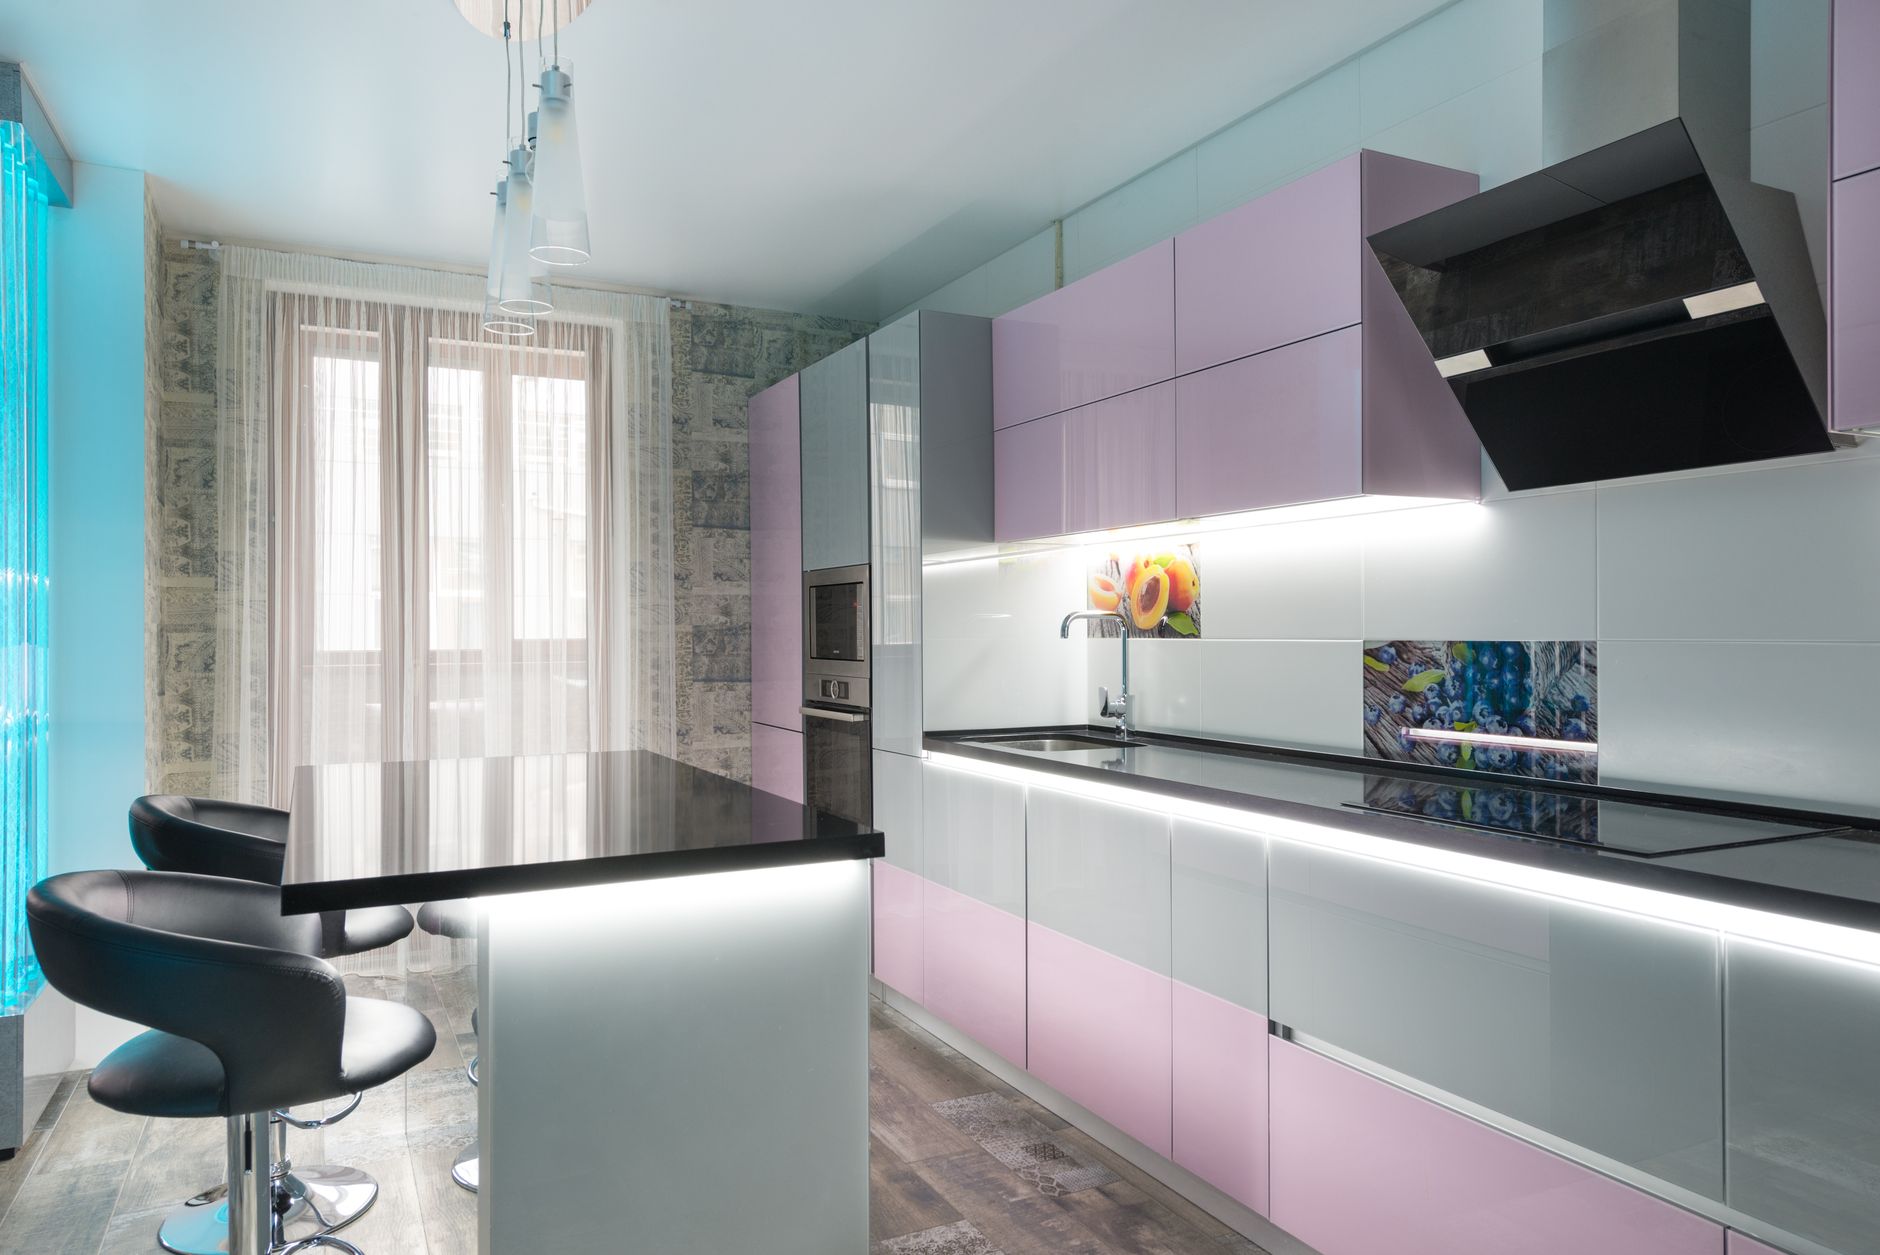
My kitchen counter had one ceiling light and a big dead shadow right where I chopped vegetables. I assumed fixing it meant hiring an electrician and tearing open the walls. It didn’t.
Battery-powered LED strips did the whole job in an afternoon for about thirty dollars.
What to buy
Get rechargeable or battery-powered LED strips made for under-cabinet use. Look for ones with a motion sensor or a tap switch, since you won’t be wiring them to a wall switch. They come with adhesive backing, so there’s no drilling and no visible wires at all.

How I installed mine
- Clean the underside of the cabinet with rubbing alcohol so the adhesive actually sticks.
- Peel and press the strip along the front edge, closest to where you stand, not against the wall.
- Stick the battery pack up out of sight or route the thin cord along the cabinet seam.
- Charge the batteries, and you’re done.
Little things that matter
- Warm white looks best in kitchens. Cool white makes food look a little sterile.
- Choose a strip you can cut or link, so it fits odd cabinet widths.
- Recharge every couple of weeks, or get one with a bigger battery if that’ll annoy you.
Now I can actually see the cutting board, and there’s not a single wire in sight.
📋 Quick Summary: Use battery-powered LED strips with adhesive backing to light under-cabinet areas with no wires or electrician. Clean the surface first and pick warm white.