Install a Smart Thermostat and Actually Save Money
I put off installing a smart thermostat for two years because I thought I would electrocute myself. When I finally did it, it took 25 minutes and I have saved about $130 a year on heating and cooling. Here is exactly what to do.
Before You Buy: Check Your Wiring
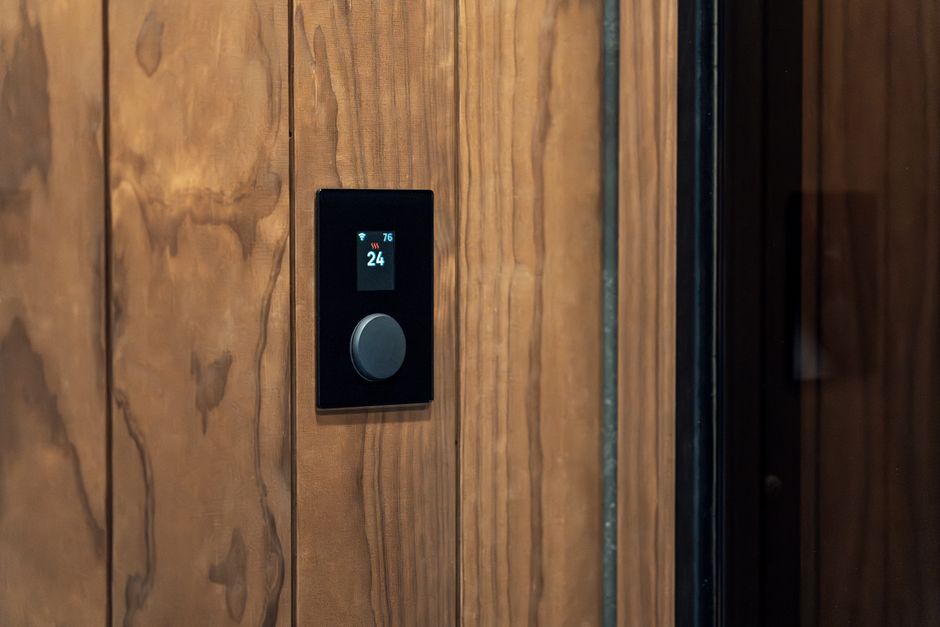
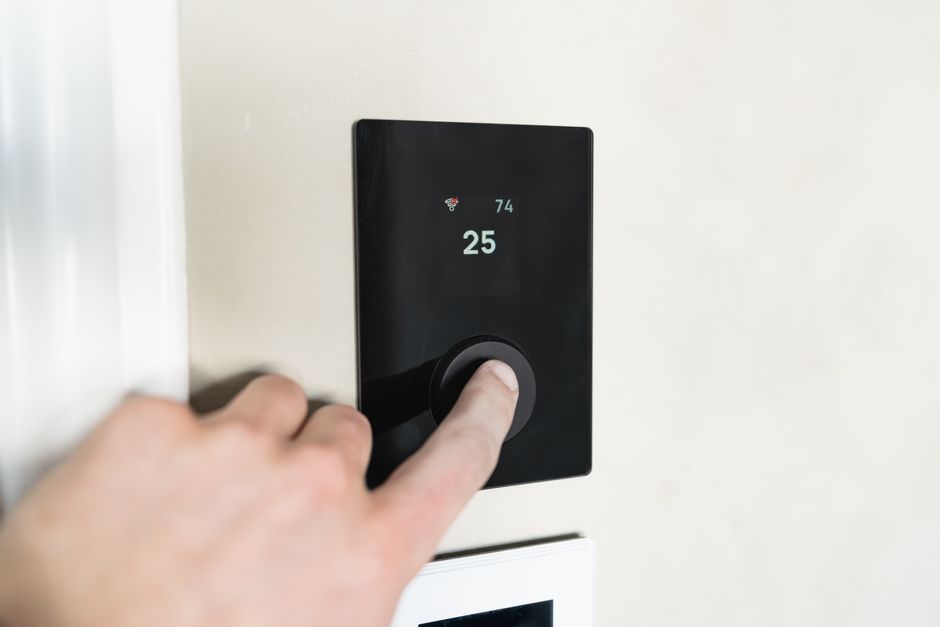
Pull your current thermostat off the wall (most just snap off). Look at the wires connected to terminals labeled with letters: R, W, Y, G, C. Take a photo with your phone. If you have a C-wire (common wire, usually blue or black), you are good to go with any smart thermostat. If you do not have a C-wire, some models come with an adapter or you can get a model that runs on batteries like the Nest Thermostat (the cheaper one, not the Learning model).
Installation in 5 Steps
- Turn off the breaker for your HVAC system. Verify the thermostat screen goes dark.
- Label each wire with the stickers that come with the thermostat. The letters must match.
- Unscrew the old base plate. Screw on the new one.
- Plug each wire into the matching terminal on the new thermostat. They click in.
- Snap the thermostat onto the base. Turn the breaker back on. Follow the on-screen setup.
Where the Savings Come From
The thermostat learns when you are home and when you are not. It drops the temperature while you sleep and while you are at work. It also tracks outdoor weather and adjusts. You do not save money because the thermostat is smart — you save because it automates the behaviors you forget to do manually.
📋 Quick Summary: Check for C-wire first (take photo of existing wiring). Turn off breaker before touching anything. Match labeled wires to labeled terminals. Average savings: $130/year from automated temperature scheduling.