Install Peel and Stick Backsplash Without Losing Your Mind
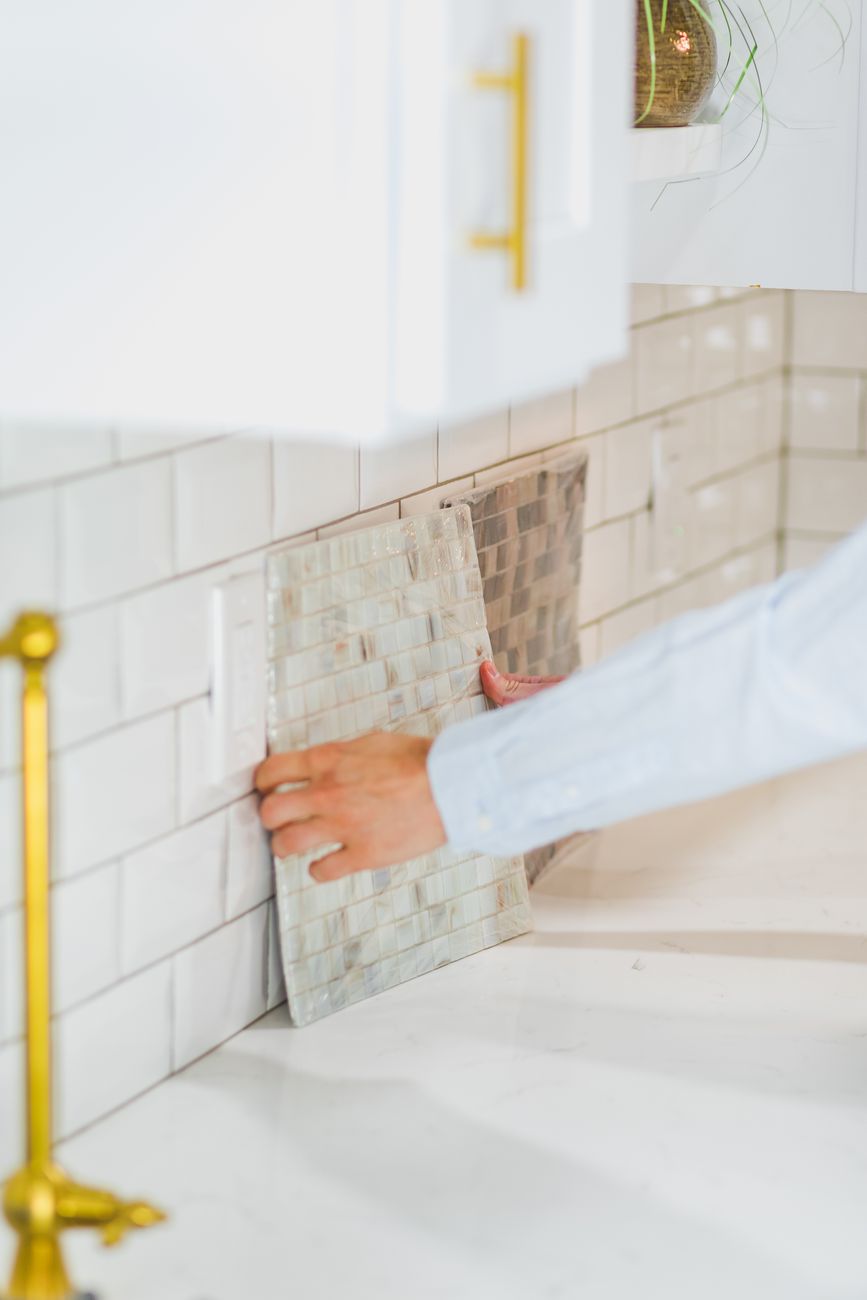
I peeled the backing off the first tile, positioned it carefully, pressed it against the wall, and it immediately stuck to itself in a wrinkled mess. The second tile went on crooked. By the fourth tile I was sitting on the kitchen floor questioning every decision that had led me to this moment.
Then I figured out the tricks. The rest of the installation went smoothly. Here is what nobody tells you in the YouTube tutorials.
Clean the Wall Like You Mean It
Peel-and-stick tiles will not adhere to a greasy wall. Kitchens accumulate an invisible film of cooking oil over time. Wipe the wall down with TSP (trisodium phosphate) or a degreasing cleaner, then rinse with clean water and let it dry completely. If you skip this step, your tiles will start peeling off within weeks. Test adhesion by sticking a piece of masking tape to the wall — if it falls off, your tiles will too.
Draw Your Layout Lines First
Do not start in a corner and hope for the best. Measure the center of the wall and draw a vertical plumb line — use a level, not your eye. Draw a horizontal line too. Your first tile goes at the intersection of these lines. Work outward from the center in both directions. This guarantees the cuts on both ends will be symmetrical instead of one end having a full tile and the other a sliver.
Cut With a Utility Knife, Not Scissors
Scissors crush the edges and leave ragged cuts. Score the tile face with a sharp utility knife and a straightedge, then snap it along the score line. For outlet cutouts, score an X across the opening, peel the backing, stick the tile in place, and then trim the flaps with the knife. It takes practice — buy one extra box and use a few tiles for practice cuts before you start on the real wall.
📋 Quick Summary: Degrease the wall thoroughly, draw level layout lines from the center outward, and cut tiles with a utility knife and straightedge instead of scissors.