Install Blackout Curtain Rods That Will Not Fall Down
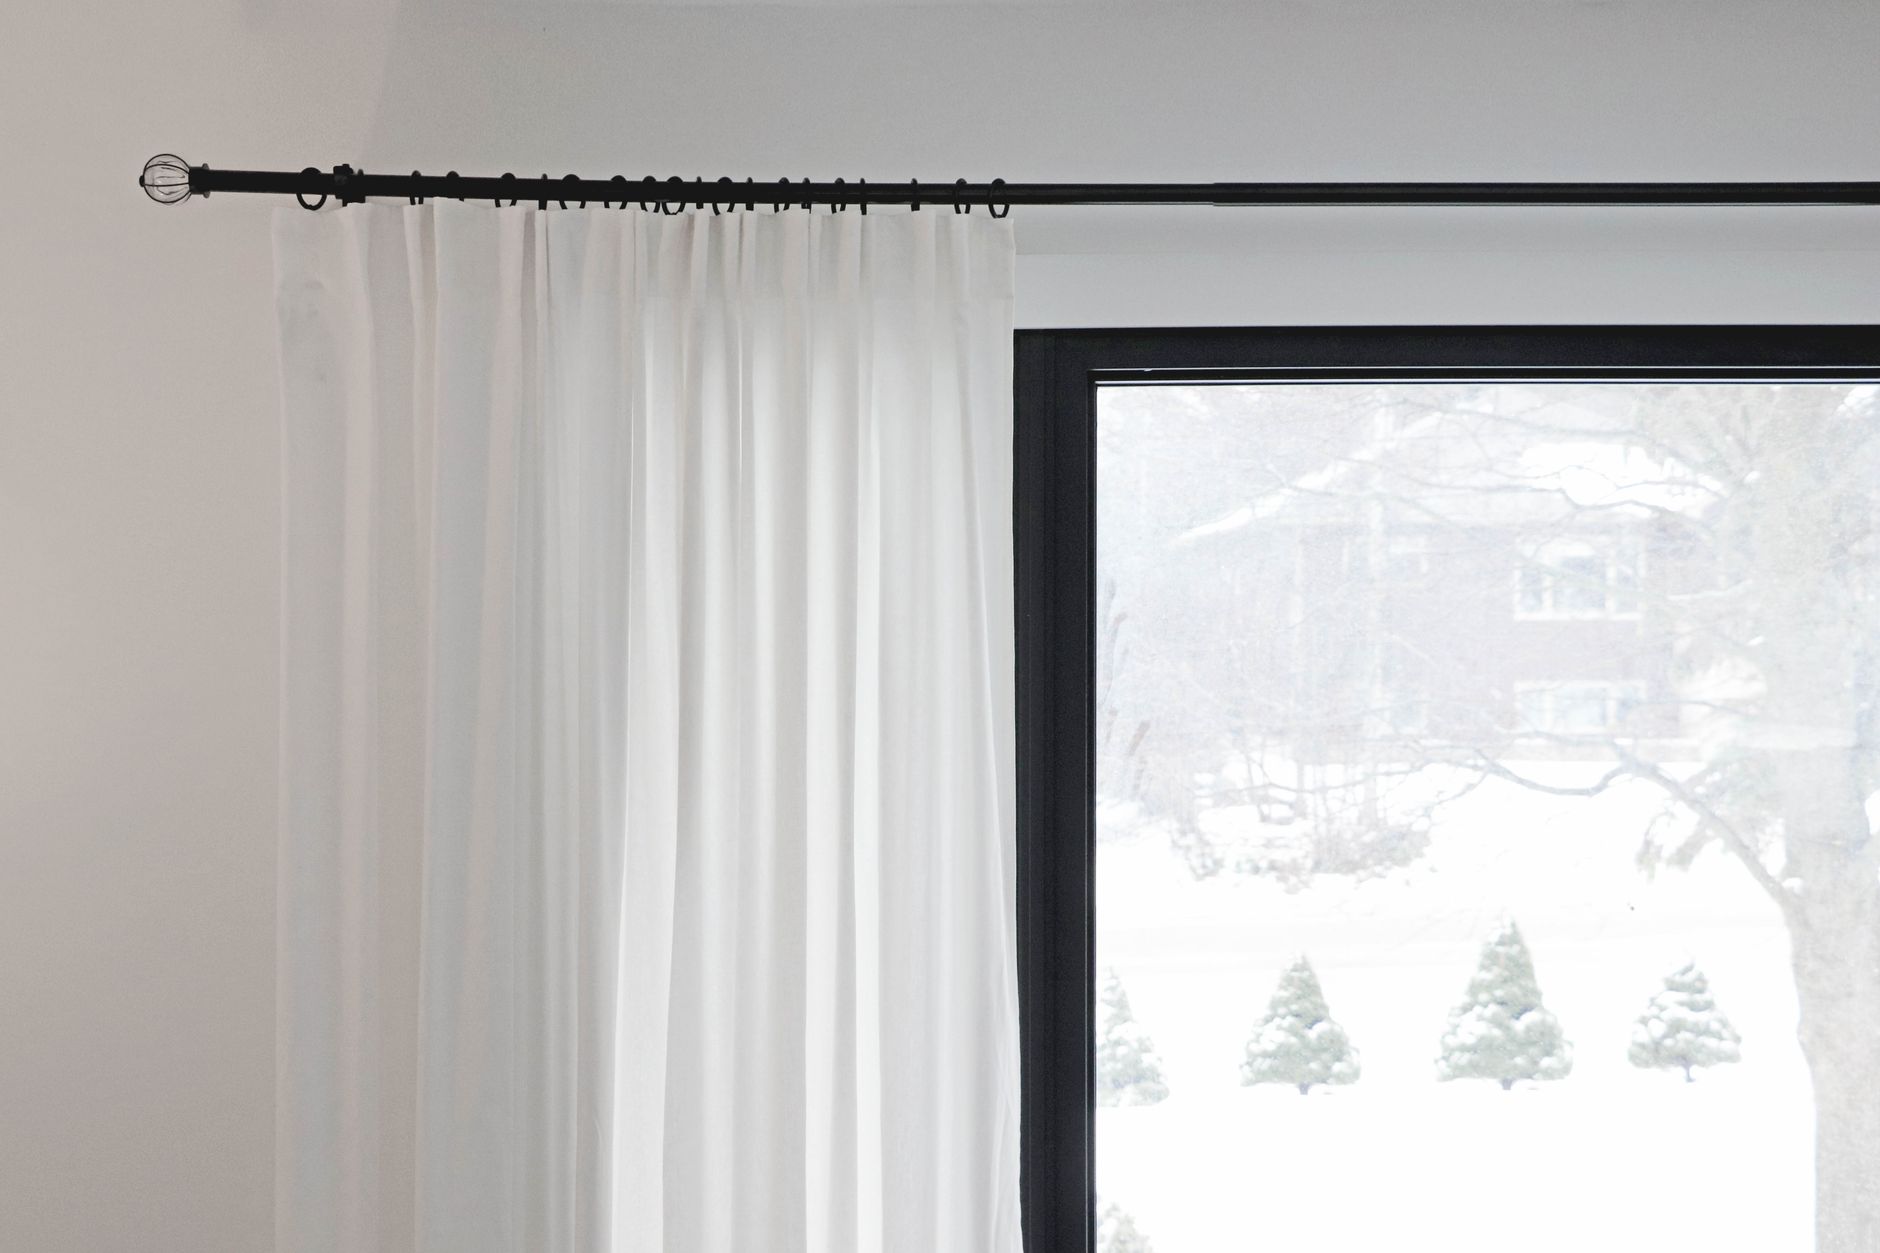
I woke up at 3 AM to a crash that sounded like someone had thrown a piece of furniture through the window. It was my blackout curtain rod. Both brackets had ripped out of the drywall, the rod was on the floor, and the curtains were draped across my nightstand like a defeated ghost. The rod had been up for three weeks.
Blackout curtains are heavy — two to three times heavier than regular curtains, sometimes more. Drywall anchors that work fine for a lightweight decorative rod will fail catastrophically under that weight. The install has to be different.
Find the Studs or Use the Right Anchors
Use a stud finder — they cost about ten dollars. Mark the stud locations with painter’s tape. If you can mount at least one bracket into a stud, the rod will hold dramatically more weight. If you hit a stud on both sides, you can hang anything.
If neither bracket aligns with a stud — which is common with wide windows — you need toggle bolts or snap-toggle anchors, not those little plastic conical anchors that come free with the rod. Toggle bolts spread open behind the drywall and distribute the weight across a much larger surface area. Each toggle bolt can hold fifty to eighty pounds in half-inch drywall.
Mount the Brackets Wider Than the Window
Extend the brackets at least four inches beyond each side of the window frame. This lets the curtains stack back against the wall when open, so they do not block any light around the edges. It also means the rod spans more distance, which looks better — the window feels larger.
Mount the brackets high — four to six inches above the window frame, close to the ceiling. This draws the eye up and makes the ceiling feel taller. Curtains that stop at the top of the window frame make the room feel shorter and the window feel smaller.
Use a Level — Actually Use It
Measure from the floor or ceiling, not from the window frame. Window frames are often slightly crooked, and mounting the brackets parallel to a crooked frame means your rod is visibly slanted. A four-foot level is ideal. A laser level is even better. The bubble level app on your phone is not accurate enough — use a real one.
Drill your pilot holes carefully. A drill bit that wanders by an eighth of an inch makes the bracket visibly crooked. Start the hole with the drill in reverse for the first second to create a precise starting point, then switch to forward.
Test Before You Hang the Curtains
Mount the brackets and the rod. Hang from the rod with your body weight — just for a few seconds, enough to confirm it does not move. If it flexes or creaks, the anchors are not secure. Better to have it fail during testing at noon than during your sleep at 3 AM.
📋 Quick Summary: Mount into studs where possible, use toggle bolts on drywall, extend brackets past the window, drill with precision, and test with body weight before hanging — your curtains and your sleep will stay intact.