How to Take Better Photos With Just Your Phone Camera
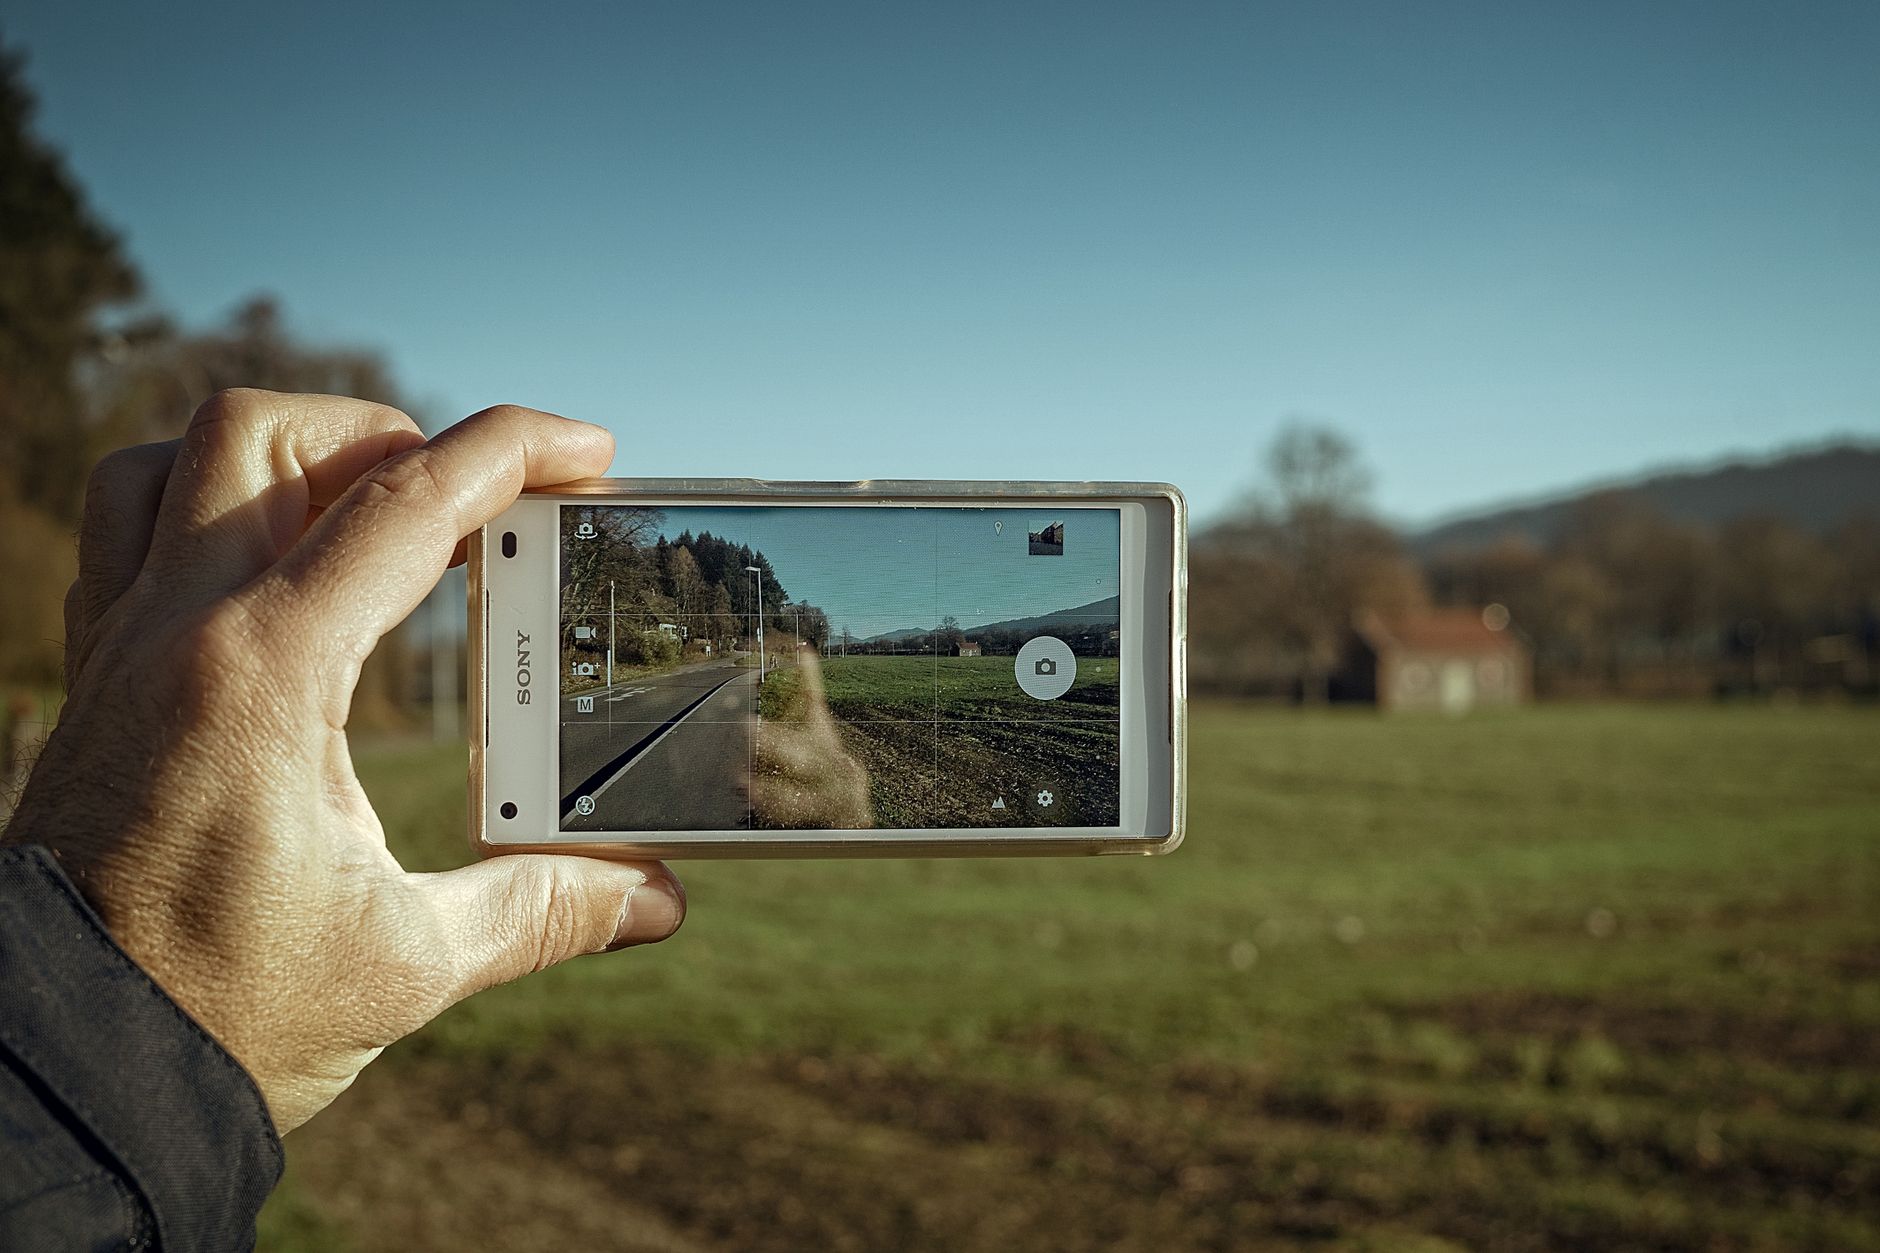
I bought a DSLR five years ago because I was convinced my phone camera was holding me back. The DSLR has sat in a closet for about four of those five years. Meanwhile, some of my favorite photos—the ones people actually compliment—were taken on a three-year-old phone.
The problem was never the camera. It was how I was using it.
Clean Your Lens
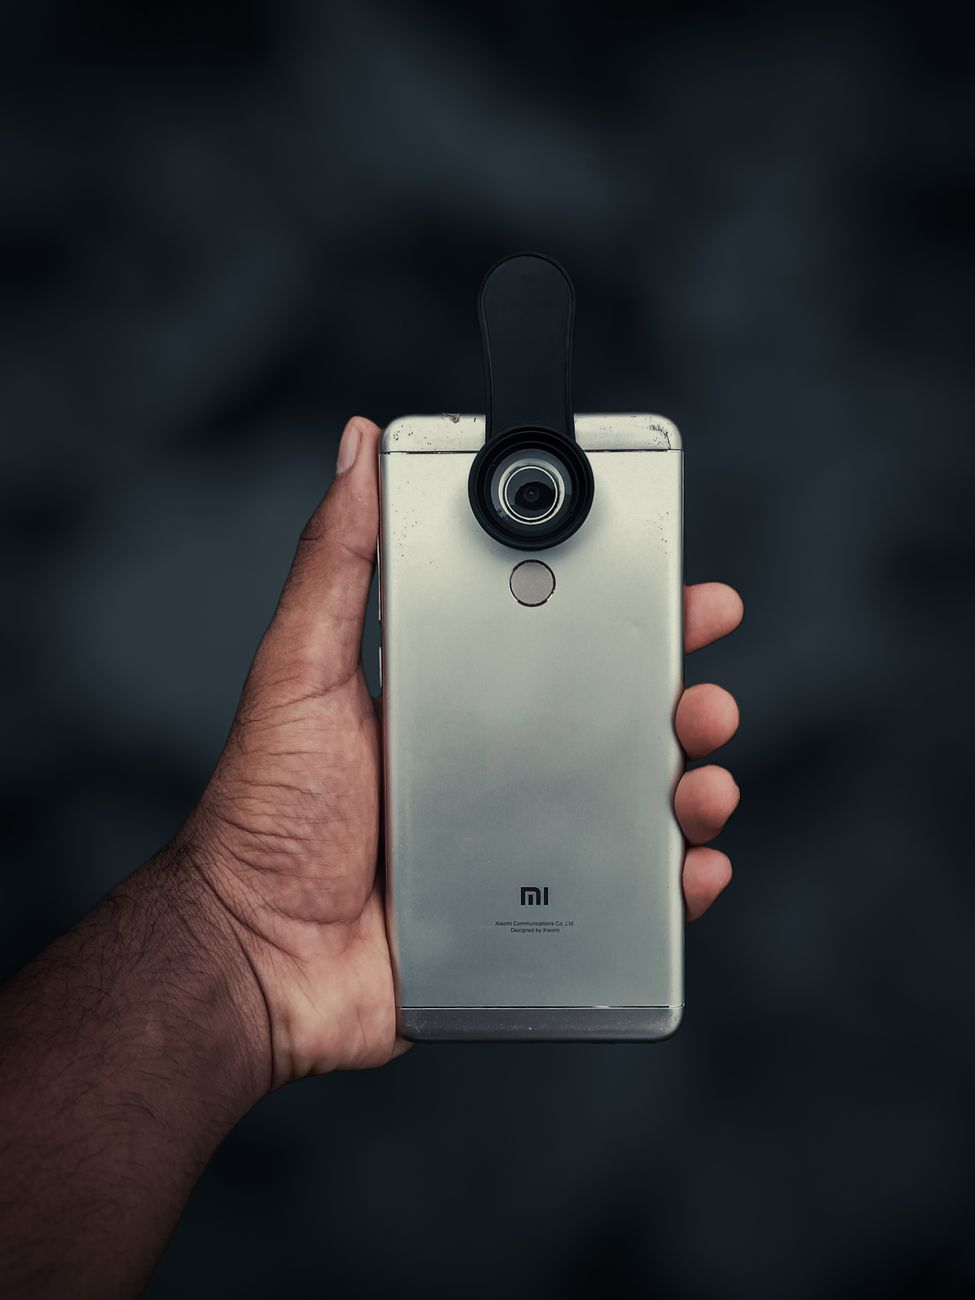
Your phone lives in your pocket or bag. The lens collects oil from your fingers, dust from your pocket, and who knows what else. A smudgy lens makes every photo look hazy, regardless of how many megapixels you have.
Wipe the lens with a microfiber cloth—the kind that comes with glasses—before you take any photo you care about. Your T-shirt makes it worse by smearing the oil around. A quick wipe takes two seconds and sharpens every photo immediately.
Tap to Focus and Adjust Exposure
Tap the screen where you want the focus to be. Then slide your finger up or down on the sun icon that appears next to the focus box. This adjusts exposure—how bright or dark the image is. Most phone photos are overexposed because the camera tries to brighten everything. Sliding the exposure down slightly almost always produces a more natural, professional-looking image.
If the shot looks good on your phone screen and blown-out on a computer monitor, your phone’s brightness was set too high and tricked you. Turn your phone brightness to about 50% before editing or evaluating photos.
Stop Using Digital Zoom
Pinching to zoom is the fastest way to ruin a photo. Digital zoom just crops and enlarges the image, turning it into a pixelated mess. Walk closer instead. If you cannot get closer, take the photo without zooming and crop it later—it is the exact same result but with more control.
If your phone has a telephoto lens, use that instead of zooming on the main lens. The 2x or 3x button in the camera app switches to the telephoto lens, which uses optical zoom—actual glass magnification, not digital fakery.
Grid Lines and the Rule of Thirds
Turn on the grid overlay in your camera settings. It draws two horizontal and two vertical lines dividing the screen into nine equal rectangles. Place your subject where the lines intersect, not dead center. Photos with the subject off-center almost always look more dynamic and interesting.
For landscapes, put the horizon on the top third line (to emphasize the land) or the bottom third line (to emphasize the sky). Dead center horizon screams snapshot.
Lighting Is Everything
Window light is free studio lighting. Position your subject facing a window. The soft, directional light creates natural shadows that add depth. Avoid overhead ceiling lights—they cast unflattering shadows under eyes and chins.
For outdoor photos, cloudy days are better than sunny days. Overcast skies act like a giant softbox, diffusing the light evenly. Bright sun creates harsh shadows and makes people squint. If you must shoot in sun, put your subject in open shade—under a tree, beside a building.
📋 Quick Summary: Wipe the lens, tap to focus and slide down exposure, walk closer instead of zooming, use grid lines for composition, and shoot near a window or on overcast days. Your phone camera is more capable than you think.