How to Make a Simple Shelf from Scrap Wood in an Afternoon
My garage had a pile of wood left over from a fence project. My wife asked for more shelf space in the pantry. Those two facts collided into a Saturday project that cost me about three dollars, mostly for screws. If you have a board, a saw, and an afternoon, you can do the same.
What you need
- One board, at least three quarters of an inch thick. Anything wider than your hand works.
- A saw, hand or power, and a straight edge.
- Sandpaper, medium then fine grit.
- Two shelf brackets or a piece of scrap for a French cleat.
- A drill and screws.
Cut and sand
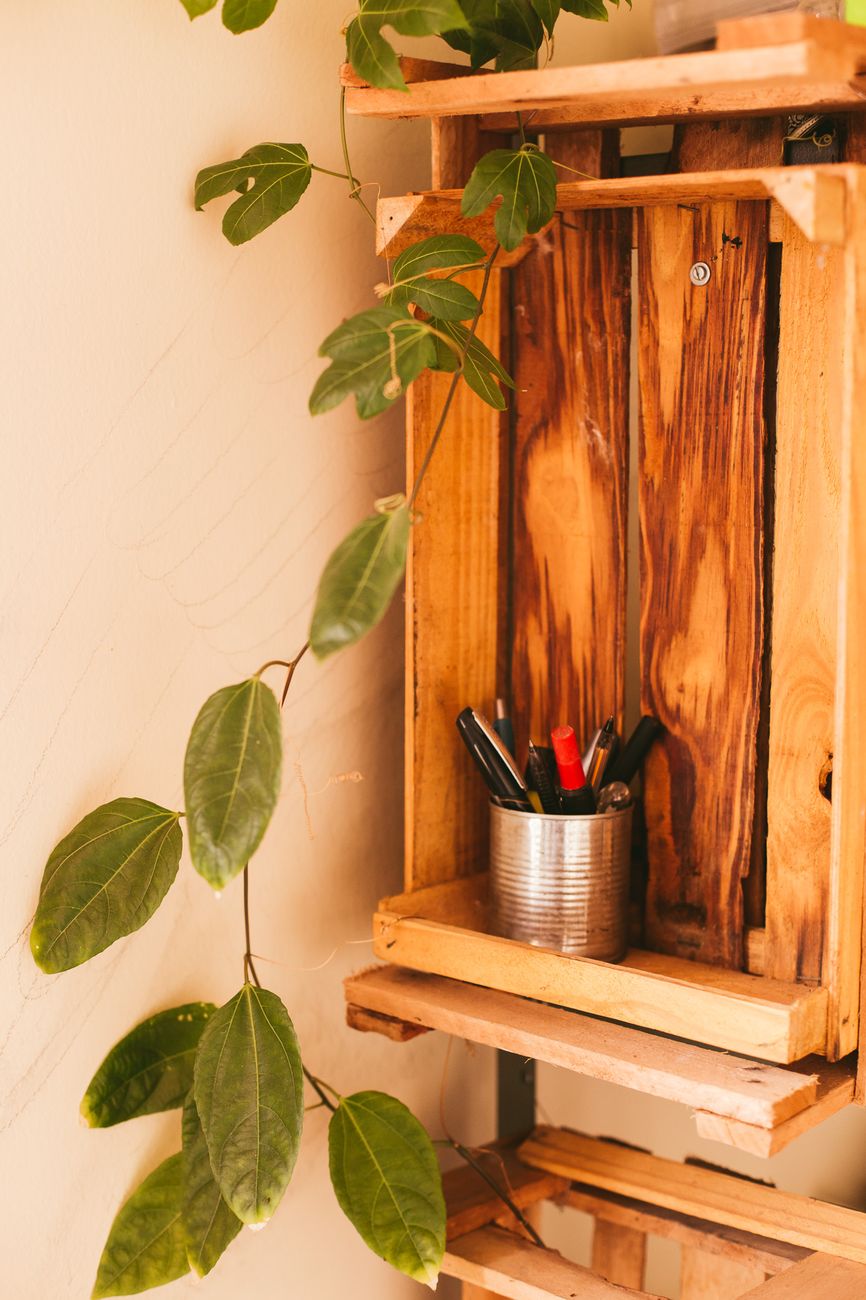
Measure the space where the shelf will go, then mark and cut the board to length. Saw slowly and let the blade do the work, pushing creates splinters. Sand every edge, especially the front edge and the corners. A shelf that is smooth to the touch looks store bought. A shelf with rough edges looks like scrap, because it is.
Mount it straight
Mark the height with a pencil, then use a level to draw a straight line across the wall. Attach the brackets to the wall first, using wall anchors if you are not hitting a stud. An anchor costs nothing and keeps the shelf from pulling out under a stack of cans. Then screw the shelf onto the brackets from underneath.
If you want the shelf to look like it floats, make a French cleat from two pieces of scrap cut at 45 degrees. One piece screws to the wall, one to the shelf, and the shelf hangs on it. This is stronger than brackets and hides all the hardware.
Finish it
A coat of polyurethane or paint protects the wood from moisture and spills. I painted mine to match the pantry and it disappeared into the wall, which my wife loves. Let it dry overnight before loading it up.
That shelf has held jars and bags for two years now. It cost almost nothing, took one afternoon, and every time I grab a jar I remember that it started as fence scraps.
📋 Quick Summary: Cut scrap wood to size, sand it smooth, mount with brackets or a French cleat, and finish with paint or polyurethane.