How to Extend Your Wi-Fi Range With a Beer Can
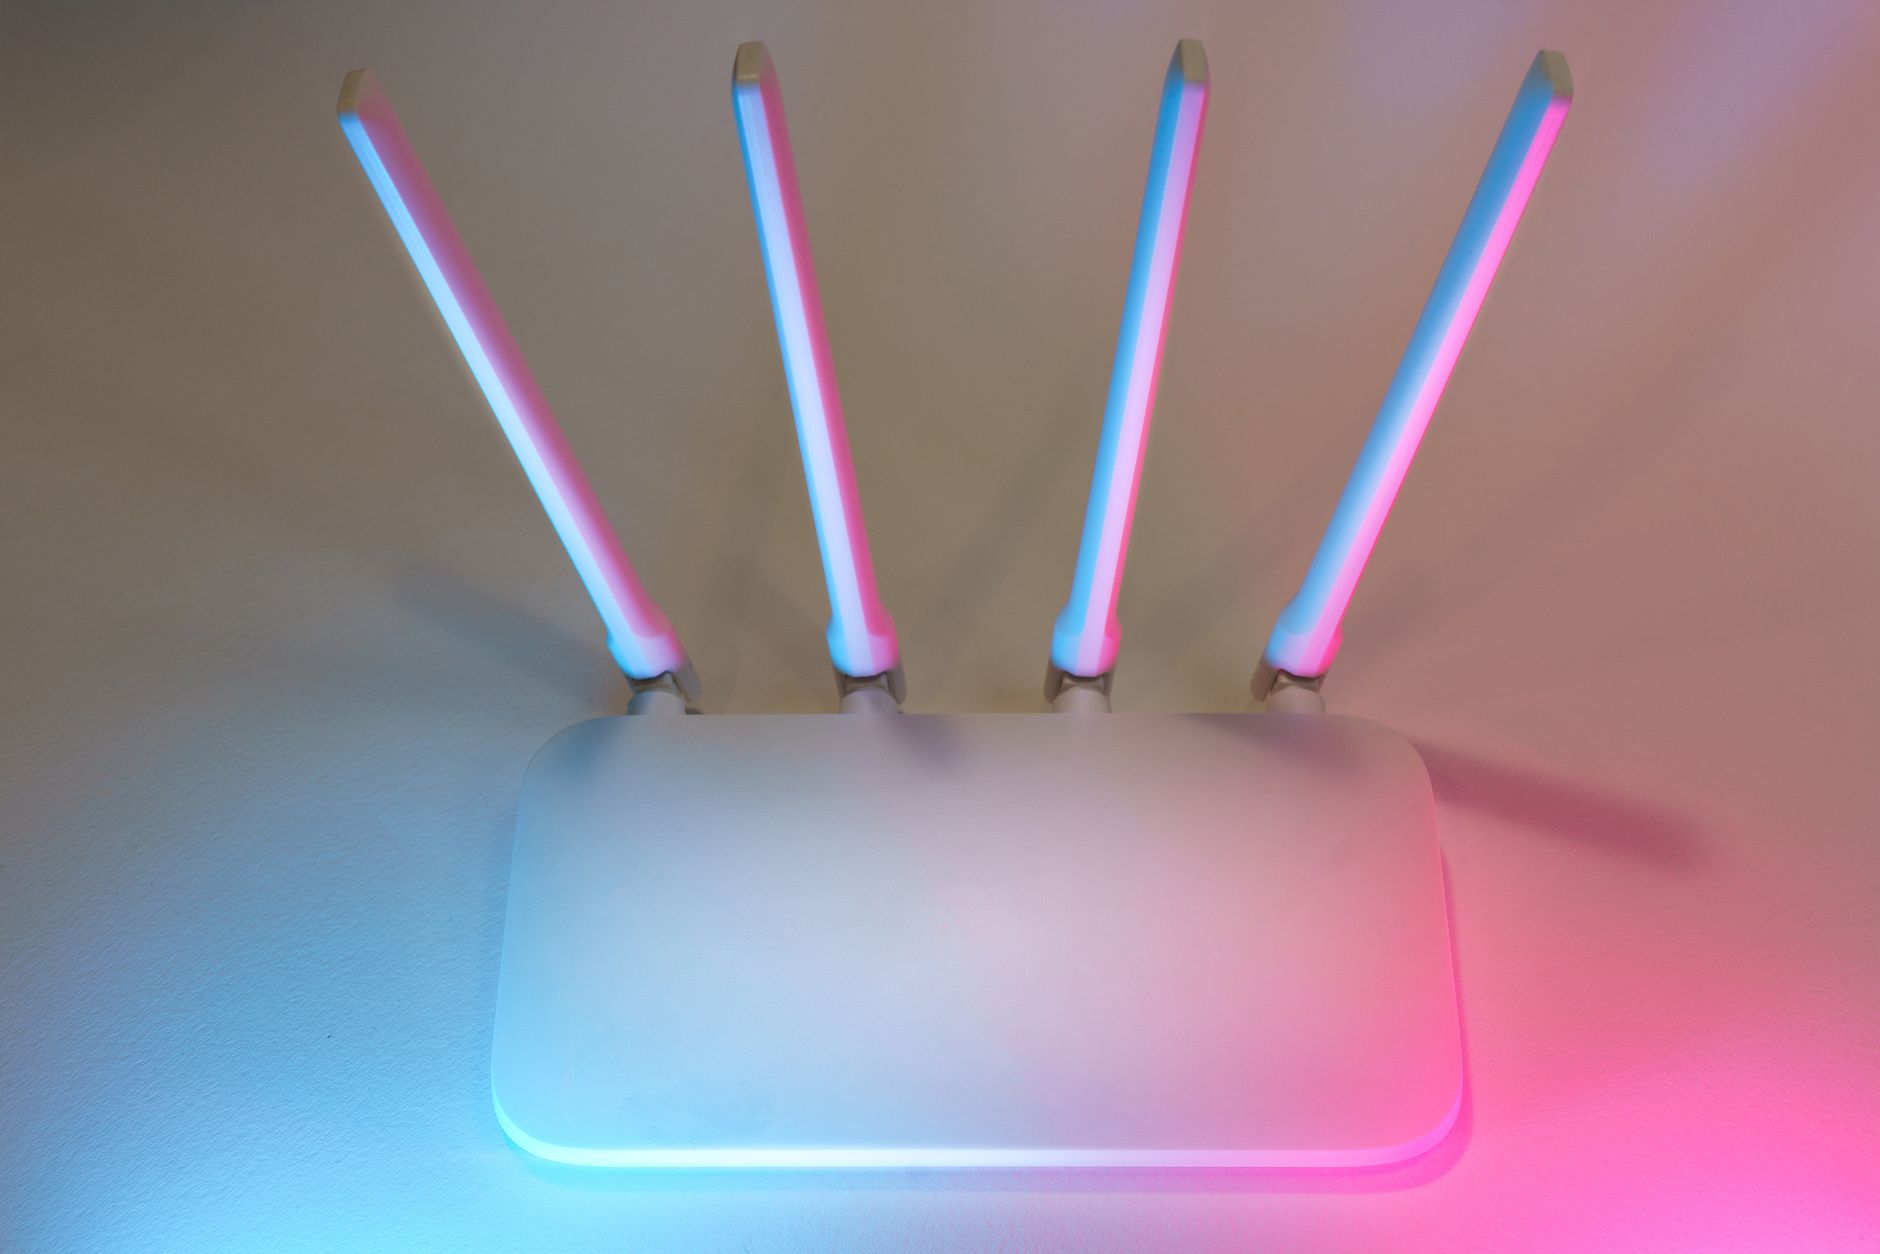
My router is in the living room. My home office is in the back bedroom, two walls and about forty feet away. The signal back there was so weak that Zoom calls would freeze if someone else was streaming Netflix. I was about to spend eighty dollars on a mesh Wi-Fi extender when a friend sent me a YouTube video titled “Boost Your WiFi With a Beer Can.”
I laughed. Then I tried it. And it actually worked. Not “miracle” worked — I did not suddenly get gigabit speeds in the backyard — but my office signal went from one bar to three. Zoom stopped freezing. Here is why it works and how to do it, plus some caveats about when this is and is not the right solution.
The science (it is real)
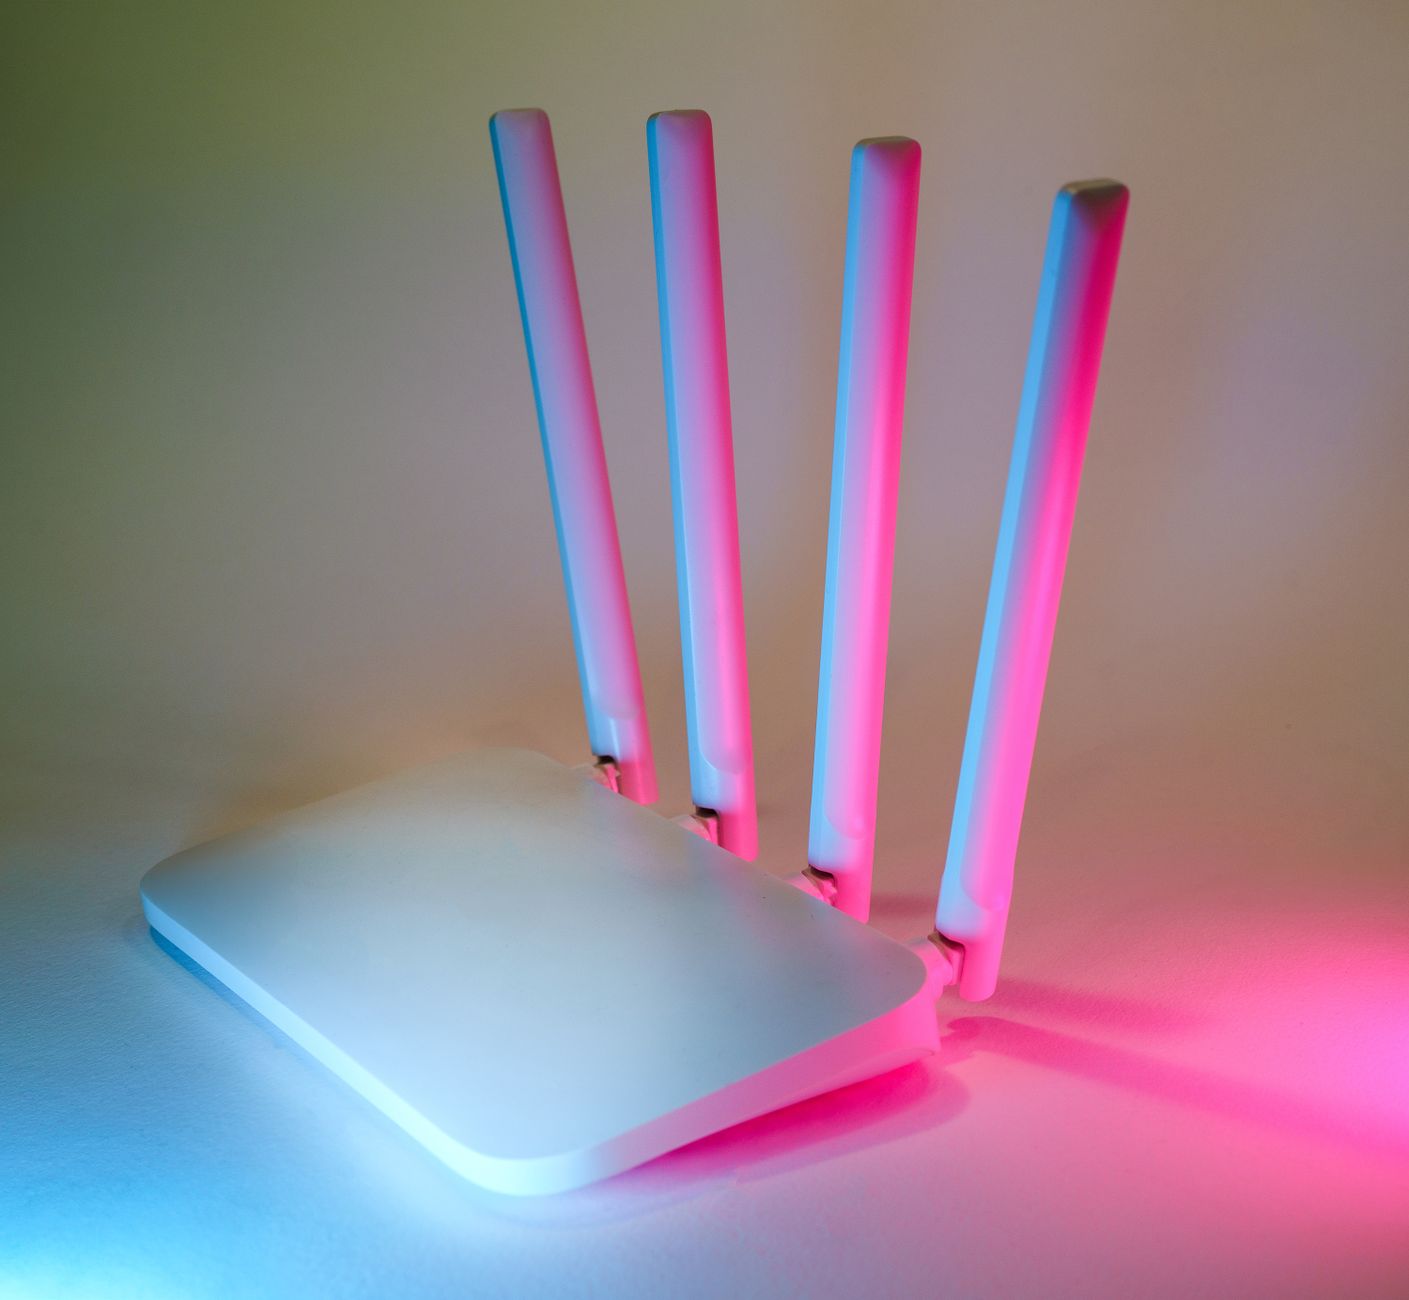
A Wi-Fi router sends radio waves in all directions equally. Half your signal is going into the wall behind the router or straight down into the floor, where nobody needs it. A beer can — specifically the curved aluminum interior — acts as a parabolic reflector. It catches the backward-firing signal and bounces it forward in the direction you actually want it to go.
This is the same principle behind satellite dishes and those old TV antennas with the curved metal screens. It is not magic. It is physics. The beer can is just a conveniently shaped piece of reflective material that you already have in your recycling bin.
How to make it
Drink a can of soda or beer. Rinse it out. Cut the top and bottom off with a utility knife — carefully, the edges will be sharp. Cut lengthwise down one side so the can opens into a curved sheet. Fold it out so it looks like a curved radar dish.
Poke a small hole near the edge and slide it over the router antenna (if your router has external antennas). Position the curved side so it faces the direction you want the signal to go — toward the dead zone. The open side faces the router. The can should sit behind the antenna, not in front of it.
If your router does not have external antennas (like those sleek tower-style ones), tape the can to the wall behind the router, curved side facing your dead zone. It is less effective without a direct antenna to wrap around, but it still helps.
What to expect (and what not to expect)
This is a directional improvement, not a power boost. The signal in the direction the can is facing will be stronger. The signal in the opposite direction will be weaker — because you are reflecting it forward instead of letting it spray everywhere. So do not do this if you need strong signal on both sides of the router.
Expect maybe a 3-5 dB gain in the target direction. That is enough to turn a one-bar dead zone into a three-bar usable zone. It will not solve problems caused by thick concrete walls, metal studs, or interference from fifty competing Wi-Fi networks in an apartment building.
If you try this and it helps but not enough, your next step up is a real Wi-Fi extender or mesh system. But for the cost of one can of beer — which you were going to drink anyway — it is worth trying first.
📋 Quick Summary: Cut open a clean aluminum can into a curved reflector. Slide over router antenna or tape behind router, curved side facing dead zone. Expect 3-5 dB directional gain — enough to fix a nearby weak spot. Does not help with thick walls or heavy interference. Costs nothing but a can you already have.