Get Your Air Conditioner Ready for Summer or Risk It Dying on the Hottest Day
Two summers ago, on the hottest day of the year — 97°F with humidity so thick you could chew the air — our central AC died. The repair guy, when he finally showed up two days later, opened the unit and pulled out a filter that looked like it had been upholstered with a carpet remnant. “You know you are supposed to change these, right?” he said. The repair cost $350. A new filter costs $12.
I now do a full AC prep every spring, before the first heat wave hits. It takes about an hour and costs maybe thirty dollars in supplies. Here is the checklist I follow, whether you have central air, window units, or portable ACs.
Step 1: Change or clean the filter (this is the big one)
A clogged filter is the number one cause of AC failure. It restricts airflow, which makes the system work harder, which makes it freeze up or overheat. For central AC, replace the furnace filter — the 1-inch-thick kind that slides into a slot near your furnace or air handler — with a new one. I use a MERV 8 filter. Anything higher (MERV 11+) restricts airflow too much for most home systems unless they were designed for it.
For window units, slide out the washable filter from the front grille, rinse it in the sink with warm water and a drop of dish soap, let it dry completely, and put it back. For portable ACs, clean or replace the filter according to the manual — most have a small washable filter that collects dust quickly.
Change central AC filters every 90 days if you have no pets, every 60 days if you have one pet, every 30 days if you have multiple pets or allergies. I write the date on the filter frame with a Sharpie so I know when it went in.
Step 2: Clean the outdoor condenser unit (central AC)
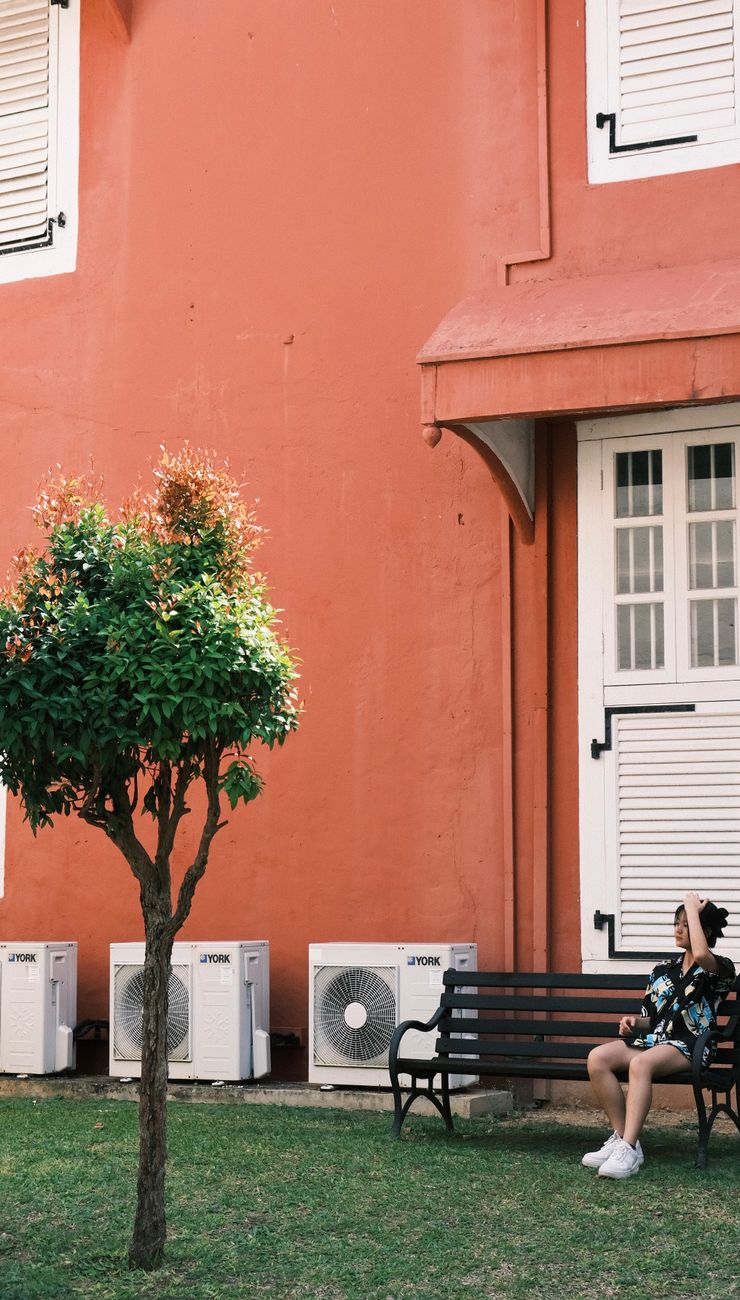
Turn off the power to the unit at the circuit breaker first — there is an outdoor disconnect box near the unit. Then vacuum the fins with a soft brush attachment to remove leaves, cottonwood fluff, and dirt that have accumulated over the fall and winter. Spray the fins with a garden hose from the inside out (do not use a pressure washer — it will bend the delicate aluminum fins).
Trim back any bushes or weeds within two feet of the unit. The condenser needs airflow all around it. If it is crowded by overgrown landscaping, it cannot release heat.
Step 3: Check the drain line (central AC)
Your indoor AC unit produces condensation that drains through a PVC pipe. If that pipe clogs with algae and mold — which happens every year in humid climates — water backs up and either triggers a float switch that shuts off your AC, or overflows and damages your ceiling. Pour a cup of white vinegar down the drain line once a year. It kills the algae without damaging the pipes. Bleach works too but can corrode PVC over time.
Test before you need it
Do not wait until the first 90-degree day. Turn on the AC on a mild day in spring and let it run for 15 minutes. Check that cold air is coming out of the vents, the outdoor unit is running quietly, and there is no water pooling around the indoor unit. If something is wrong, you want to discover it in April when HVAC companies are not booked solid for two weeks.
📋 Quick Summary: Replace/clean filters (central: MERV 8 every 60-90 days; window units: wash monthly). Vacuum outdoor condenser fins and spray with garden hose. Pour vinegar down condensate drain line to prevent clogs. Trim plants 2 feet from condenser. Test the AC on a mild spring day before you actually need it.