Change Outdated Light Fixtures for Modern Ones Without Wiring Experience
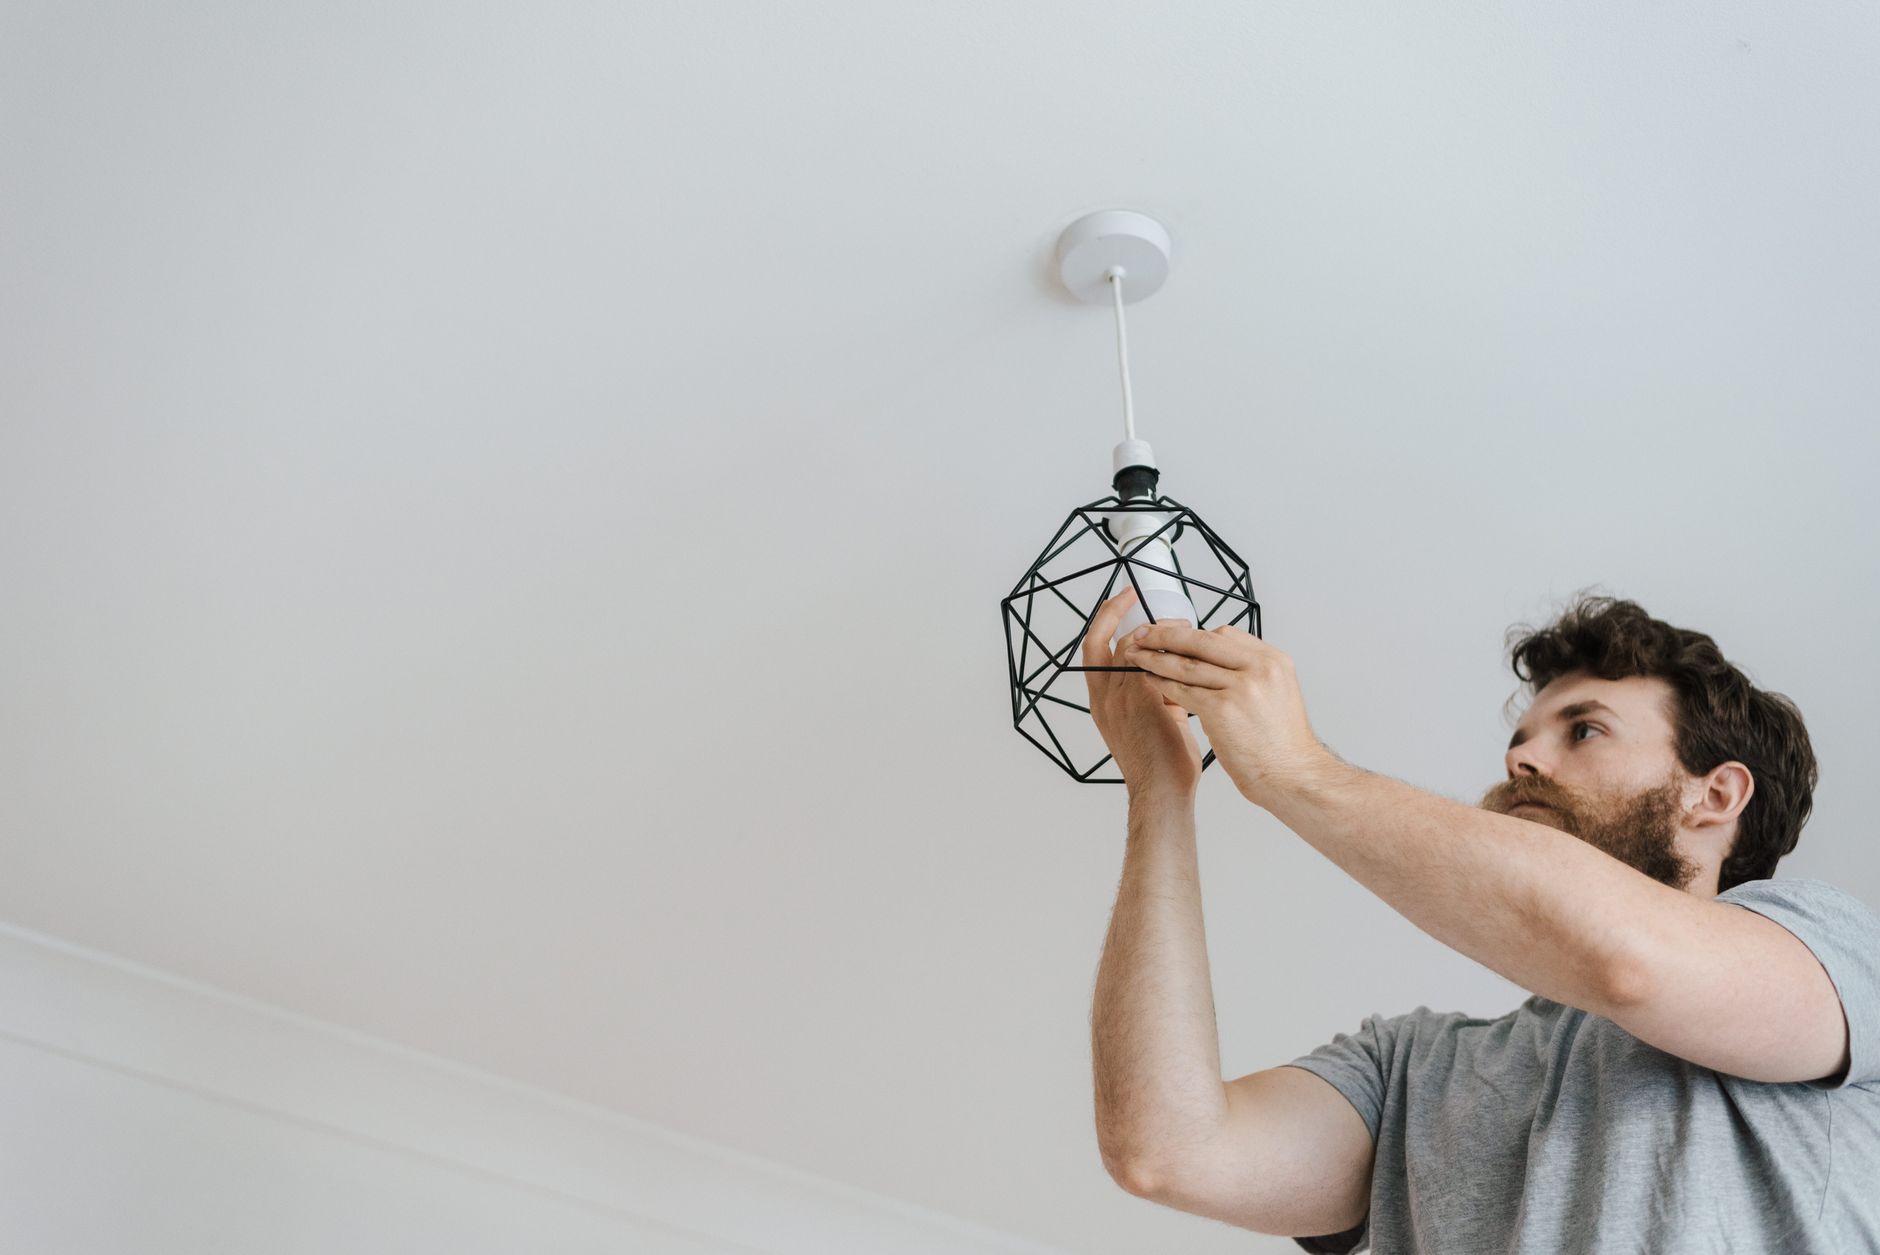
The dining room in our first apartment had a brass chandelier from 1987. Not cool vintage brass. The bad kind — the kind with frosted glass tulip shades that collected dead bugs. I stared at it for two years thinking I needed an electrician. Two years. The fix took forty-five minutes and cost sixty dollars for a new fixture. I have swapped seven fixtures since.
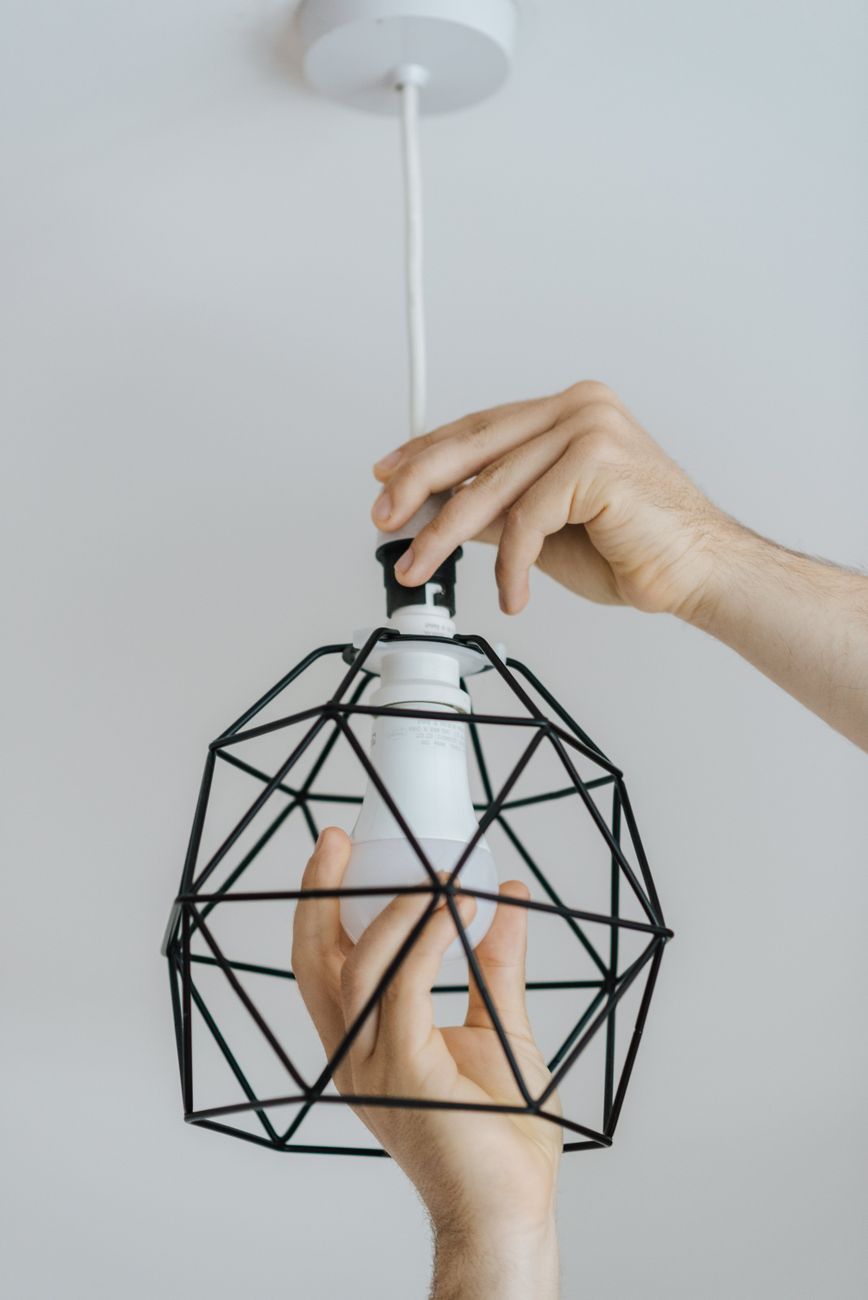
Replacing a light fixture is the safest electrical project a homeowner can do — as long as you respect one rule: turn off the power. Not the switch. The breaker. Here is exactly how.
Before You Touch Anything
Go to your breaker panel. Find the breaker that controls the light. If they are not labeled — mine were not — turn the light on, then flip breakers one at a time until the light goes off. Mark that breaker with tape and a Sharpie. Future you will thank present you.
Now go back to the light and try the switch. Light does not come on? Good. Flip the switch to the off position too — belt and suspenders. Put a piece of tape over the switch so nobody casually flips it while you are working.
What You Need
- New light fixture (includes mounting bracket and wire nuts)
- Voltage tester (non-contact pen style, ten dollars)
- Screwdriver (usually Phillips)
- Wire strippers (or a utility knife in a pinch)
- A helper to hold the fixture while you connect wires — or a sturdy step ladder and patience
Remove the Old Fixture
Unscrew the canopy — the decorative cover against the ceiling — and lower it. You will see a mess of wires. Test every wire with the voltage tester before touching. Wave the tester near each wire. If it beeps or lights up, the power is not actually off. Go back to the breaker panel and try again.
Assuming no beeps, unscrew the wire nuts connecting the old fixture wires to the house wires. Take a photo first with your phone. You will want to know which colors were connected. Usually it is black to black, white to white, and bare copper to bare copper or green. Unscrew the mounting bracket and the old fixture comes down.
Install the New One
Attach the new mounting bracket to the electrical box with the provided screws. Have your helper hold the new fixture — or hook it temporarily on the bracket if it has a support hook. Connect the wires: black to black, white to white, ground to ground. Twist the stripped ends together with pliers, then screw a wire nut on tight. Tug each wire to confirm it is secure.
Fold the wires carefully into the box — do not just cram them in. Attach the canopy to the mounting bracket. Screw in the bulbs. Turn the breaker back on. Flip the switch. If the light turns on and nothing sparks or trips, you just saved yourself a hundred-dollar electrician call.
When to Call a Pro
If you open the box and find a tangle of wires — more than one black, more than one white — you have a junction box with multiple circuits running through it. That is above beginner level. Also, if the house was built before 1960 and has cloth-wrapped wiring, the insulation may crumble when you touch it. Call an electrician. Knowing when to stop is its own kind of skill.
📋 Quick Summary: Replace a light fixture safely by turning off the breaker, testing wires with a voltage tester, connecting black-to-black, white-to-white, and ground-to-ground with wire nuts, then tucking wires neatly into the box. If the box has more than three wires or cloth-wrapped insulation, call an electrician.