Build Floating Shelves from a Single Board
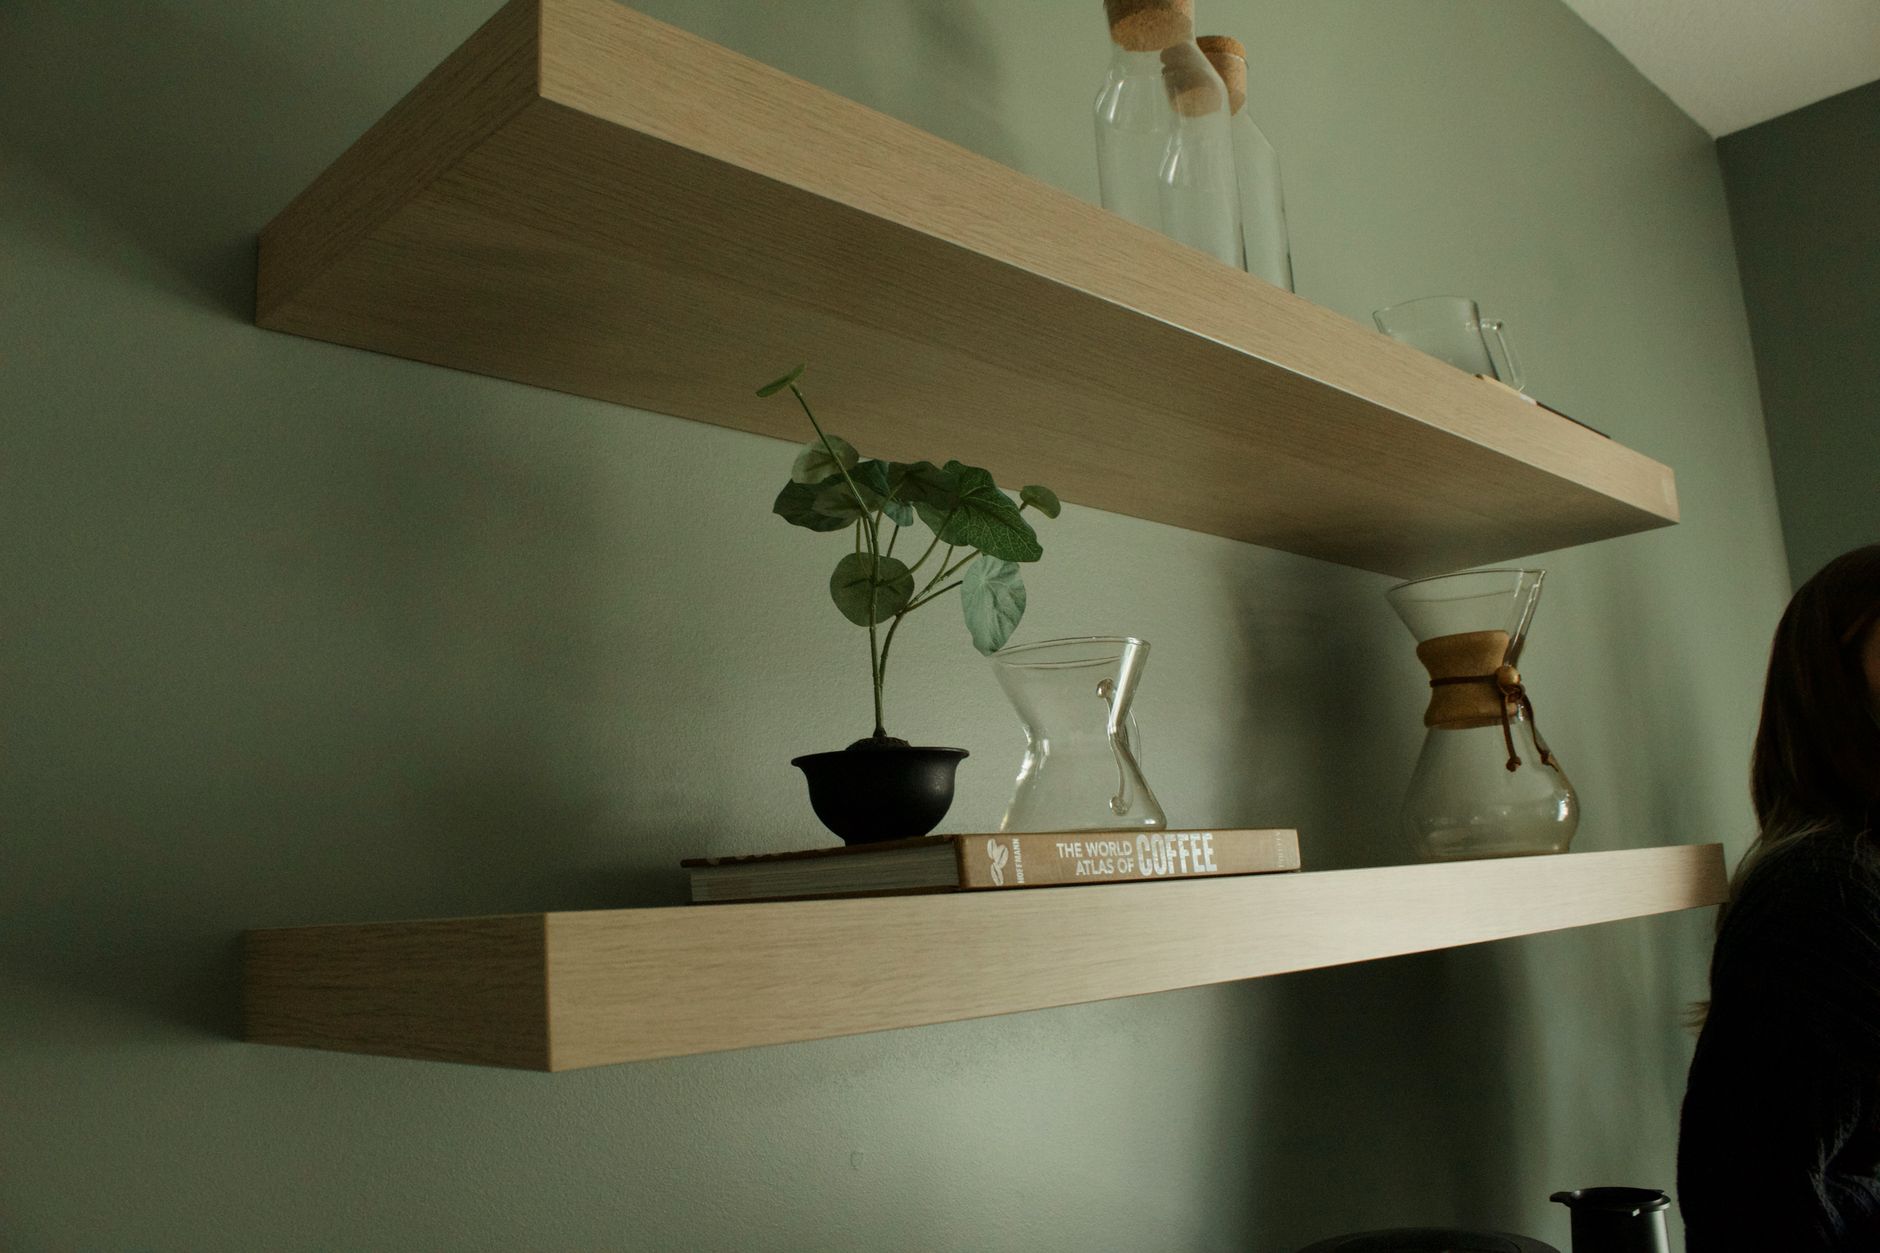
Floating shelves at the home store cost sixty dollars each. I needed four. That was two hundred and forty dollars for some wood and brackets I could build myself for a fraction of the cost. The first set I made was rough — gaps at the wall, slightly uneven — but by the second set I had it dialed in.
Here is the method that works, using a single board and basic tools.
The Hollow-Core Design
Real floating shelves look thick but are actually hollow. You build a rectangular box — top, bottom, front edge — from one board ripped into strips. A 1×8 board, six feet long, can make two shelves about 30 inches wide and 2 inches thick. Rip two strips the full length at 2.5 inches wide for the top and bottom faces, and one strip at 1.5 inches for the front edge.
The Hidden Bracket
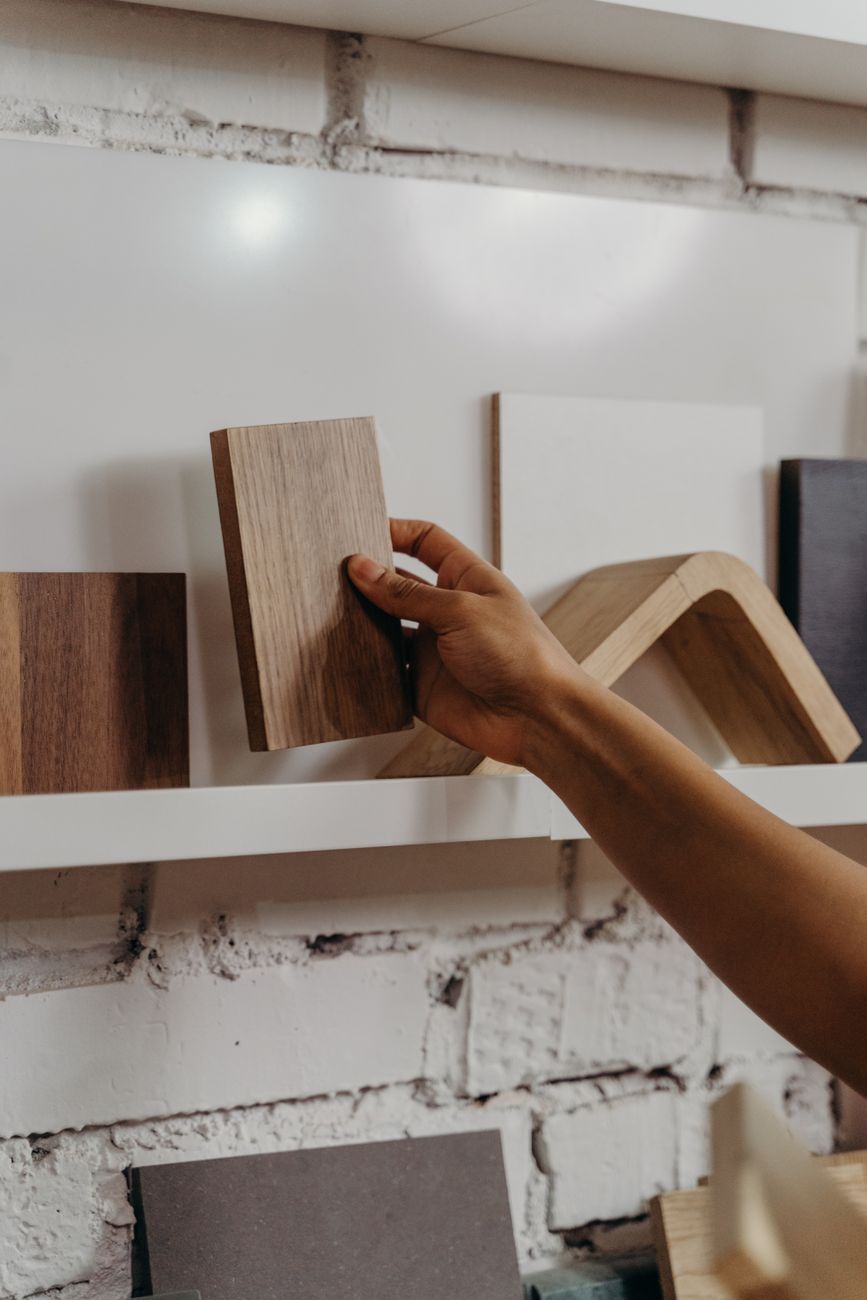
The shelf slides onto a cleat mounted to the wall. Make the cleat from a 1×3 board cut slightly shorter than the inside width of your shelf box. Screw the cleat into wall studs — this is critical, drywall anchors alone will not hold a loaded shelf. The shelf box sits over the cleat and gets screwed into it from the top and bottom. The screws go into the cleat, not the wall, so they are hidden.
Finishing Tricks
Sand everything to 220 grit before assembly. Apply wood filler to any gaps at the corners, let it dry, and sand smooth. Paint or stain before mounting — it is much easier to finish the pieces flat on a workbench than on the wall. For a seamless look, use wood filler along the seam where the shelf meets the wall and touch up with paint after mounting.
📋 Quick Summary: Build a hollow box from one 1×8 board, mount a cleat into wall studs, slide the shelf over it, and finish with paint or stain before mounting.