Weatherstrip Drafty Windows on a Budget with Adhesive Foam Tape
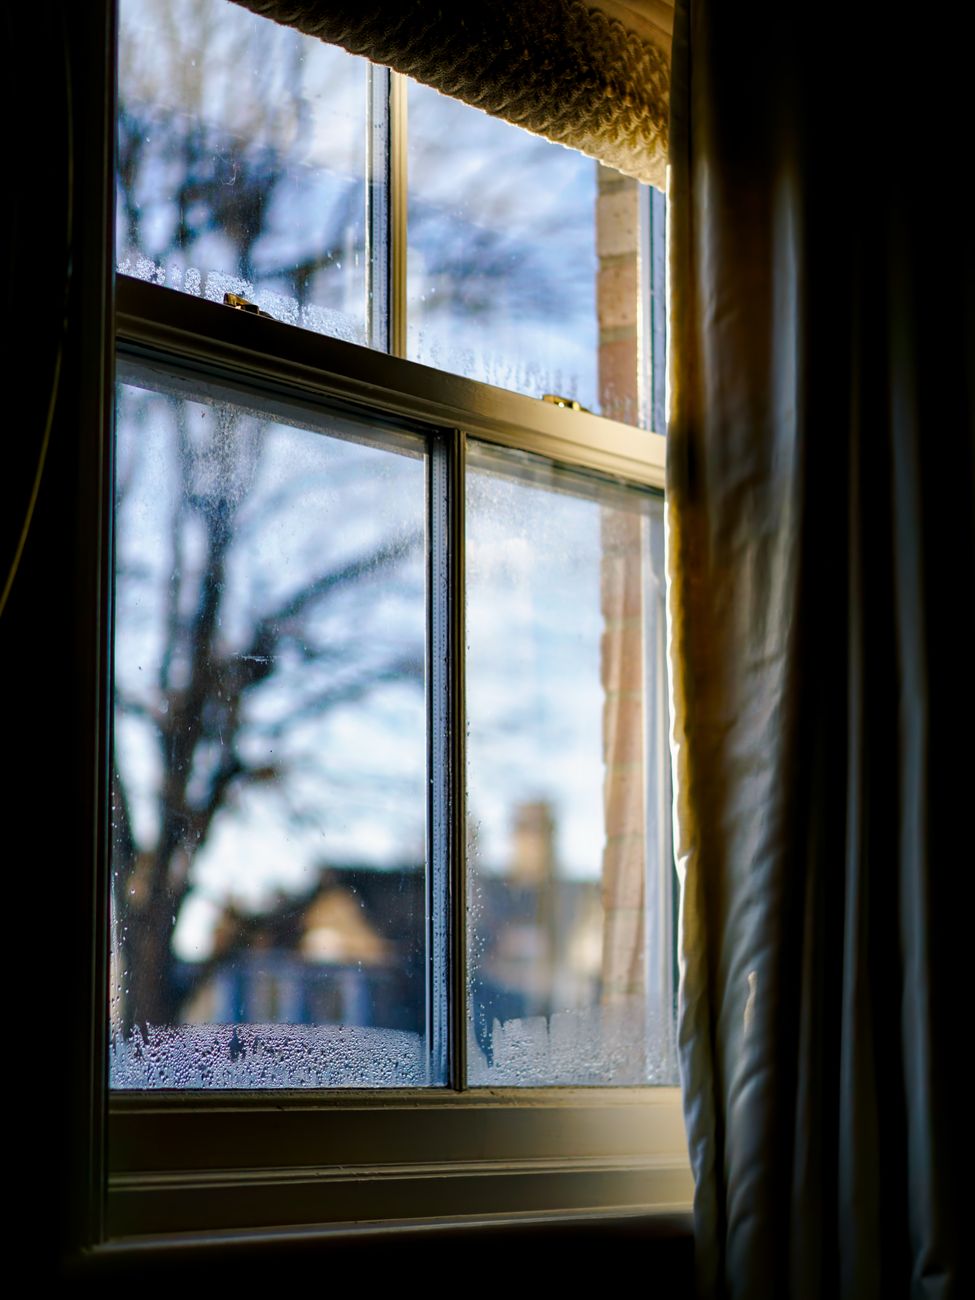
The room next to my home office was freezing every winter. I could feel the cold air pouring in around the window frame, and the heat bill kept climbing. A new window would have cost a fortune. Weatherstripping cost me about twelve dollars.
Adhesive foam tape is the cheapest fix for drafty windows, and it takes twenty minutes per window.
Buy the Right Tape
Get self-adhesive foam weatherstrip tape from any hardware store. For windows that slide up and down, pick a width that fits the gap when the window is closed. The tape comes in rolls for a few dollars and one roll covers a couple of windows.
Clean the Surface First
The tape only sticks to clean, dry surfaces. Wipe the window frame with a damp cloth, then dry it thoroughly. Dust and grease will make the adhesive peel off within a month. I learned this the hard way when my first attempt fell off in two weeks.
Apply It Around the Moving Parts
Stick the tape on the bottom of the bottom sash and the top of the top sash, plus the sides where the sashes slide. Close the window and test the seal. You want the tape to compress slightly when the window is shut, but not so thick that the window will not close.
Test With Your Hand
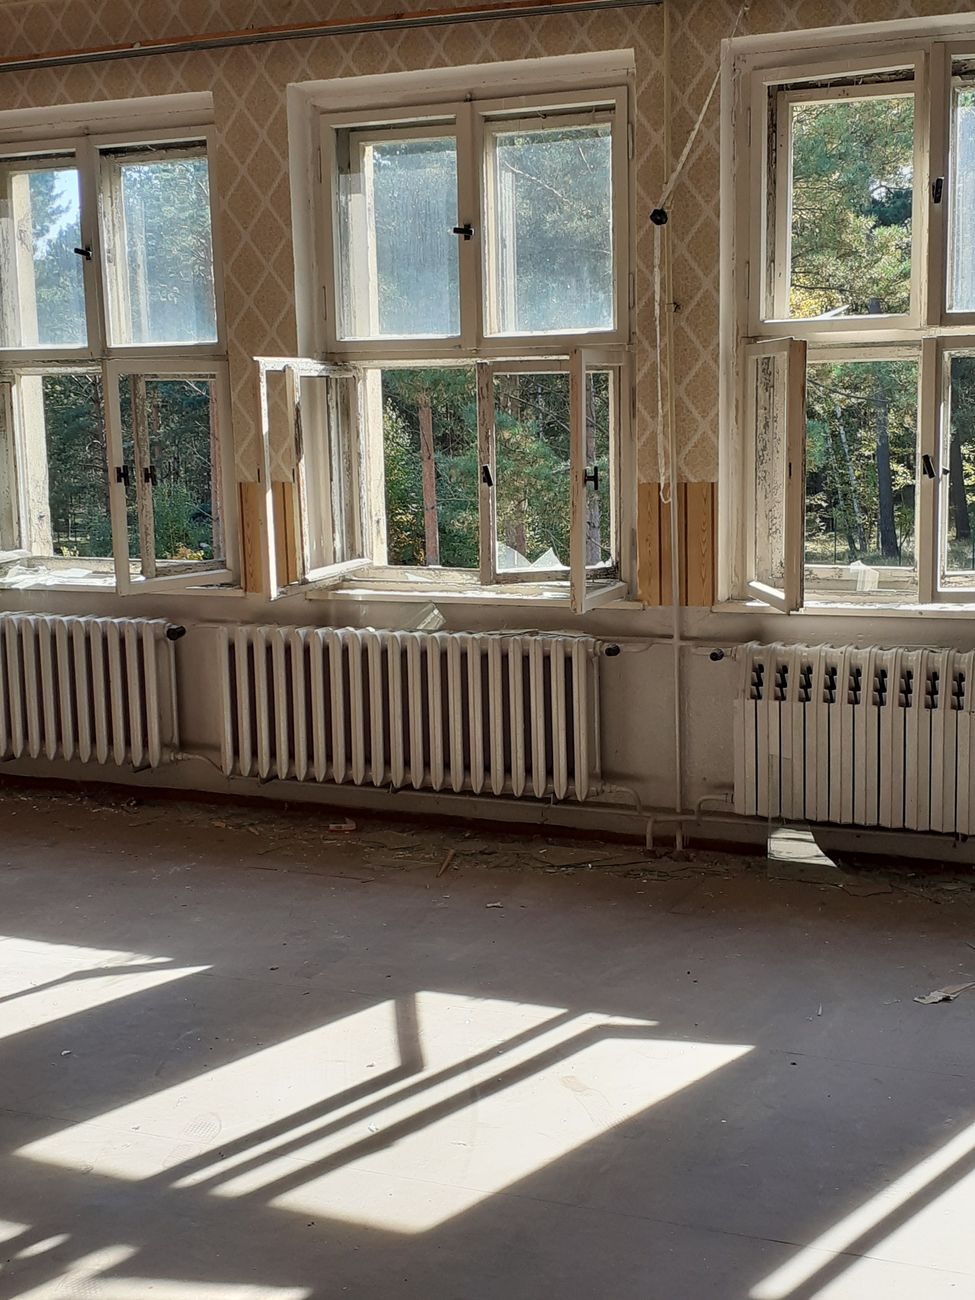
Run your hand around the frame on a windy day. Anywhere you feel a draft, add tape. Also check the gap under the window sill. A lot of cold air sneaks in there and people never think to look.
Replace It Every Couple of Years
Foam tape flattens and loses its spring over time. Peel it off and reapply when it stops sealing. It is a twenty minute job that pays for itself in heating savings by the end of one winter.
My office is warm now, the bill is lower, and I did not have to explain a big window purchase to anyone.
📋 Quick Summary: Clean the window frame, apply self-adhesive foam tape around the sashes, and test the seal by hand on a windy day.