Caulk Bathroom Edges Like a Pro with Painter’s Tape
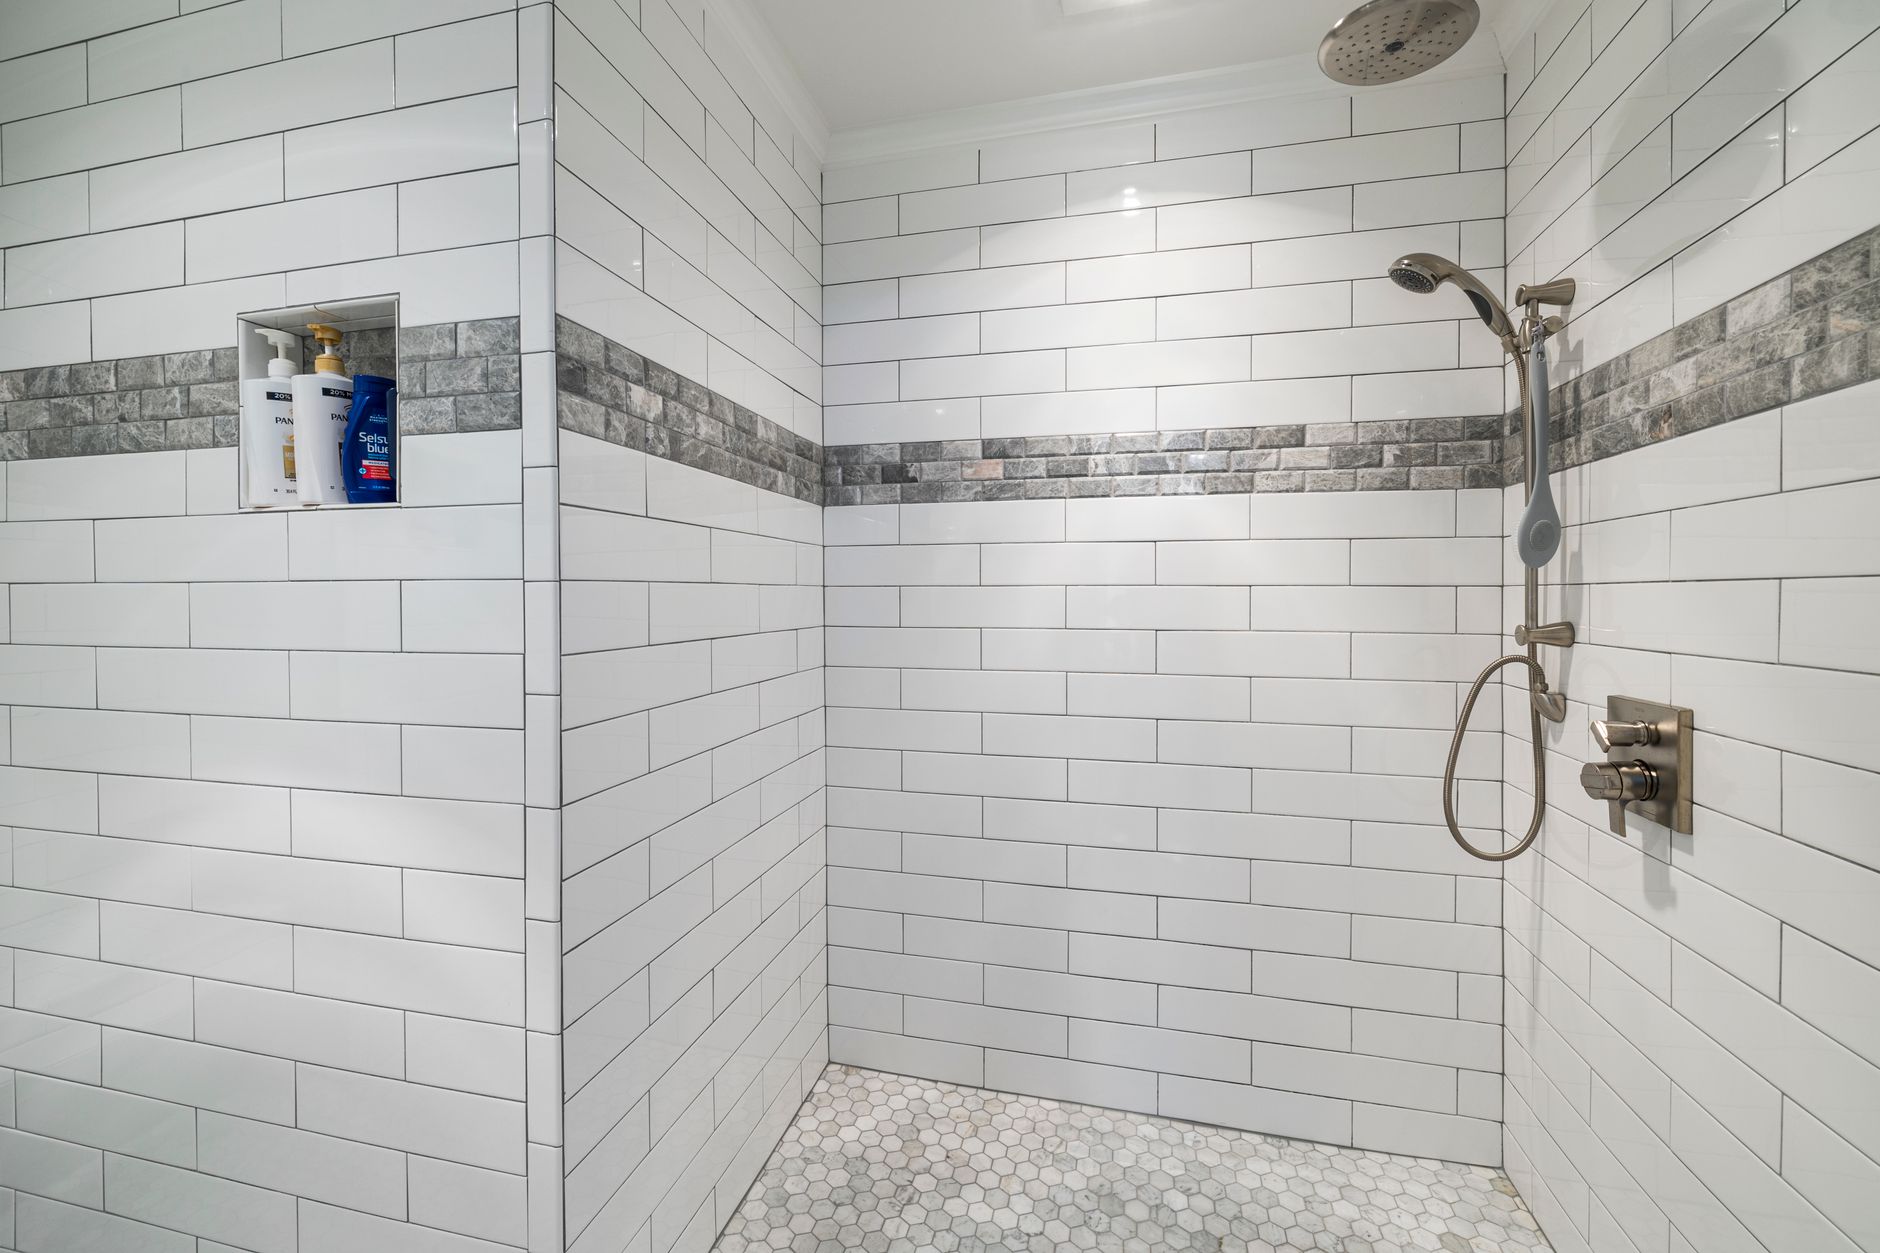
My first attempt at caulking a bathtub looked like a kindergartner had done it with a glue stick. Wobbly lines, smeared edges, and a mess that took longer to clean up than the caulk job itself. Then I learned the painter’s tape trick and it changed everything.
The tape is the whole secret
The reason caulk lines look bad is that the sealant spreads past where you want it. The fix is to mask it off. Run a strip of painter’s tape above and below the joint, leaving just the gap exposed.
Apply the caulk, smooth it with a wet finger, then peel the tape off immediately, before the caulk skins over. What is left is a clean, straight line that looks professionally done.
The full flow
- Cut away the old caulk with a utility knife and clean the surface.
- Let the area dry completely.
- Tape above and below the joint.
- Apply a steady bead of caulk.
- Smooth it with a wet finger, then pull the tape.
A few things I learned the hard way: do not overfill the joint, keep a damp rag handy, and do not let the caulk dry before you pull the tape or it will peel the line apart.
The difference is night and day. My bathroom went from something I was embarrassed by to something that looks like I hired someone, all for the cost of a roll of tape.
📋 Quick Summary: Mask the joint with painter’s tape, apply caulk, smooth, then pull the tape while it is still wet.