How to Caulk Like a Pro Without Making a Mess
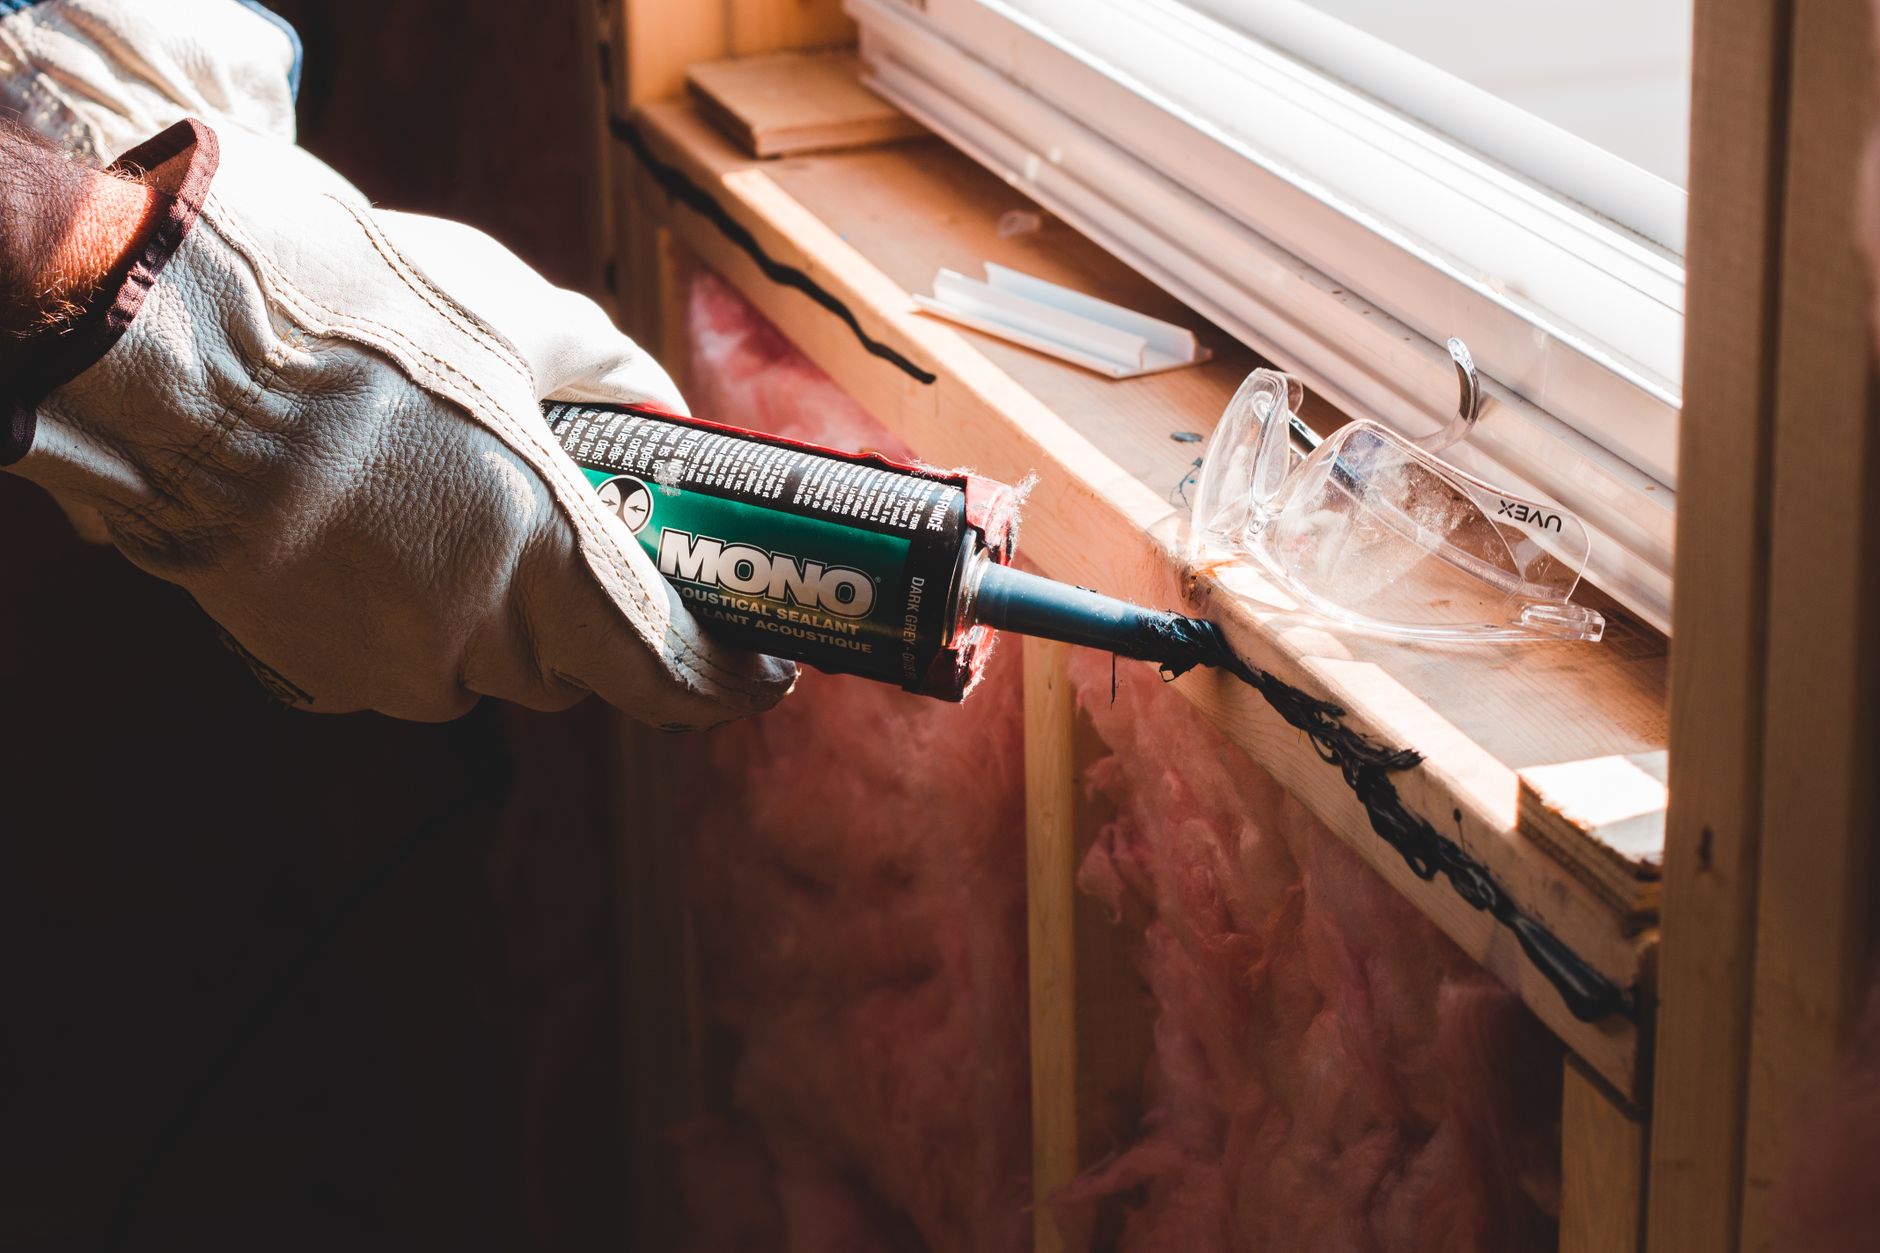
My father-in-law is a contractor. The first time he watched me caulk a bathtub he literally winced. Then he took the caulk gun out of my hand and showed me three things that I have used ever since.
The difference between a caulk job that looks professional and one that looks like a kindergartner used a glue stick is about 90% technique and 10% the right tools.
The Tape Trick
Before you touch the caulk gun, lay down two strips of painter’s tape — one on each side of the joint you are caulking. Leave exactly the gap width you want the caulk line to be. For a bathtub, that is about a quarter inch on each side.
Apply the caulk. Smooth it with your finger. Then pull the tape off immediately — do not let the caulk skin over or the tape will tear the bead. What remains is a perfectly straight line with clean edges.
Cut the Tip Right
Cut the caulk tube tip at a 45-degree angle. The hole should be smaller than you think — you can always cut more, you cannot uncut. A hole about the size of a pencil lead is right for most interior jobs.
Push the caulk — do not pull it. Pushing forces the caulk into the gap rather than laying it on top. Hold the gun at a consistent angle and move at a steady speed. Jerky movement = wavy bead.
The Finger Dip
After laying the bead, dip your finger in water with a drop of dish soap. Run your finger along the bead in one smooth motion. The soapy water stops the caulk from sticking to your finger and gives a smooth finish. Wipe excess on a paper towel.
Do not go back over it. Multiple passes create ridges. One pass, one direction.
📋 Quick Summary: Tape both sides, cut tip at 45 degrees, push the caulk, smooth with a soapy finger, remove tape immediately — professional results.