How to Refinish a Thrift Store Nightstand and Make It Look Expensive
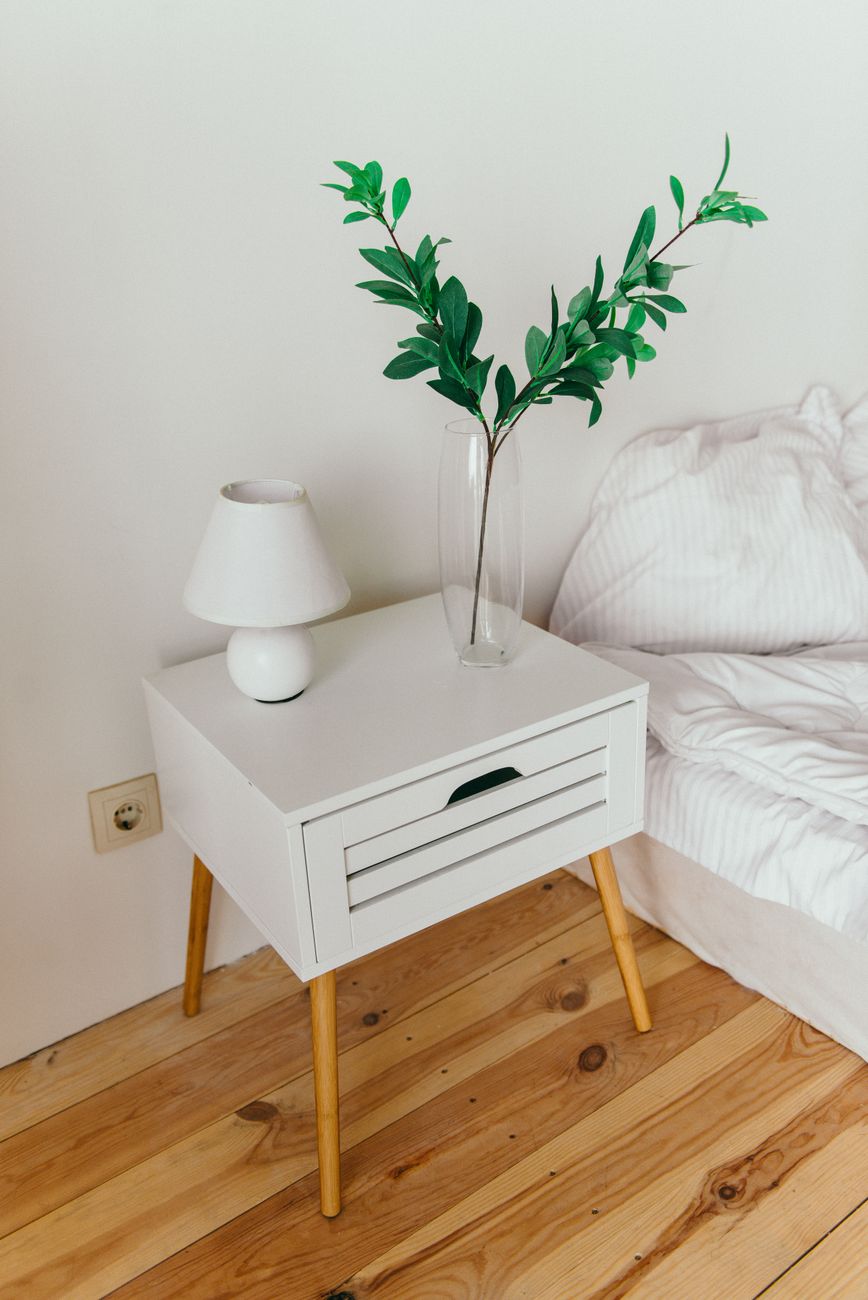
I paid twelve dollars for a nightstand at Goodwill. It was ugly — dark brown stain, scratched to oblivion, brass handles with that green oxidation that screams “basement storage since 1998.” My partner saw me carry it in and said “that is going in the garage, right?” Three days later — working an hour or two each evening — it looked like something from a boutique furniture store. She asked where I bought it.
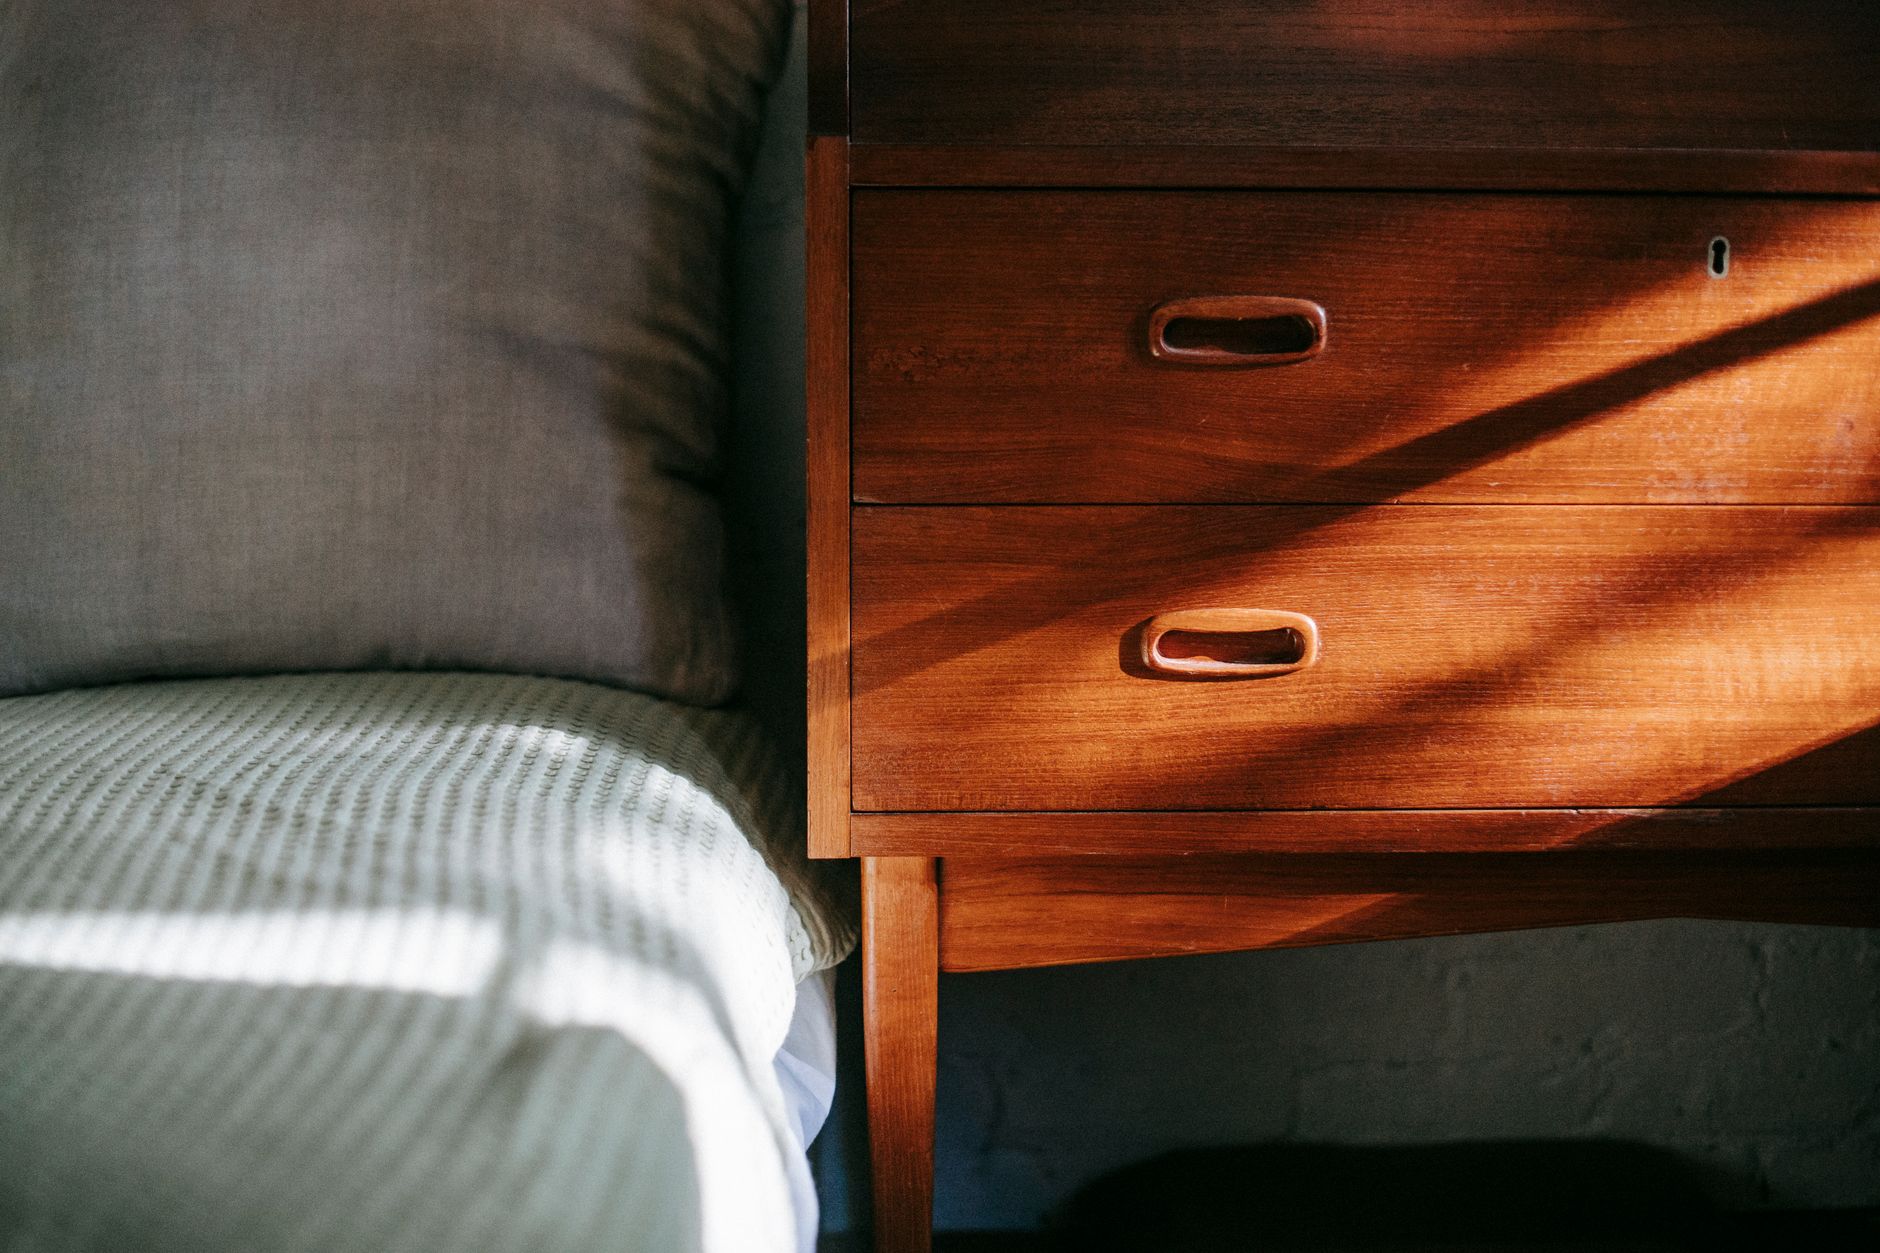
Refinishing furniture is not hard. It is tedious. The difference between a piece that looks “refinished” and one that looks expensive is patience — specifically, patience with sanding. Here is the whole process.
Step One: Sanding (Do Not Rush This)
Remove the hardware — knobs, pulls, hinges. Set them aside. If the nightstand has drawers, pull them out and sand them separately.
Start with 80-grit sandpaper if the existing finish is thick or glossy. Use an orbital sander if you have one — it cuts the time in half. If not, a sanding block works. The goal is to remove the old finish down to bare wood. Wear a dust mask. This is the messy part.
After the old finish is gone, switch to 120-grit to smooth the surface, then finish with 220-grit. Run your hand over the wood — it should feel smooth as glass. Any roughness now will show through the stain later. Wipe everything down with a tack cloth or a damp rag to remove all dust. Let it dry completely.
Step Two: Stain or Paint
For a natural wood look, apply wood stain with a foam brush or rag. Work in the direction of the grain. Apply, let it sit for 5-15 minutes depending on how dark you want it, then wipe off the excess with a clean rag. The longer it sits, the darker it gets.
I used gel stain on my nightstand — it sits on top of the wood rather than soaking in, which is more forgiving on cheap wood that stains unevenly. One coat, wiped off after ten minutes, looked rich and even.
If you prefer paint, use chalk paint or a paint with built-in primer. Two thin coats are always better than one thick coat.
Step Three: Seal It
Stain adds color. Polyurethane adds protection. Brush on a thin coat of clear polyurethane — satin or semi-gloss, your preference. Let it dry per the can instructions (usually 4-6 hours), lightly sand with 220-grit, wipe dust, apply a second coat. Two coats minimum for a surface that will have a water glass set on it regularly.
Step Four: Hardware Swap
This is the step that transforms the piece. The original brass knobs on my nightstand went in the trash. I replaced them with matte black bar pulls — eight dollars for a two-pack at the hardware store. New hardware alone can make a cheap piece look custom.
Measure the distance between the screw holes before you buy replacements. Standard drawer pulls are 3-inch or 5-inch center-to-center. If the holes on your piece are a weird size, fill them with wood filler, sand, and drill new ones.
📋 Quick Summary: Transform a thrift store nightstand by sanding to bare wood (80→120→220 grit), applying stain or paint, sealing with two coats of polyurethane, and swapping old hardware for modern pulls. The whole project takes a weekend of evening work and costs under thirty dollars in materials.