How to Cut Crown Molding Corners Without a Miter Saw
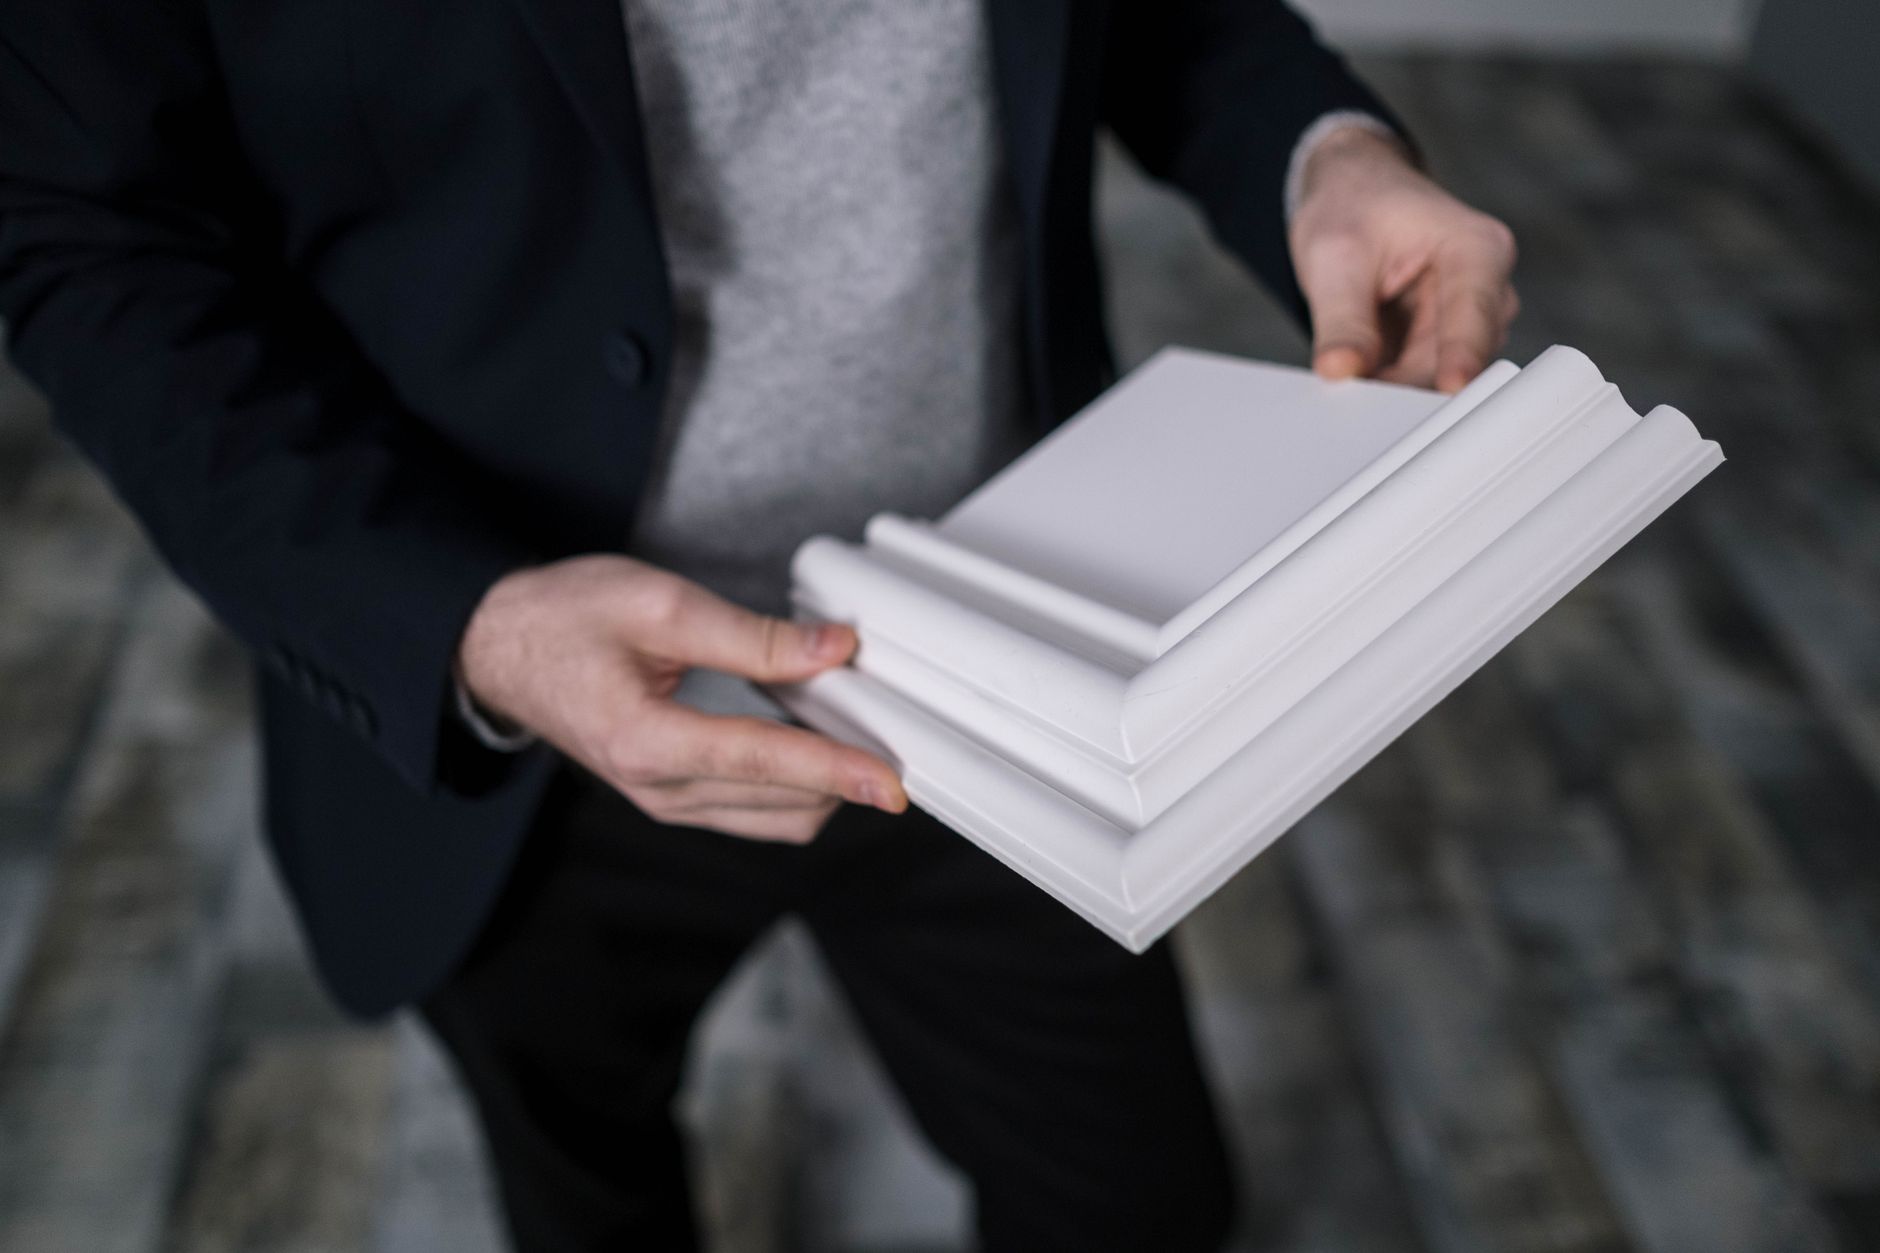
I decided to install crown molding in my living room because I watched a YouTube video that made it look easy. I did not own a miter saw. I owned a circular saw and a lot of confidence. The confidence was misplaced.
But you actually can cut crown molding corners without a miter saw. It takes more patience and a different approach, but the results can be just as clean. Here is how.
Method one: The coping joint (the real answer)
Professional carpenters do not miter both sides of an inside corner. They cope one side. Coping means cutting the profile of the molding into the end of one piece so it fits perfectly against the face of the adjacent piece. It sounds complicated and it kind of is, but you can do it with a coping saw — a hand tool that costs about ten dollars.

- Cut the first piece of molding square (90 degrees) so it butts into the corner.
- Cut the second piece at a 45-degree miter — this exposes the profile you need to cope. You can do this with a circular saw if you clamp a guide board.
- Use a coping saw to cut along the exposed profile line. Follow the contour of the molding. Undercut slightly — angle the saw back so only the front edge of the molding touches the adjoining piece.
- Test fit and file or sand any spots where the cope does not sit flush.
The beauty of a coped joint is that it stays tight even when the wood expands and contracts with humidity. Mitered inside corners open up over time. Coped corners do not.
Method two: The miter box (cheap and effective)
A plastic miter box with a hand saw costs under twenty dollars at any hardware store. It has pre-cut slots at common angles — 45 and 90 degrees. You clamp the molding in the box and saw through the guide slots. It is slower than a power miter saw but just as accurate for small jobs. I have done an entire room with a miter box and it took a Saturday. Not fast but accurate.
Method three: The circular saw angle cut
If you must use a circular saw, clamp a straightedge guide at the angle you need — usually 45 degrees. Set the saw blade depth just deep enough to cut through the molding. Make the cut in one smooth motion. The edge will not be as clean as a miter saw cut but you can sand it smooth.
Important: Crown molding sits at an angle against the wall and ceiling — usually 38 or 45 degrees. You cannot just cut it flat. You need to position it upside down against the saw fence at the same angle it will sit on the wall. This is called cutting “in position” and it is where most people mess up. If you cut it flat you will get gaps at the top or bottom of your corners.
What I wish I knew before starting
Buy extra molding. At least ten percent more than you think you need. You will miscut. You will cut a piece perfectly and realize it is an inch too short. This is normal. Extra material is cheaper than another trip to the store.
Also: paint the molding before you install it. Touch up nail holes after. Trying to paint crown molding that is already on the ceiling is a neck injury waiting to happen.
📋 Quick Summary: Use a coping saw to cope one side of inside corners — it stays tight as wood moves. A cheap miter box works for 45-degree cuts. When using a circular saw, cut the molding “in position” at the angle it sits on the wall.