How to Fix a Leaky Faucet Without Calling a Plumber
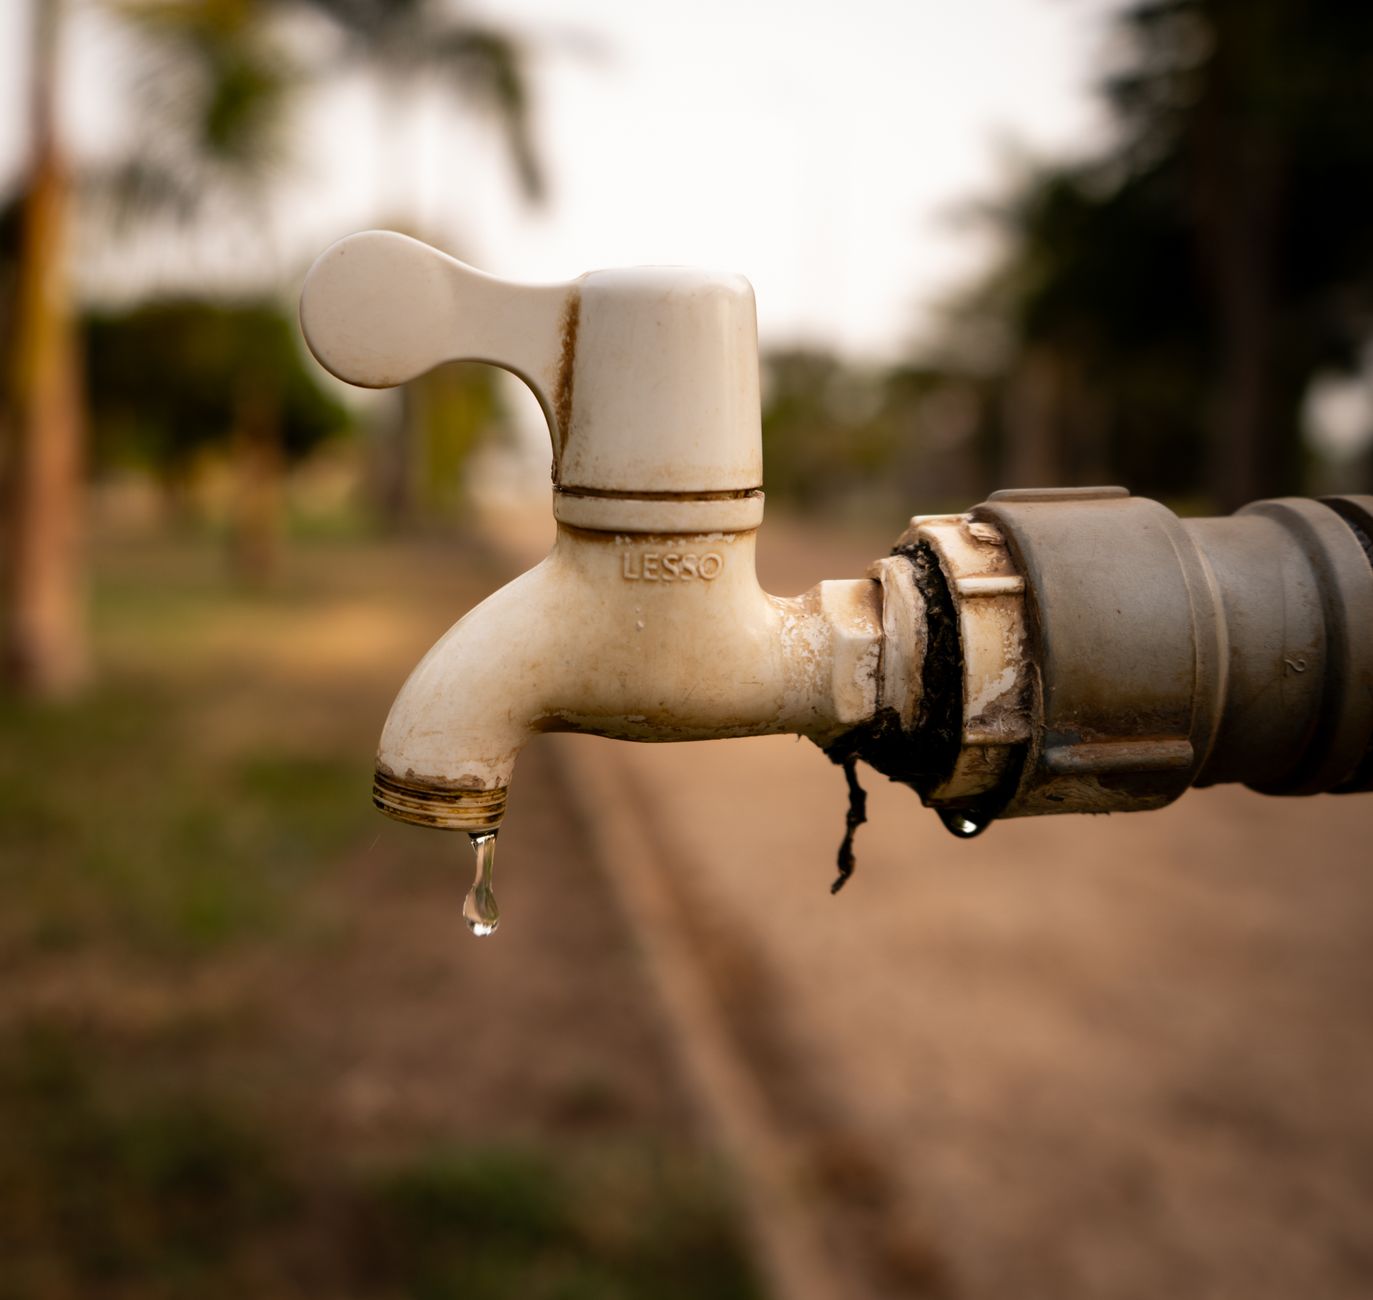
My bathroom faucet dripped for three months. Drip. Drip. Drip. Every night I’d lie in bed hearing it and tell myself I’d call a plumber tomorrow. Then I finally looked up how to fix it and realized the vast majority of faucet leaks are caused by a worn-out rubber washer that costs about fifty cents.
A plumber would have charged me $150. I fixed it in under an hour with a screwdriver and a trip to the hardware store. Here’s how, broken down by faucet type because they’re not all the same inside.
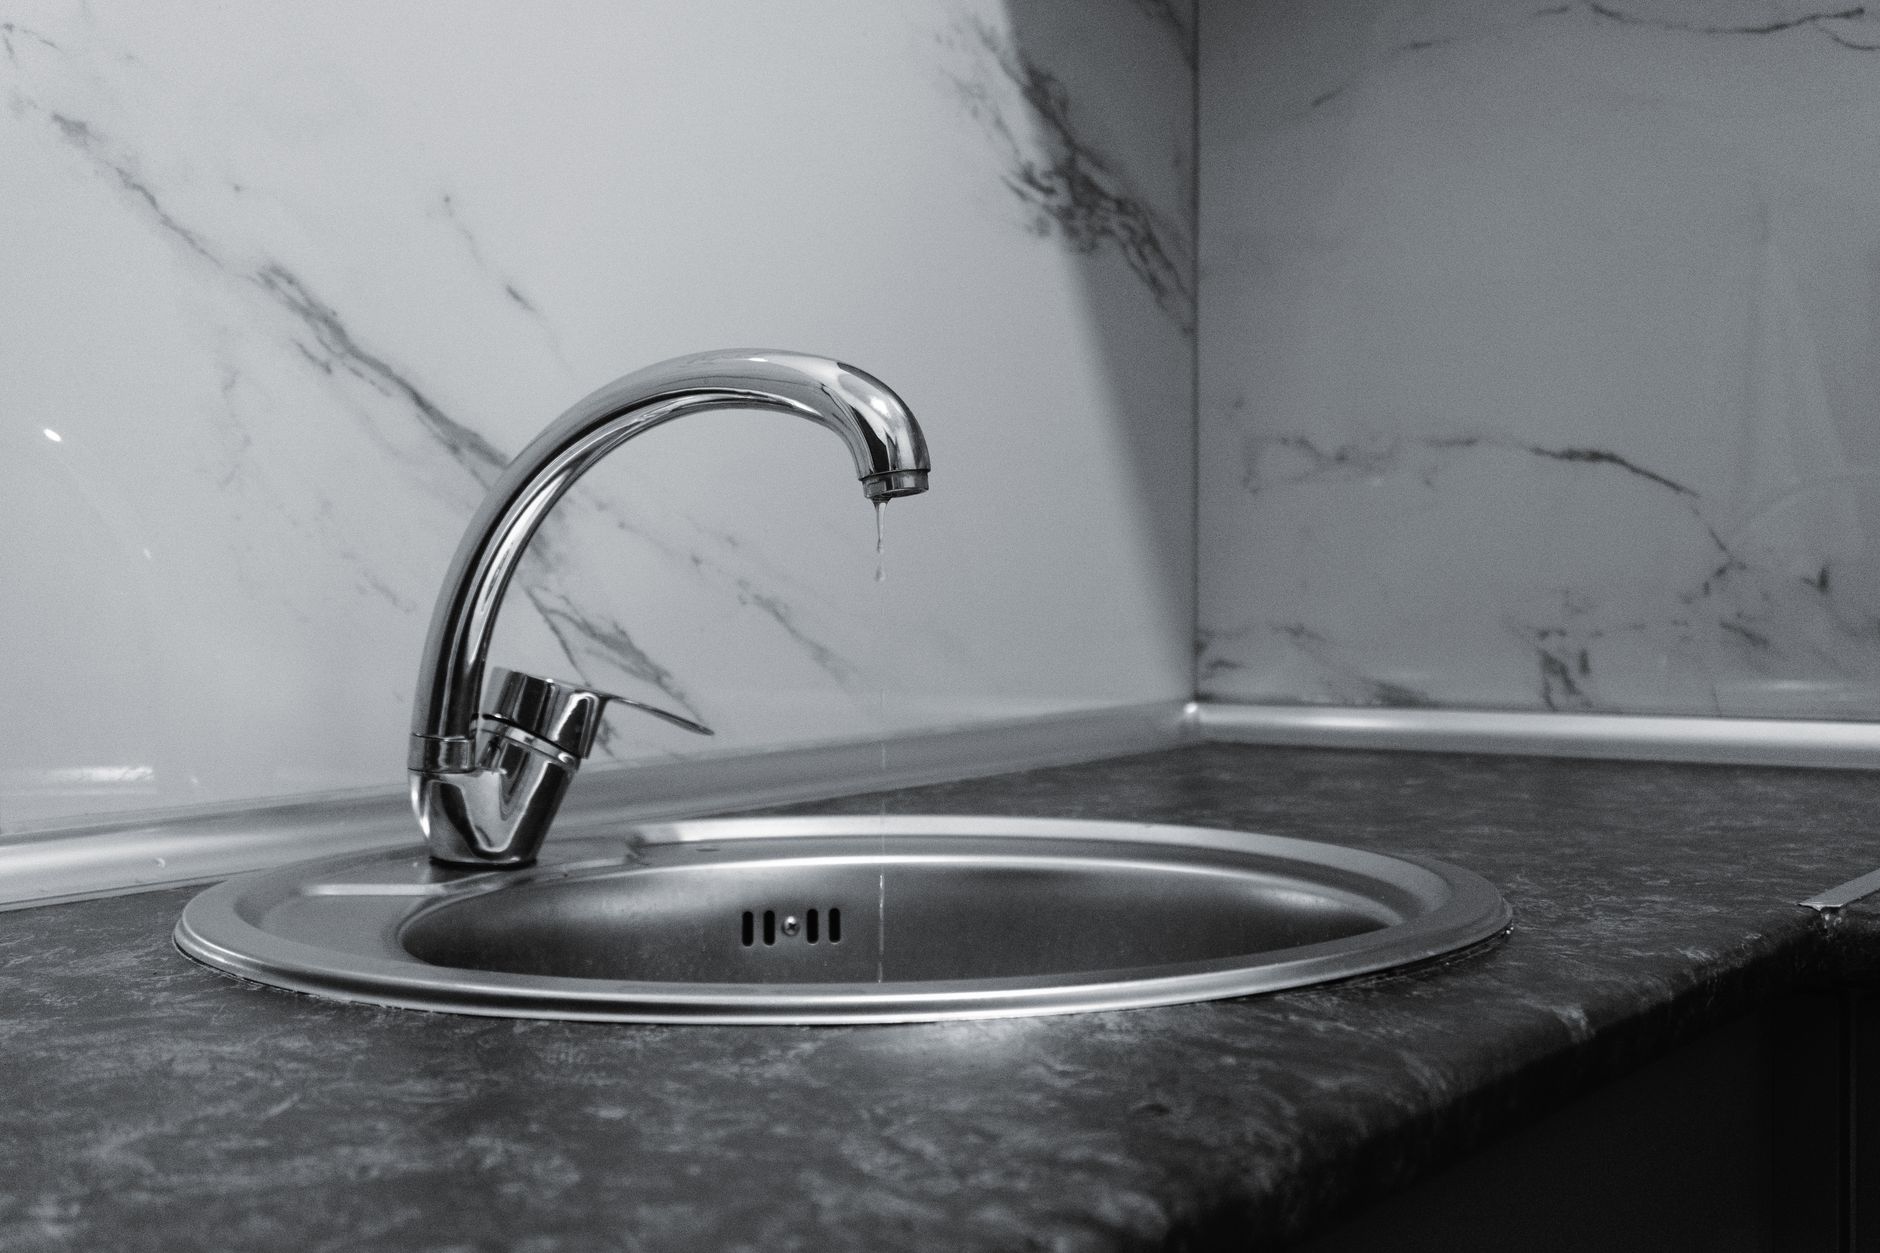
Step zero: turn off the water
There are shutoff valves under the sink. Turn them clockwise until they stop. If your sink doesn’t have shutoff valves — some older houses don’t — turn off the main water supply. Then turn the faucet on to release any pressure and drain the remaining water in the line. Skip this step and you will get a face full of water when you open up the faucet. Ask me how I know.
Put a towel in the sink. You’re going to drop small parts. The towel catches them instead of them disappearing down the drain forever. Also: take a photo of every step as you disassemble. When you’re putting it back together, you will not remember which way that little plastic ring was facing.
Compression faucet (two handles, one hot, one cold)
This is the most common type and the easiest to fix. Pry off the decorative cap on top of the handle — it probably has a “H” or “C” on it. Underneath is a screw. Remove it, pull off the handle.
You’ll see a packing nut. Unscrew it with an adjustable wrench. Pull out the stem assembly. At the bottom of the stem is a small rubber washer held on by a brass screw. This washer is almost certainly the problem. It’s flattened or cracked or just worn down from years of being pressed against the valve seat.
Take the old washer to the hardware store. Buy an exact match — not “close enough.” A washer that’s slightly too big or too small will either not seal or not fit. They cost pocket change. Buy a few extras. While you’re there, check the O-ring on the stem — if it looks cracked, replace that too.
Reassemble everything in reverse order. Turn the water back on. If it still drips: the valve seat itself might be corroded. They sell a valve seat dressing tool for about ten bucks that resurfaces it. Or you can replace the entire stem assembly for fifteen to twenty dollars — still way cheaper than a plumber.
Cartridge or ball faucet (single handle)
Single-handle faucets use either a cartridge or a ball mechanism. Both are replaced as a unit — you don’t fix individual parts inside. Buy a replacement cartridge or ball kit specific to your faucet brand. Moen, Delta, Kohler — they all use different parts and they are not interchangeable.
The disassembly is similar: remove the handle, unscrew the retaining nut, pull out the old cartridge. Insert the new one, making sure the alignment tabs line up. Reassemble. The whole job is literally removing one part and inserting the new one.
- Turn off water first: Shutoff valves under sink or main supply
- Compression faucet: Replace the washer at the bottom of the stem (~$0.50)
- Single handle faucet: Replace the cartridge or ball as a unit (~$15-20)
- If still dripping: Resurface the valve seat or replace the stem assembly
📋 Quick Summary: Most faucet leaks are a fifty-cent rubber washer that’s worn out — turn off the water, disassemble the handle, replace the washer (or cartridge for single-handle faucets), and you’re done in under an hour.