The Trick to Painting a Room Without Getting Paint on the Ceiling
The first room I ever painted, I got white ceiling paint on the blue wall and blue wall paint on the white ceiling. The line between them looked like a seismograph during an earthquake. I tried to fix it with a tiny artist’s brush. It took four hours and still looked bad.
There is a sequence of techniques that makes a perfectly clean line between wall and ceiling, and none of them involve a tiny brush.
The real secret is the order of operations
Paint the ceiling first. Always. Let it dry completely — at least four hours, preferably overnight. When you paint the ceiling, you can be sloppy where it meets the wall. Overlap onto the wall by half an inch. You are going to cover that with wall paint anyway. Then when you paint the walls, you have a dry, stable ceiling edge to work against.
The tape trick most people get wrong
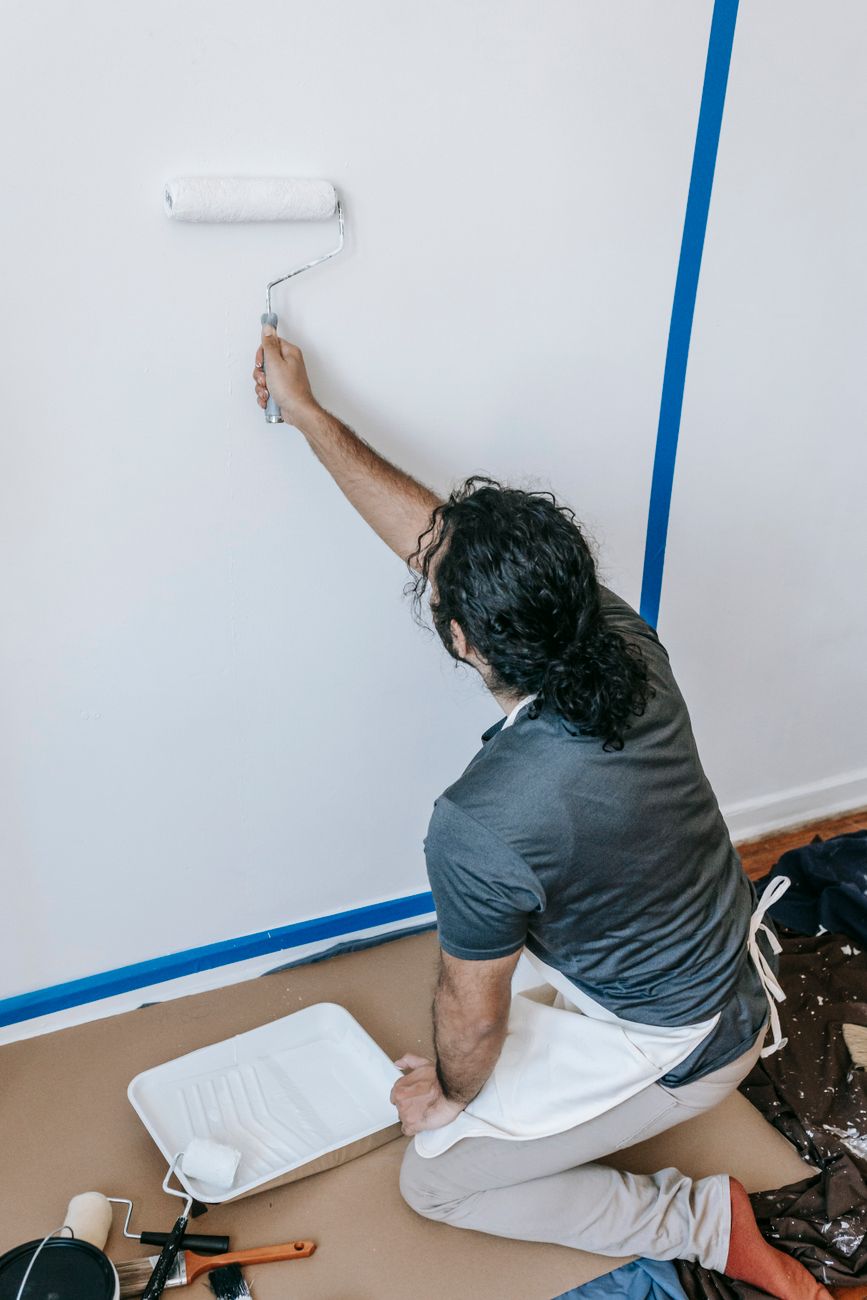
Blue painter’s tape gives you a clean line — if you use it correctly. Most people stick it to the ceiling edge and paint right over it. That works, mostly. But here is the upgrade: after you apply the tape to the ceiling, run a damp fingertip along the edge where it meets the wall. Then paint the wall color over the tape edge with a light coat first — this seals the tape edge with wall paint. Any bleed-through will be wall color against wall color, which is invisible. Then do your normal wall coat. When you peel the tape at a forty-five-degree angle while the paint is still slightly tacky, the line is razor sharp.
The no-tape method if you have a steady hand
Some people skip tape entirely and cut in by hand with an angled sash brush. The technique: load the brush with paint, tap off the excess, and hold it so the longer bristles are at the ceiling line. Press gently so the bristles fan out, and pull along the line in one smooth stroke. Do not stop midway. Stopping creates a ridge. If your hand shakes, you are human — keep a damp rag nearby and wipe mistakes immediately.
I use tape because my hand is not that steady. My dad can cut in freehand and it looks lasered. He has been painting for forty years. I have not.
That first room — the one with the earthquake ceiling line — I eventually painted a third coat just on the wall near the ceiling to hide the mess. It took an entire Saturday. The next room I painted took two hours and looked professional. Order of operations is everything.
📋 Quick Summary: Paint the ceiling first and let it dry. Use tape with the “seal coat” technique or learn to cut in freehand with an angled sash brush.