Assemble Flat-Pack Furniture Without the Frustration
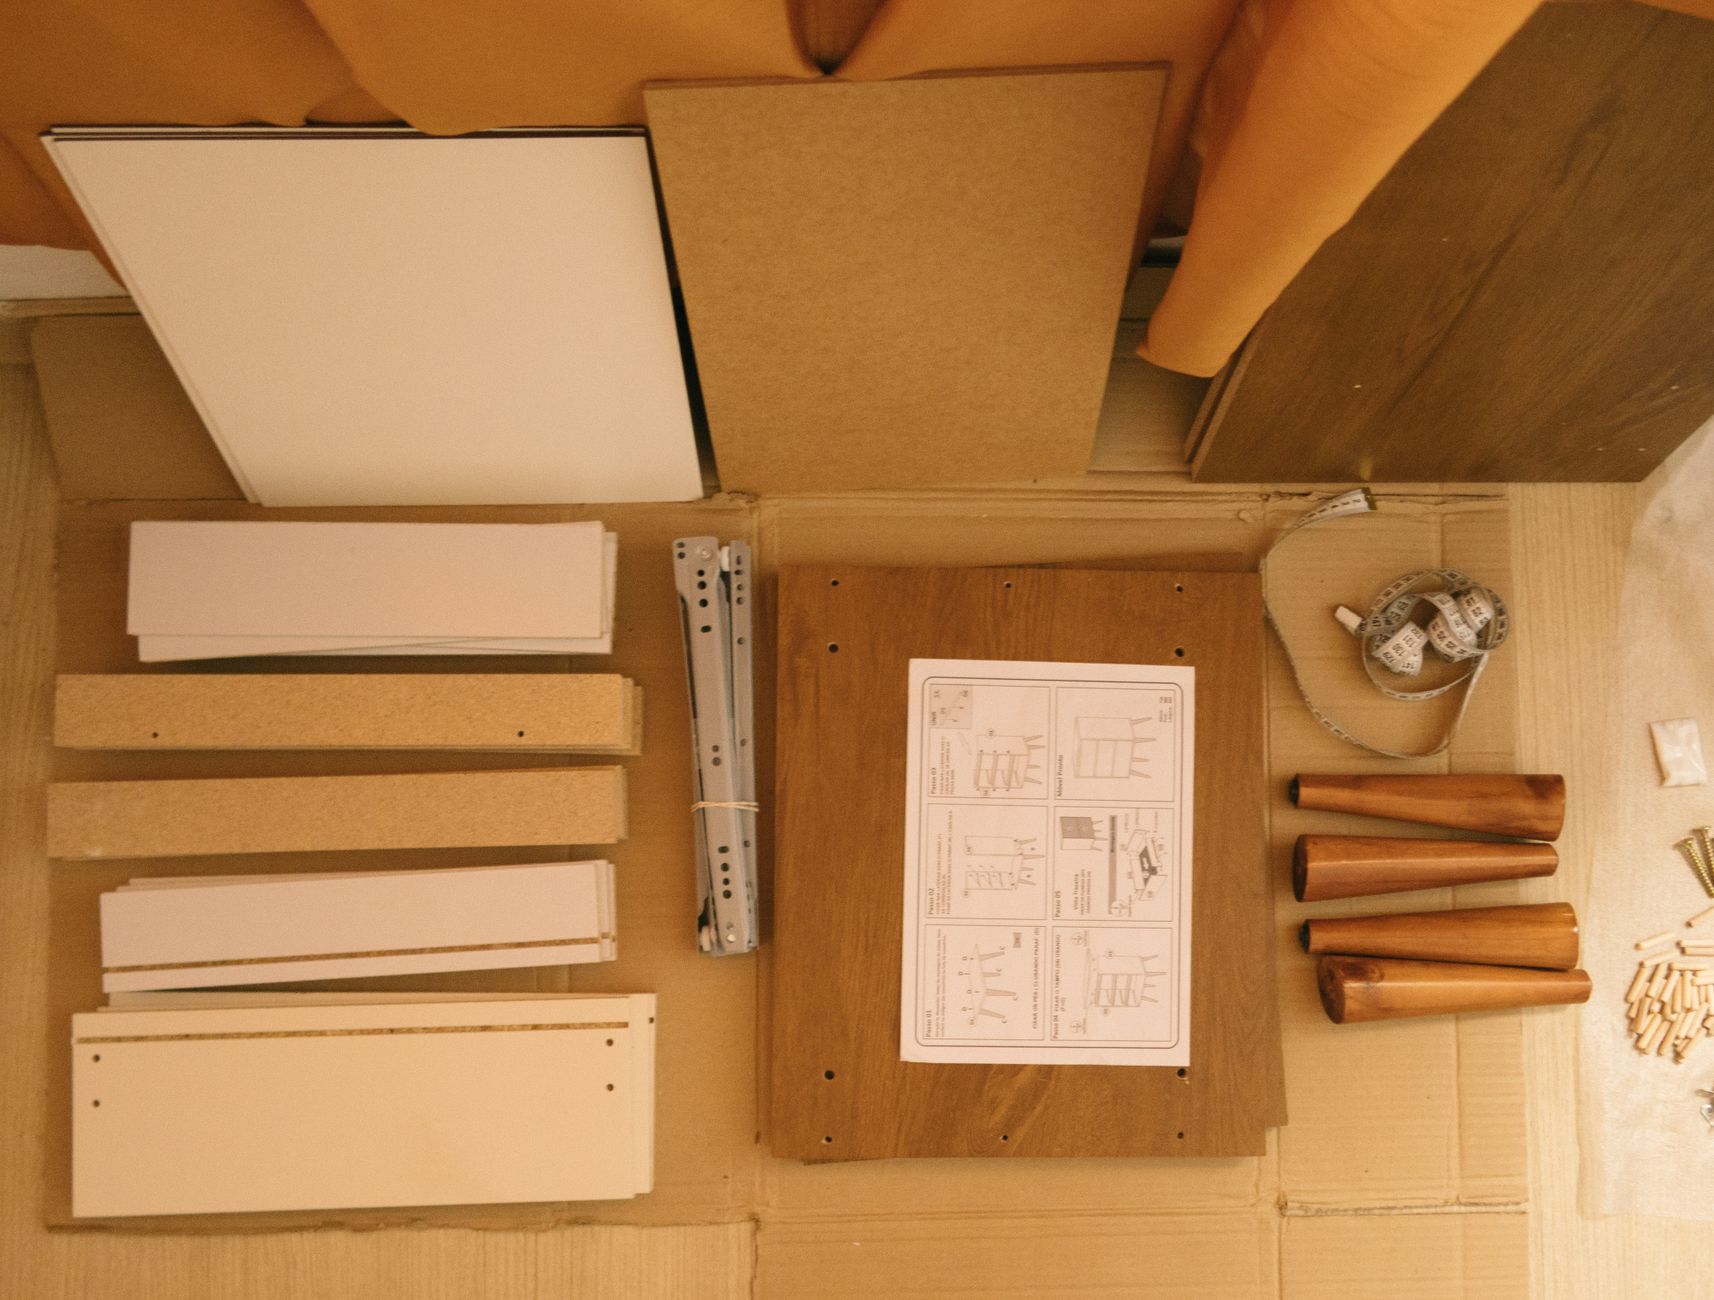
I have built twelve pieces of flat-pack furniture in the last three years. Bookshelves, desks, dressers, a bed frame that came in two boxes and weighed more than I expected. The first one took four hours and involved one stripped screw, two backwards panels, and a brief moment where I seriously considered lighting the whole thing on fire. The twelfth took forty-five minutes. Here is what changed.
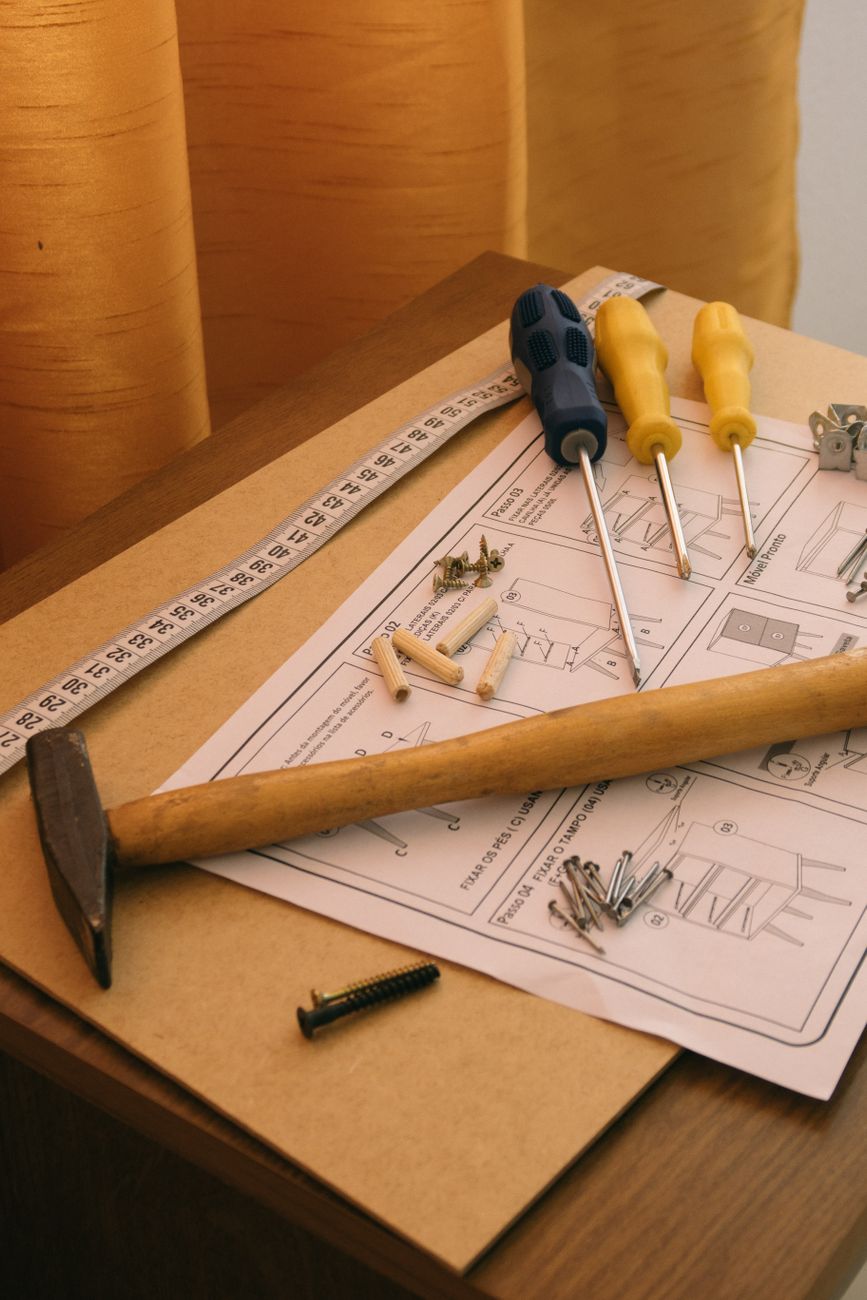
Read the manual all the way through first
Yes, I know. You want to start building. But flat-pack instructions are pictograms, not prose, and skipping ahead means discovering on step fourteen that you should have oriented the side panel differently on step three. The five minutes spent scanning every page before you touch a screwdriver will save you an hour of disassembly and cursing.
I learned this the hard way on a dresser where the drawer slides were directional. I installed all six backwards and only realized when the drawers would not close. The redo took longer than the original build.
Sort hardware before you touch a panel
Dump all the hardware onto a muffin tin or egg carton and sort by type. The instructions include a hardware diagram with actual-size illustrations of each screw, dowel, and cam lock. Match each pile to the diagram. If you are short a screw, you want to know now, not when you are holding two panels together with one hand and reaching for a missing fastener with the other.
I also count everything. The parts list says sixteen cam locks? Count them. Most flat-pack furniture includes a few extra small pieces, but not always. Finding out you are one dowel short at 11 PM when the store is closed is not a good time.
The right tools matter
Flat-pack furniture almost always includes a tiny stamped-metal Allen key. Throw it in a drawer and use a ratcheting screwdriver with hex bits instead. Your wrist will thank you. A cordless drill on the lowest torque setting speeds things up dramatically, but never use high torque on particle board it strips the pre-drilled holes instantly.
A rubber mallet is also worth owning. Sometimes dowels need encouragement to seat fully, and a regular hammer will crush the wood. The mallet delivers force without damage.
Do not fully tighten anything until the end
Leave every screw and cam lock finger-tight until the entire piece is assembled and squared up. Once everything is aligned, go through and tighten systematically. Tightening as you go locks in misalignments that make drawers stick and doors hang crooked. A carpenter’s square costs six dollars and confirms your corners are actually ninety degrees before final tightening.
Quick Summary: Read every page before starting, sort hardware into a muffin tin, use a ratcheting screwdriver and rubber mallet, and leave everything finger-tight until the piece is fully assembled and squared.