Get Your Snow Blower Ready Before the First Storm
The first snowfall of 2019, I walked out to the garage, pulled the starter cord on my snow blower, and nothing happened. Pulled again. Nothing. Pulled harder. The cord snapped back and hit my knuckle hard enough to bruise. I stood there in the cold, looking at six inches of fresh snow on the driveway, holding my throbbing hand.
The snow blower had sat in the garage since March with old gas in the tank. Old gas turns to varnish. Varnish clogs the carburetor. A clogged carburetor means the engine does not start. This is the most avoidable snow blower problem and it happens to millions of people every winter.
Here is what to do before the snow arrives.
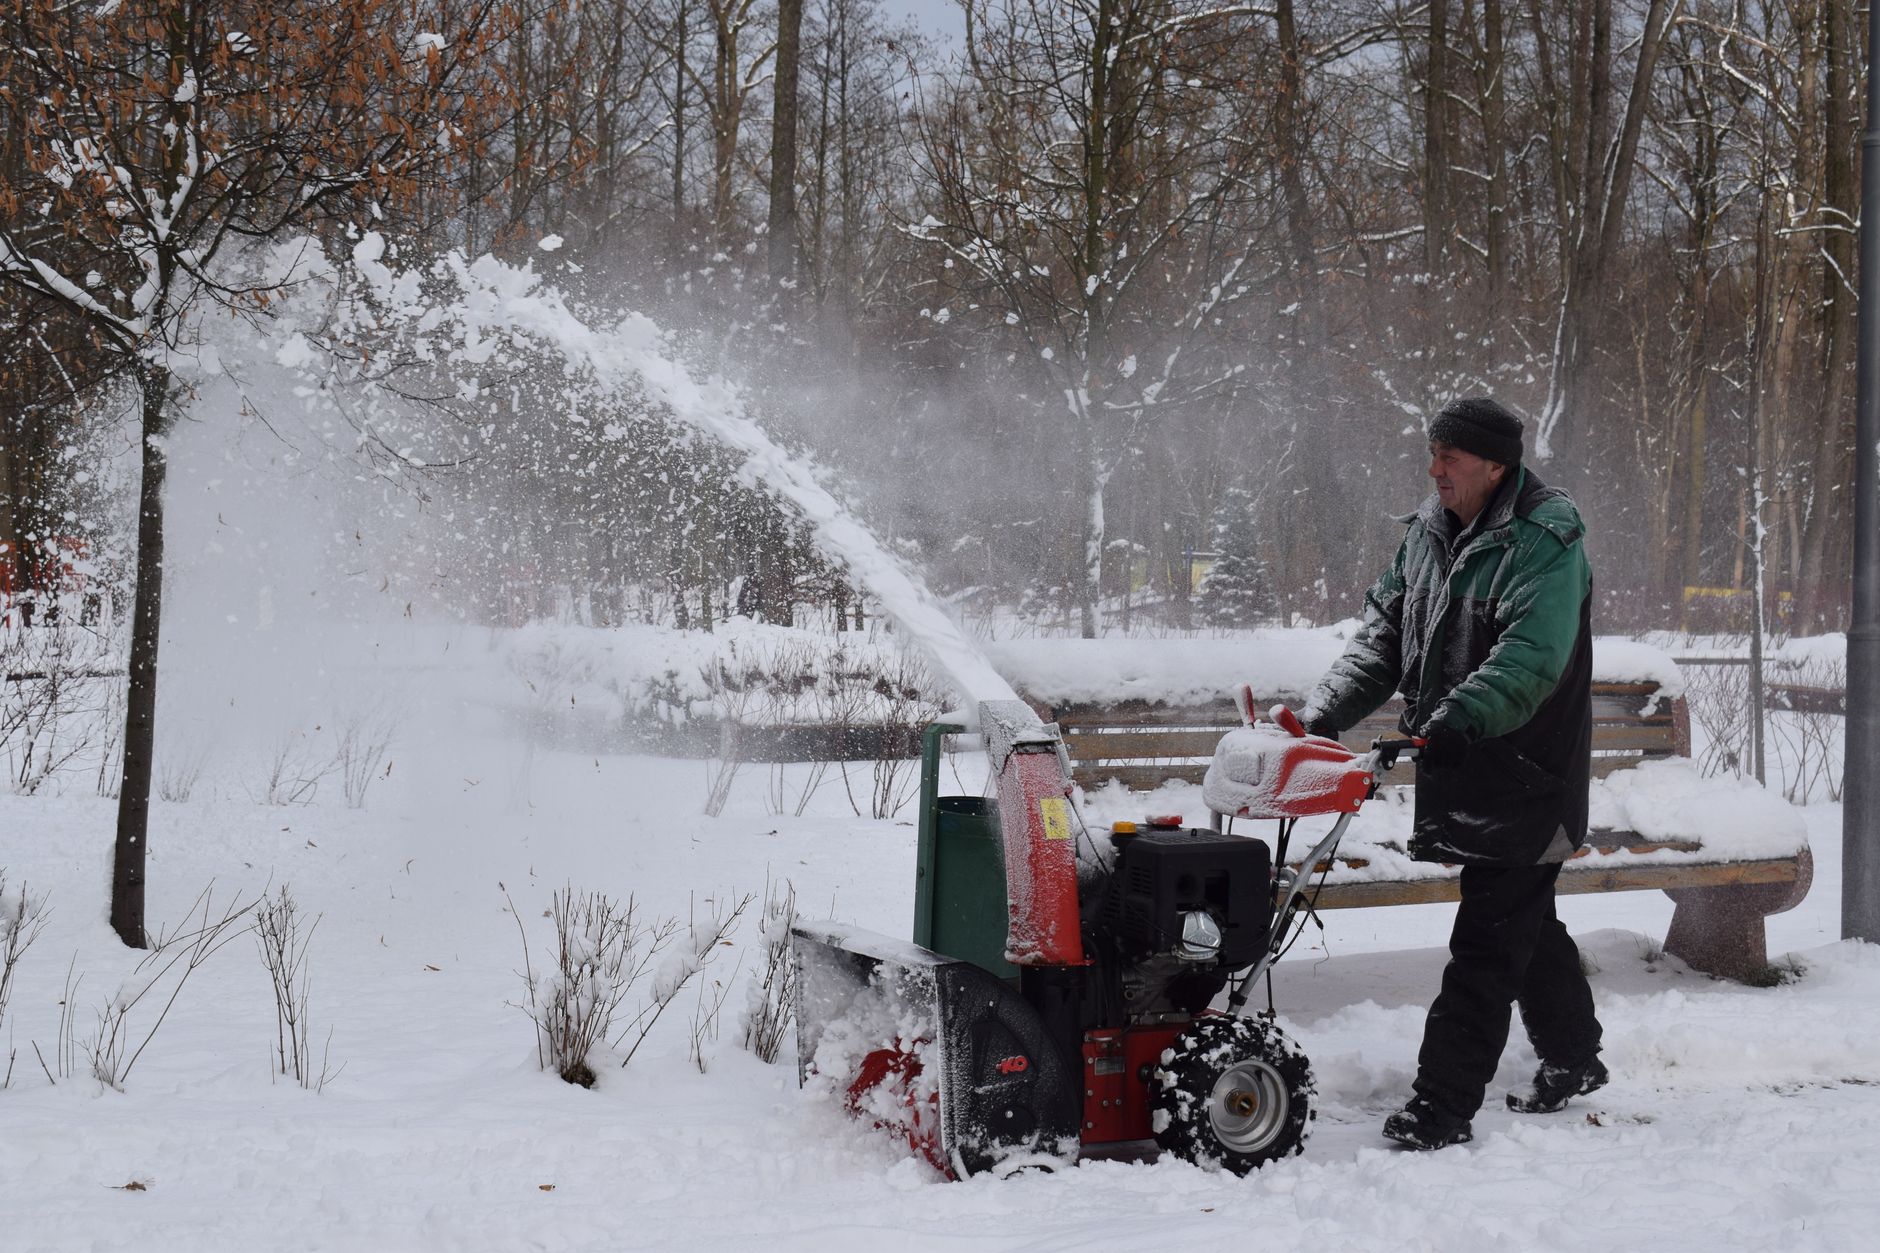
” alt=”Checking snow blower before winter season”>
Fuel System: The Most Important Step
If you left gas in the tank since last winter, drain it. Completely. Old gasoline degrades and the ethanol in modern fuel attracts moisture, which causes corrosion. Use a siphon pump ($10 at any auto parts store) to empty the tank into a gas can, then add it to your car — a small amount of old gas diluted in a full tank will not hurt your vehicle.
Refill with fresh fuel plus fuel stabilizer. Fuel stabilizer (like Sta-Bil) prevents the gas from degrading for up to 24 months. Add it to every can of gas you buy for small engines. At the end of the season, run the machine until the tank is empty or fill it completely and add stabilizer — an empty tank can rust, and a full untreated tank can gum up. A full treated tank is the safest off-season storage method.
Check These Three Things Before Every Season
- Oil. Check the dipstick. If the oil is black, change it. Snow blowers need an oil change roughly every 25 hours of use or once per season, whichever comes first. Dark, gritty oil wears down engine components.
- Spark plug. Remove it and inspect the tip. If it is black, oily, or the electrode is worn down, replace it. A spark plug costs $5 and is the second most common reason a small engine will not start.
- Shear pins. These are the small bolts that connect the auger to the shaft. They are designed to break if the auger hits something solid (rock, frozen newspaper, a kid’s toy buried in snow) to prevent more expensive damage. Buy spares now and keep them taped to the machine handle. You will need them at the worst possible moment if you do not have them.
Belt and Cable Check
Inspect the drive belt and auger belt for cracks or fraying. A broken belt mid-storm means shoveling. Press the auger lever and drive lever and make sure they engage smoothly and spring back when released. Lubricate any pivot points with a spray lubricant.
Check the skid shoes — the metal or plastic sliders on the bottom of the auger housing. They wear down with use and need replacement when the housing starts scraping the ground. Adjustable skid shoes should be set so the scraper bar is about 1/8 inch above a flat surface.
I now do this maintenance routine in October, before the first forecast even mentions snow. It takes 20 minutes. My snow blower has started on the first pull every winter since that bruised-knuckle morning.
📋 Quick Summary: Drain old gas, refill with fresh fuel + stabilizer. Check/change oil, inspect spark plug, buy spare shear pins. Inspect belts and lubricate cables. Twenty minutes in fall saves hours of shoveling.