Insulate Your Attic Access Door in 30 Minutes — It Is Leaking Money
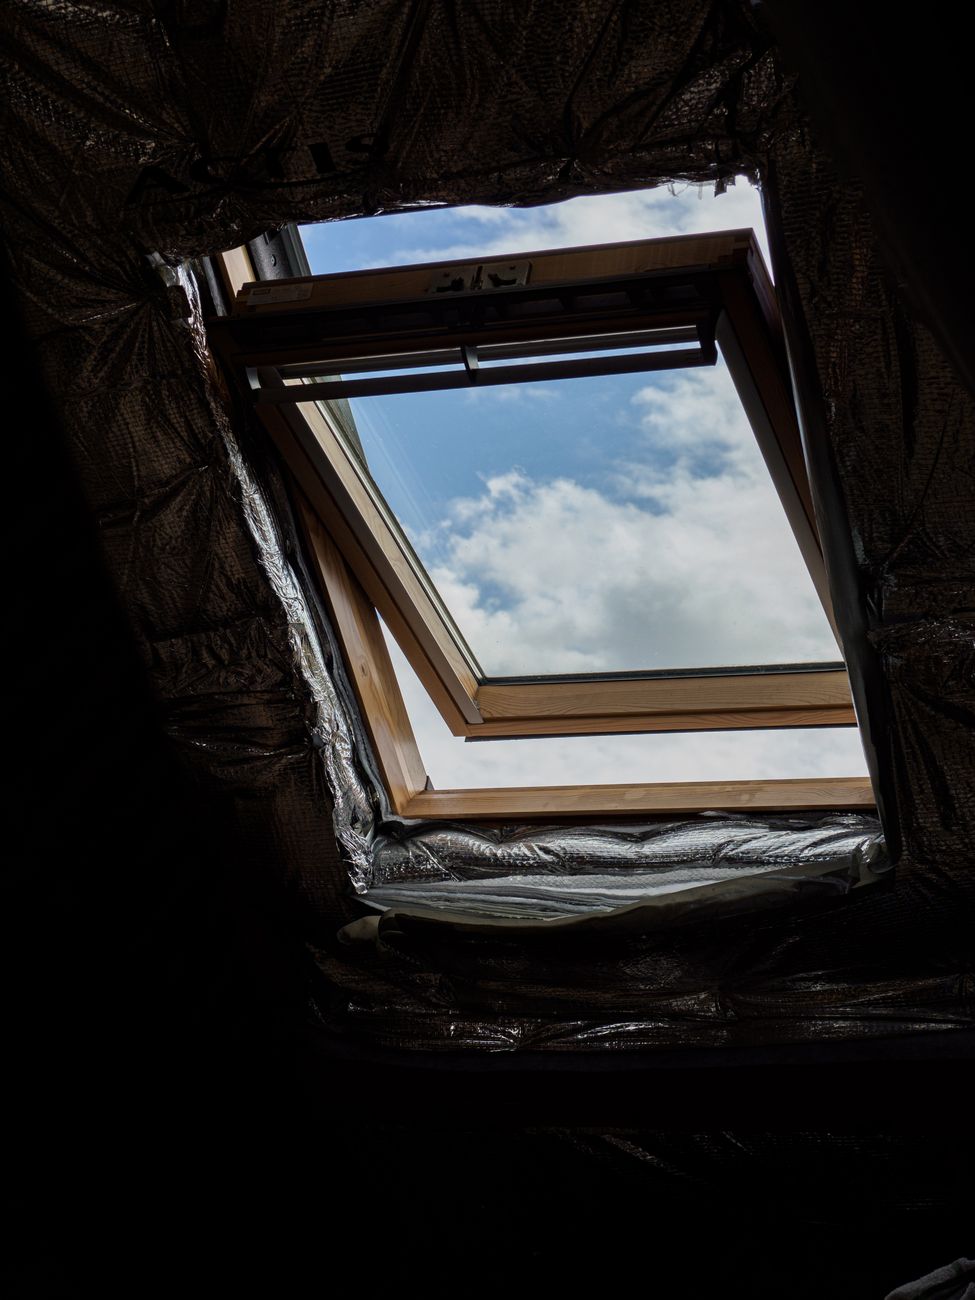
I stood under my attic access door last January and could feel cold air pouring down like someone left a window open. The attic was fully insulated — R-38 fiberglass, the whole thing — but the access door was just a piece of drywall with no insulation at all.
That one uninsulated panel was basically a 2-foot by 3-foot hole in my ceiling insulation. My heating bill that month was $340. It dropped $40 the month after I fixed this.
What You Need
- A piece of rigid foam insulation board (2-inch thick, R-10 or higher). Cut to the size of your attic access opening.
- Weather stripping — adhesive-backed foam tape, 1/2 inch wide.
- A utility knife for cutting the foam board.
- Construction adhesive or screws with large washers to attach the foam to the door.
How to Do It
- Measure the access opening. Not the door itself — the opening it sits in. Measure length and width.
- Cut the foam board. It should be slightly smaller than the opening (about 1/4 inch less on each side) so the door still closes easily. Score it multiple times with a utility knife, then snap it on the scored line.
- Attach foam to the attic side of the door. Use construction adhesive or screws with wide washers. The foam faces up into the attic.
- Add weather stripping. Foam tape around the lip of the opening where the door rests. This seals the gap so air cannot leak around the edges.
- Optional: add a latch. If the door is lightweight and tends to lift, a simple hook-and-eye latch holds it tight against the weather stripping.
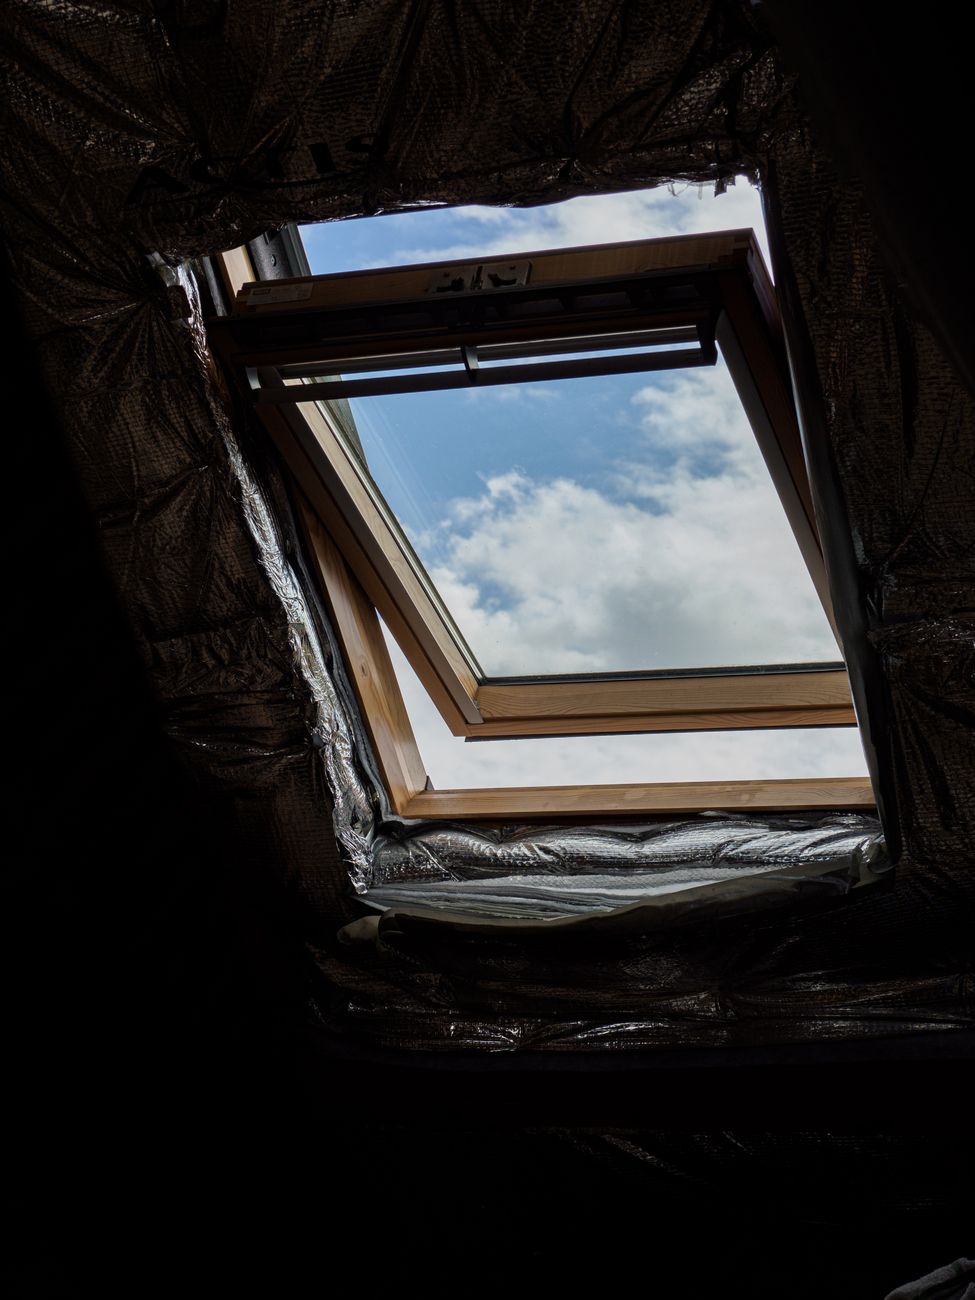
This took me 25 minutes and cost about $18 in materials. The return on investment was immediate — literally the next month’s energy bill.
📋 Quick Summary: Cut 2-inch rigid foam to fit access opening, attach to attic side of door, add adhesive weather stripping around lip. $18, 30 minutes, immediate energy savings.