How to Install a Motion Sensor Light in Your Hallway
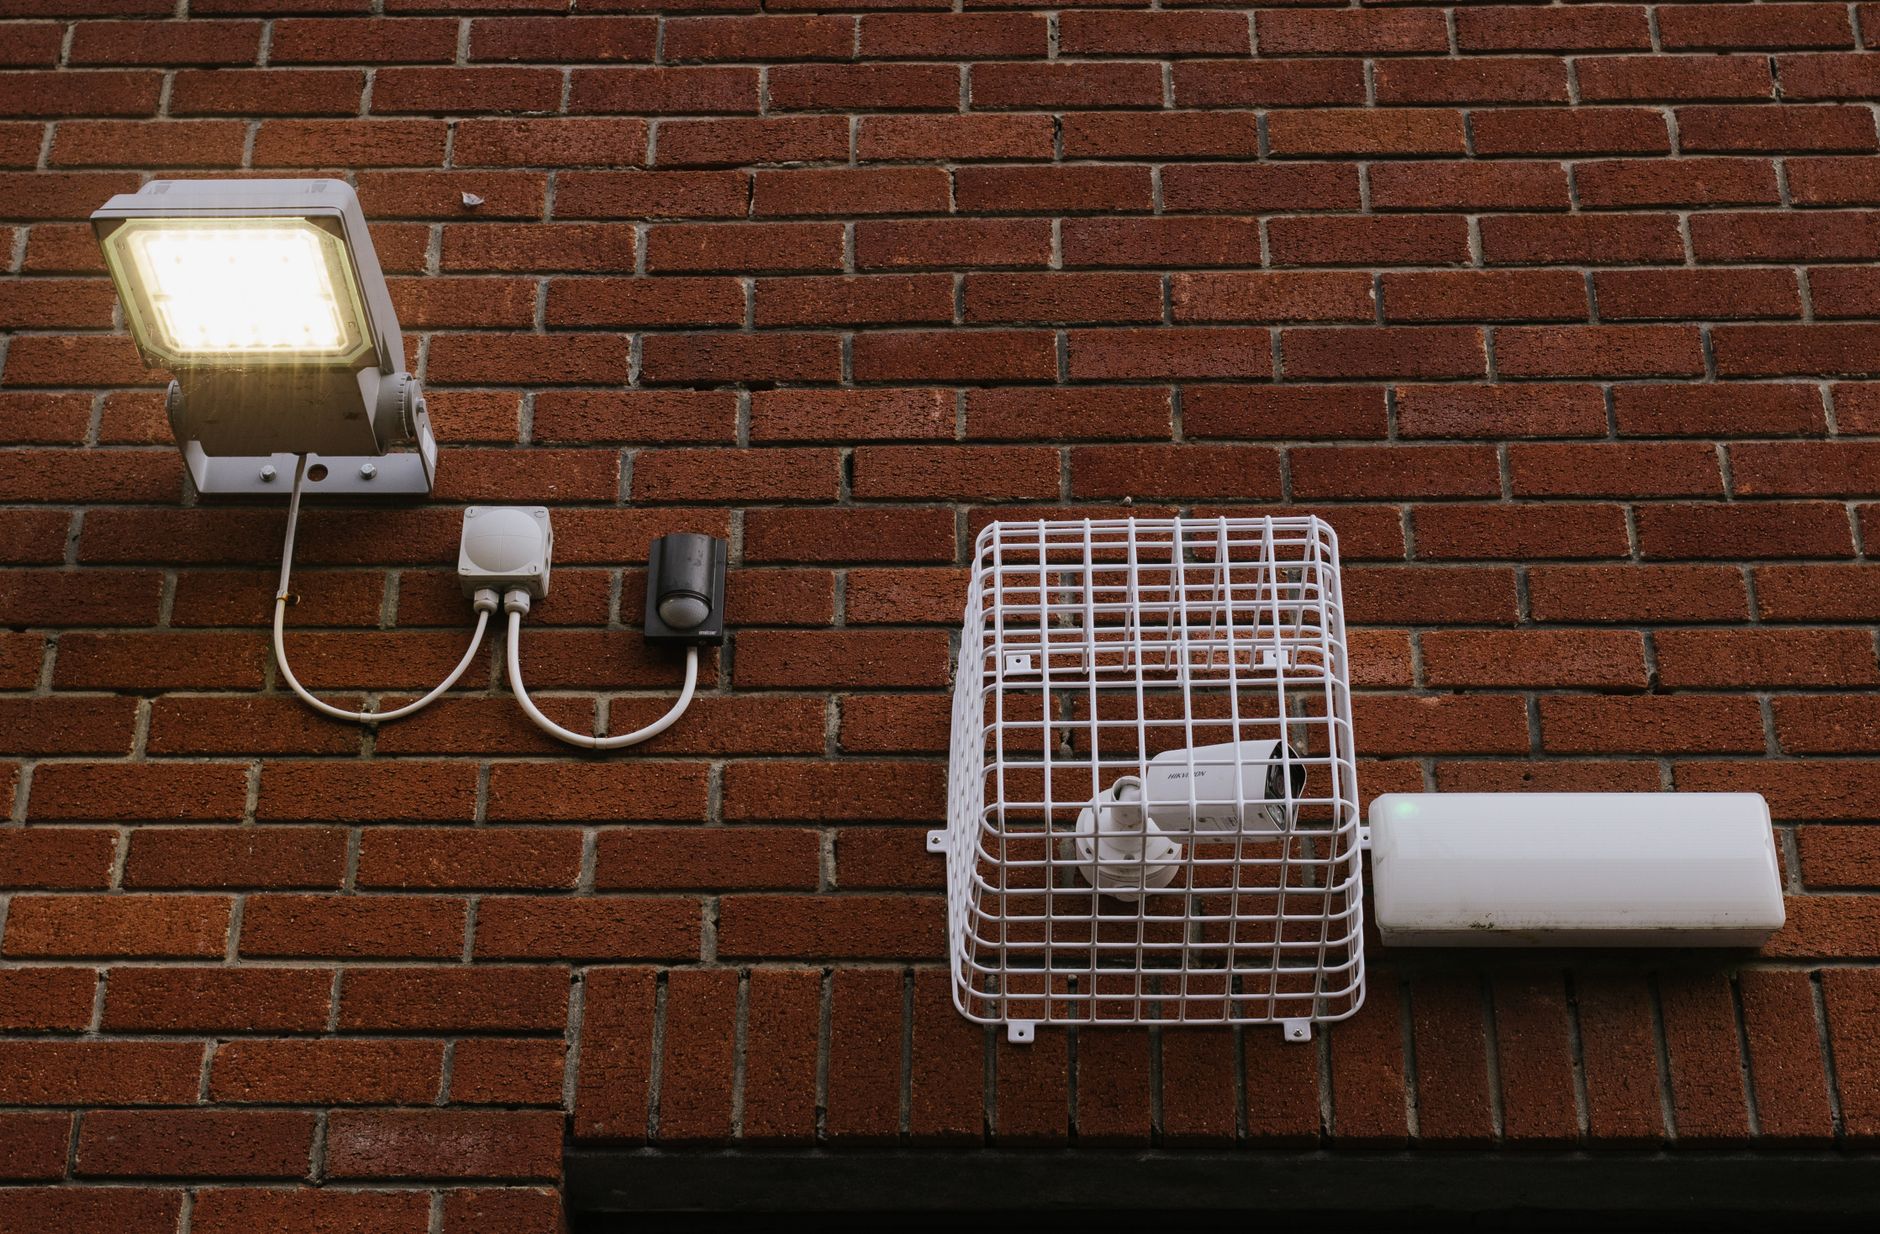
The hallway in my house has a light switch at one end only. Coming home with groceries meant walking the whole dark hallway to find the switch, then walking back to the door to close it. I thought about a smart bulb, then I thought about just living with it, then I bought a motion sensor light fixture for thirty dollars.
It took me an afternoon, and it was easier than I expected.
Choose the Right Fixture
Look for a motion sensor ceiling light rated for indoor use. Mine is a simple flush-mount LED fixture with a built-in sensor, no separate wiring for the sensor. That matters. Fixtures with a separate sensor box mean extra wiring, and I wanted the simple kind.
Turn Off the Power
Flip the breaker for the hallway circuit before you touch the old fixture. Test that the light is dead with a non-contact voltage tester. This step is not optional, even for a simple swap.
Remove the Old Fixture
- Unscrew the old fixture from the ceiling
- Disconnect the wires, noting the colors
- Remove the mounting bracket
Take a photo of the wiring first. Old houses have surprises, and my wiring colors did not match the new fixture perfectly.
Mount the New Fixture
Attach the new mounting bracket, connect the wires (usually black to black, white to white, green or bare to ground), and screw the fixture in place. Tuck the wires carefully so nothing pinches.
Then turn the breaker back on and adjust the sensor settings: sensitivity, light duration, and whether it works in daylight.
What I learned:
- Place the sensor so it points across the path, not down at the floor
- Set the duration to about two minutes so it does not cut off mid-walk
- Test the sensitivity at night, not in bright daylight
The hallway light comes on before I reach the door now. Groceries, arms full, zero fumbling.
📋 Quick Summary: Pick a fixture with a built-in sensor, kill the breaker, swap the wiring, and aim the sensor across the path for a hands-free hallway.