Replace a Broken Tile Without Ripping Up the Entire Floor or Hiring Anyone
I dropped a cast iron skillet on the kitchen floor. The skillet was fine. The tile underneath was not. It cracked into about six pieces, and I spent the next two months stepping around it like a landmine, convinced replacing one tile meant redoing the whole floor.
The One-Tile Replacement Reality
You absolutely can replace a single broken tile. You do not need to tear up the floor. You do not need a contractor. You need about 20 dollars in materials, a few tools, and an afternoon where you are willing to get a little dusty. The hardest part is matching the tile if you do not have spares — and that is mostly just a trip to the hardware store.
Step by Step
- Find a matching tile. If you are lucky, the previous owner left a box of spares in the basement. If not, take a photo of your tile with a ruler next to it for scale and bring it to a tile store. Ceramic and porcelain tiles are pretty standard sizes — 12×12, 6×6, 4×4 inches. Color matching is trickier, but grout lines make small color differences less noticeable.
- Remove the old grout. Use a grout removal tool (looks like a screwdriver with a carbide tip) or an oscillating multi-tool with a grout blade. Score all four sides of the broken tile deeply until you hit the backer board underneath. This separates the tile from its neighbors so you do not crack the surrounding tiles when you pry the broken one out.
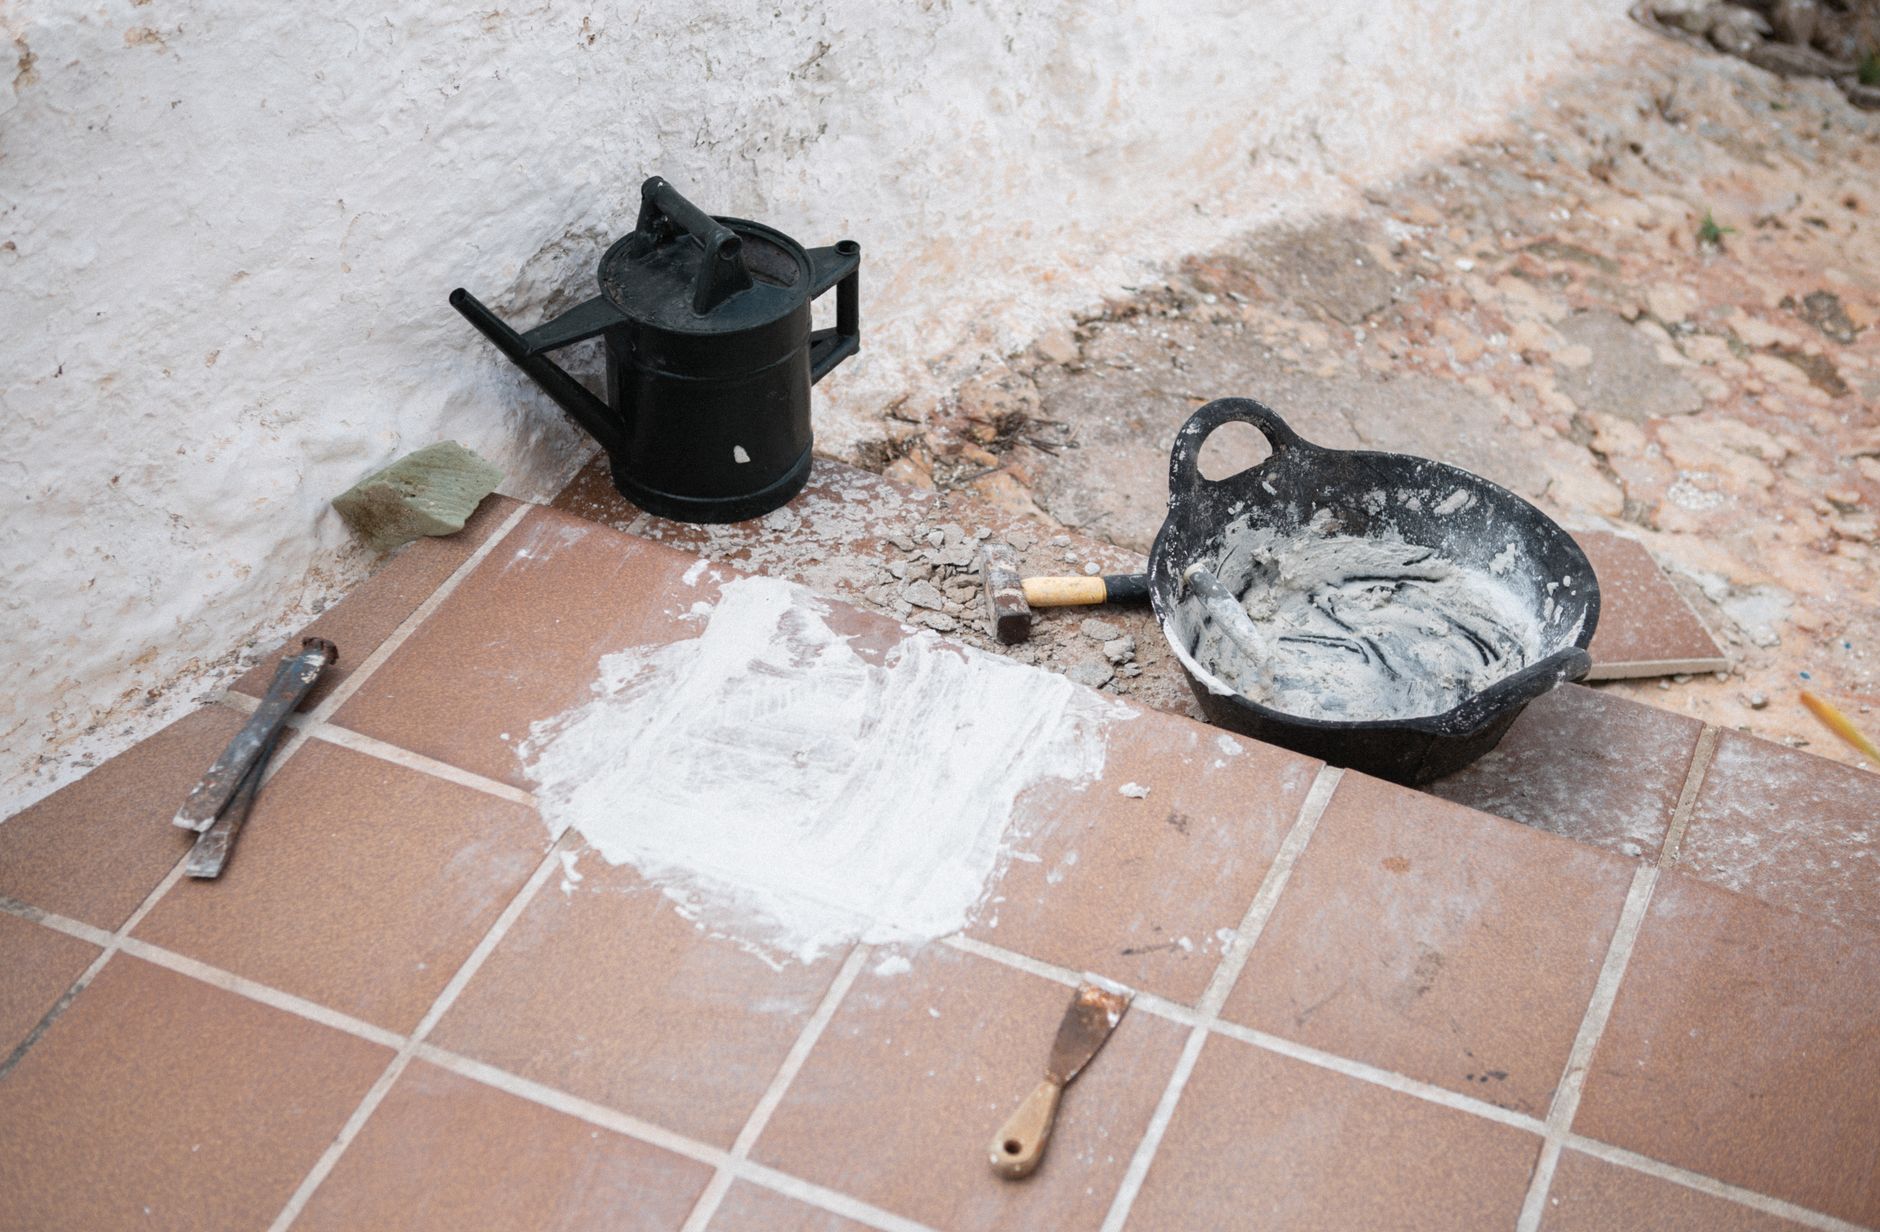
- Break up the old tile. Put on safety glasses. Hit the center of the broken tile with a hammer and a cold chisel. Work from the center outward. The tile will break into smaller pieces that are easier to pry up. Do not pry against the neighboring tiles — that is how you crack a second one. Always pry toward the center.
- Clean the underlayment. Scrape away the old thinset or adhesive with a putty knife or a chisel. You want a flat, clean surface. If the backer board is damaged, patch it with a thin layer of new thinset and let it dry before moving to the next step.
- Set the new tile. Spread a layer of pre-mixed tile adhesive (mastic, in a tub — do not buy the powder you have to mix unless you enjoy suffering) on the back of the new tile using a notched trowel. Press it into place. Use tile spacers around all four edges to keep the gap even with the surrounding tiles. Let it cure overnight.
- Grout and seal. Mix a small batch of grout (unsanded for gaps under 1/8 inch, sanded for wider). Work it into the gaps with a grout float. Wipe off excess with a damp sponge before it dries. Let it cure for 24 hours, then apply grout sealer. Done.
If You Do Not Have Spare Tiles
Accept that the replacement might not be a perfect match. A tile that is 90 percent there in color but the right size looks way better than a cracked tile with missing chunks. Also: check inside closets and under appliances in the same room. You can sometimes steal a matching tile from an invisible spot, put the mismatched one there, and no one will ever know. I have done this. It works.
📋 Quick Summary: Score and remove grout around broken tile, break tile with hammer and chisel (pry toward center), clean surface, set new tile with mastic and spacers, grout after 24 hours, seal. Under $20 in materials.
My replacement tile is a slightly different shade of beige than the originals, and I am the only person who has ever noticed. Most people do not inspect your floor at an angle in the right light. They just walk on it.