How to Weatherstrip Your Front Door So Cold Air Stays Where It Belongs

Hold your hand near the edges of your front door on a cold day. If you feel air, you’re paying to heat the outdoors. A gap of just one-eighth of an inch around an exterior door lets out as much air as leaving a small window cracked open year-round.
Weatherstripping a door takes about an hour and costs under thirty dollars. I did mine last winter and my heating bill dropped by about fifteen percent the next month. Your mileage may vary, but the math is hard to argue with.
First: find the gaps
Close the door on a piece of paper. Try to pull the paper out. If it slides out easily, you have a gap. Do this at several points along the top, bottom, and both sides. This tells you where the weatherstripping needs to go and what thickness to buy.
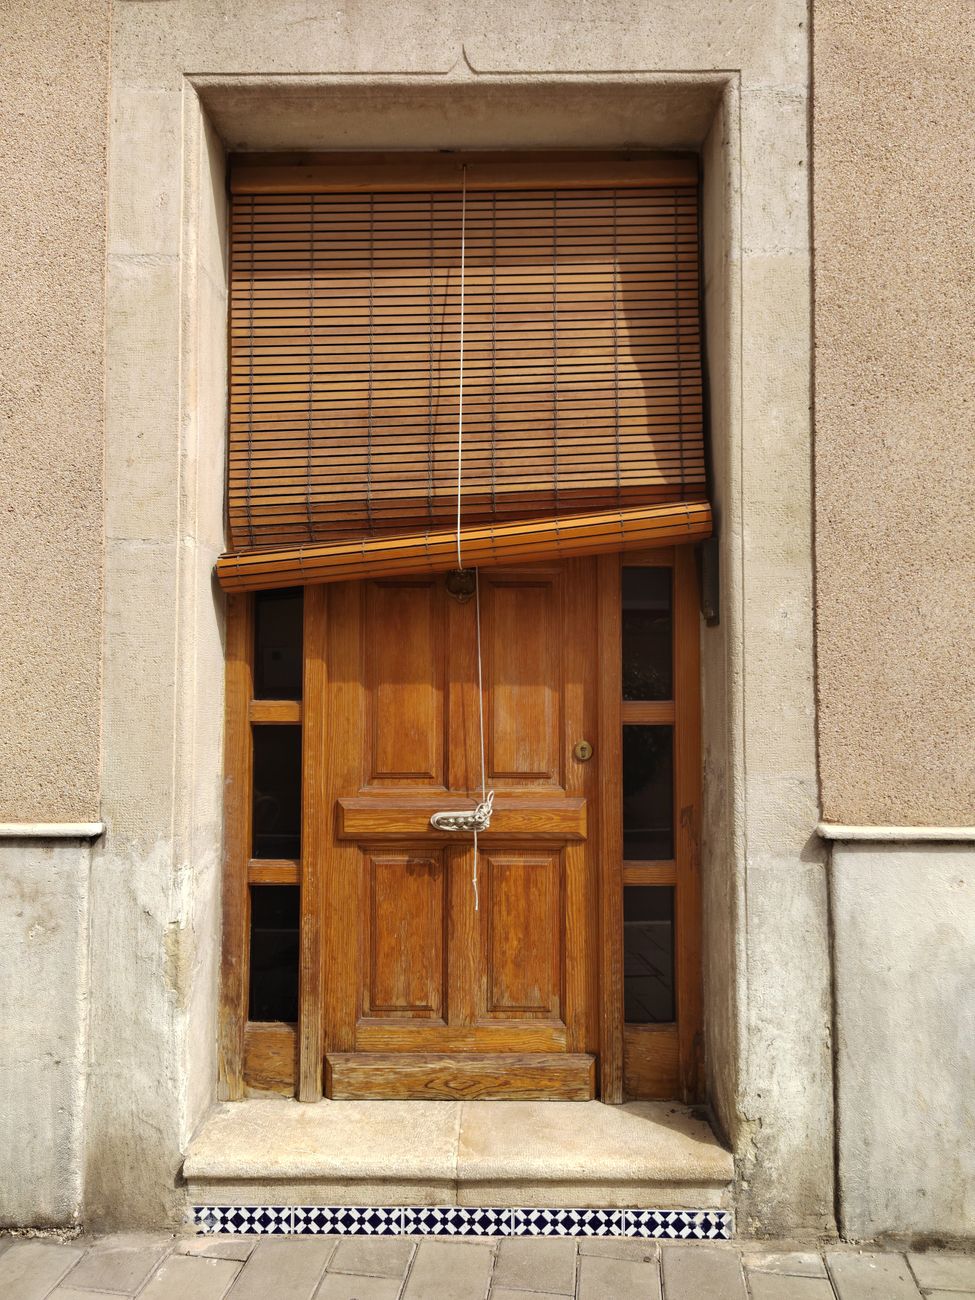
At night, you can also hold a flashlight outside the closed door and look for light coming through. Have someone shine it around the perimeter while you watch from inside. Light gaps equal air gaps.
Three types of weatherstripping and when to use each
- Adhesive foam tape: Easiest to install. Self-stick, cut to length. Best for gaps of 1/16 to 1/4 inch. Good for door frames and window sashes. Lasts 1-3 years before it compresses and needs replacing.
- V-strip (tension seal): Folded plastic or metal that springs open to fill the gap. Better for larger or irregular gaps. Lasts longer than foam. Slightly trickier to install because you need to nail or staple it in place.
- Door sweep: Attaches to the bottom of the door. Blocks the gap between the door and the threshold. Slide-on sweeps are easiest; screw-on versions are more durable.
For most front doors, you’ll use foam tape on the sides and top plus a door sweep on the bottom. That combination addresses all four edges.
Installation order
Clean the surface first. Adhesive won’t stick to dust or grease. Wipe the door frame with rubbing alcohol or a damp cloth and let it dry completely.
Cut the foam tape to the exact length of each side. Peel the backing as you press it into place — don’t peel the whole strip at once or it’ll stick to itself. Press firmly along the entire length.
For the door sweep: remove the door if possible (lift it off the hinges — most interior and many exterior doors lift right off). Slide the sweep onto the bottom edge, mark the screw holes, pre-drill small pilot holes, and attach. If you can’t remove the door, a slide-on sweep with adhesive backing is the easier route.
Give the door a test close. It should feel slightly tighter than before but still close completely. If it’s too tight to latch, you used foam that’s too thick — peel it off and try a thinner gauge.
📋 Quick Summary: Test for gaps with paper or a flashlight. Use adhesive foam tape on sides and top, a door sweep on the bottom. Clean surfaces before applying. A properly sealed door can cut your heating bill noticeably.