How to Cut Your Own Hair at Home Without Ruining It
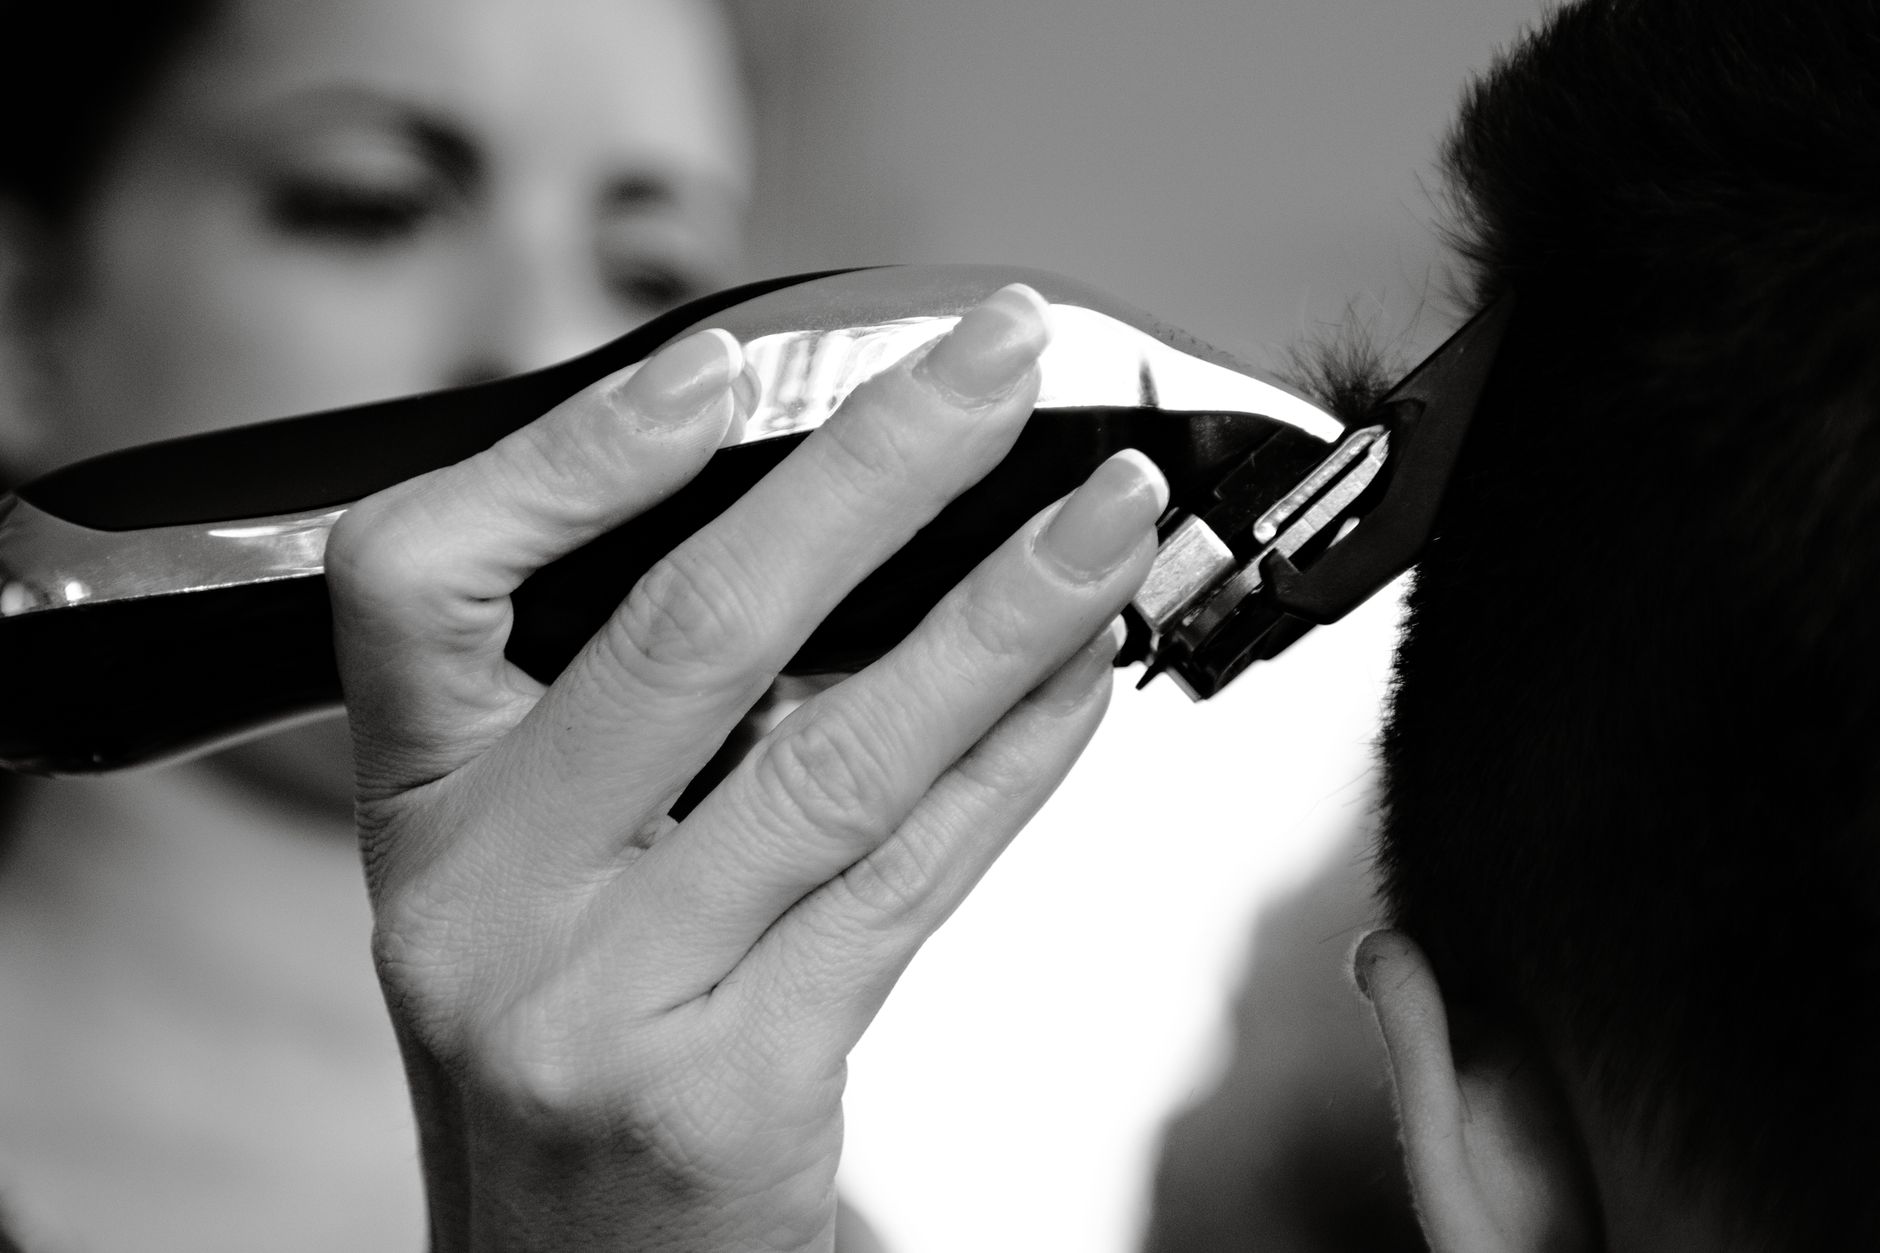
I cut my own hair for the first time in 2020 like everyone else. The first attempt was bad — I gave myself accidental bangs that made me look like a medieval monk. But I got better. Now I’ve been cutting my own hair for years and I save about four hundred dollars a year. Here’s what I learned through trial and a lot of error.
The most important thing I can tell you: start with way less than you think you need to cut. You can always cut more. You cannot un-cut hair. Every bad DIY haircut story starts with “I just kept going to even it out.”
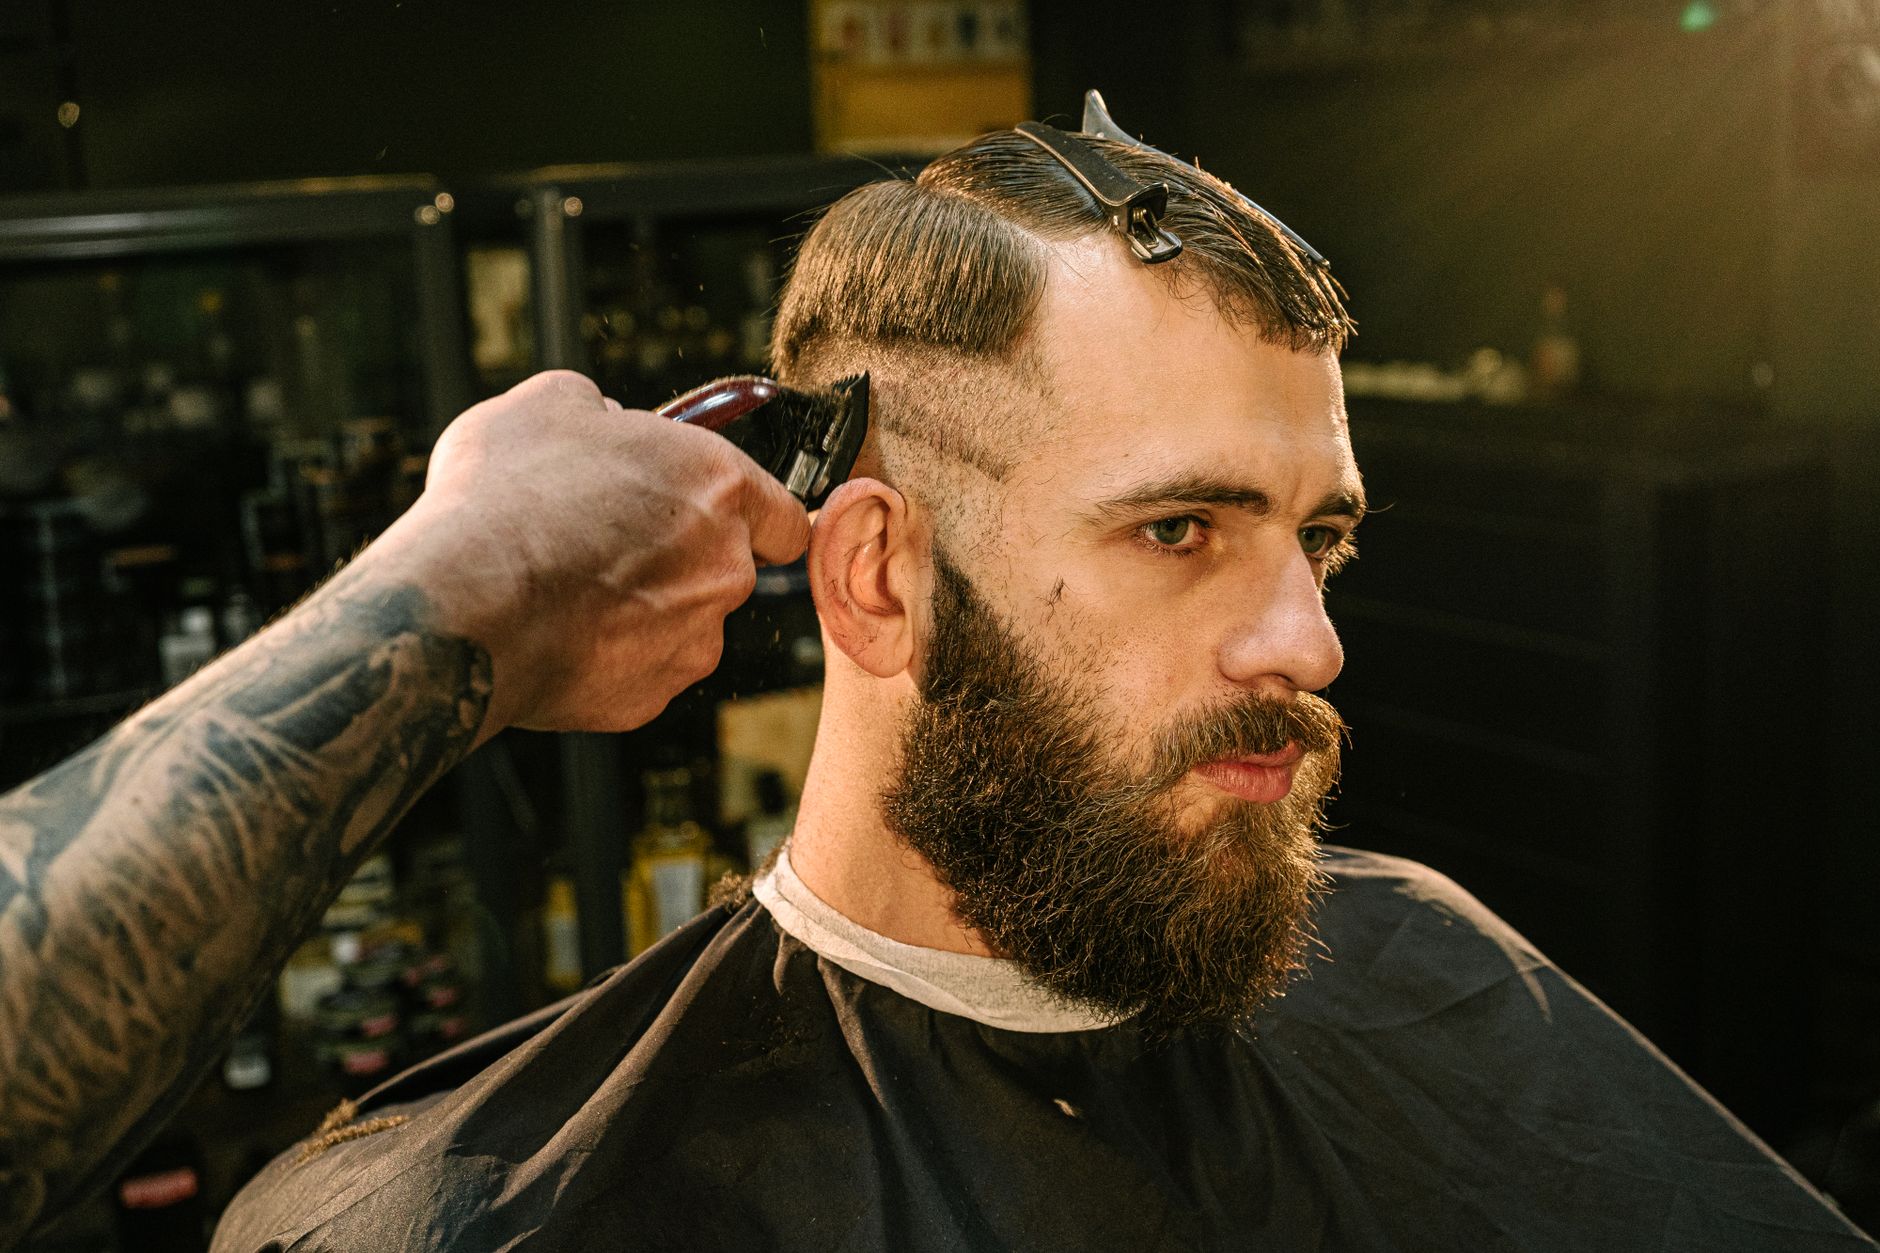
What you need (it’s less than you think)
Hair cutting scissors. Not kitchen scissors. Not craft scissors. Actual hair scissors cost about fifteen to twenty dollars on Amazon. The blades are sharper, the pivot is tighter, and they cut cleanly instead of bending and crushing the hair. Kitchen scissors create split ends. This is the one purchase you should not skip.
A wide-tooth comb, a spray bottle with water, and two mirrors — one bathroom mirror and one handheld one so you can see the back. Clips to section your hair help but bobby pins work in a pinch.
The method: trim, don’t reshape
Wet your hair. Part it down the middle and pull it forward over your shoulders. Comb it straight. Point-cut the ends instead of cutting straight across. Point-cutting means holding the scissors vertically and snipping into the ends at an angle — it creates a soft, natural edge instead of a blunt line that looks like you used a ruler.
Cut no more than a quarter inch at a time. Then let your hair dry and check it — wet hair is longer than dry hair, especially if it’s curly or wavy. The “I cut off two inches wet and it became four inches dry” surprise is extremely real.
For the back: this is the hardest part. Use the handheld mirror to see the back in the bathroom mirror. Go slow. Or — and this is what I actually do — just trim the back less aggressively than the front. Slightly longer in the back looks intentional. Slightly choppy in the back looks like you did it yourself.
When to admit defeat and go to a professional
If you want layers. If you want bangs. If you want a dramatic length change. If you have very curly or textured hair that requires specific cutting techniques. Trimming is DIY-able. Reshaping is not.
I get a professional cut about once a year to reset the shape, then maintain it myself with trims every six to eight weeks. The professional cut costs seventy dollars. The trims cost zero. Total annual haircut spending: seventy dollars instead of four hundred.
- Buy hair scissors: $15-20 — kitchen scissors destroy your ends
- Point-cut: Vertical snips create soft edges, not blunt lines
- Quarter inch at a time: Wet hair is longer than dry — be conservative
- The back is hard: Go shorter in front, leave the back slightly longer
- Trims only: Layers, bangs, and reshaping = go to a professional
📋 Quick Summary: Invest in real hair scissors ($15-20), point-cut vertically for soft edges, trim a quarter inch at a time on wet hair, and save the dramatic changes for a professional — you can maintain a shape yourself and save hundreds a year.