How to Fix a Leaky Faucet Without Replacing the Whole Thing
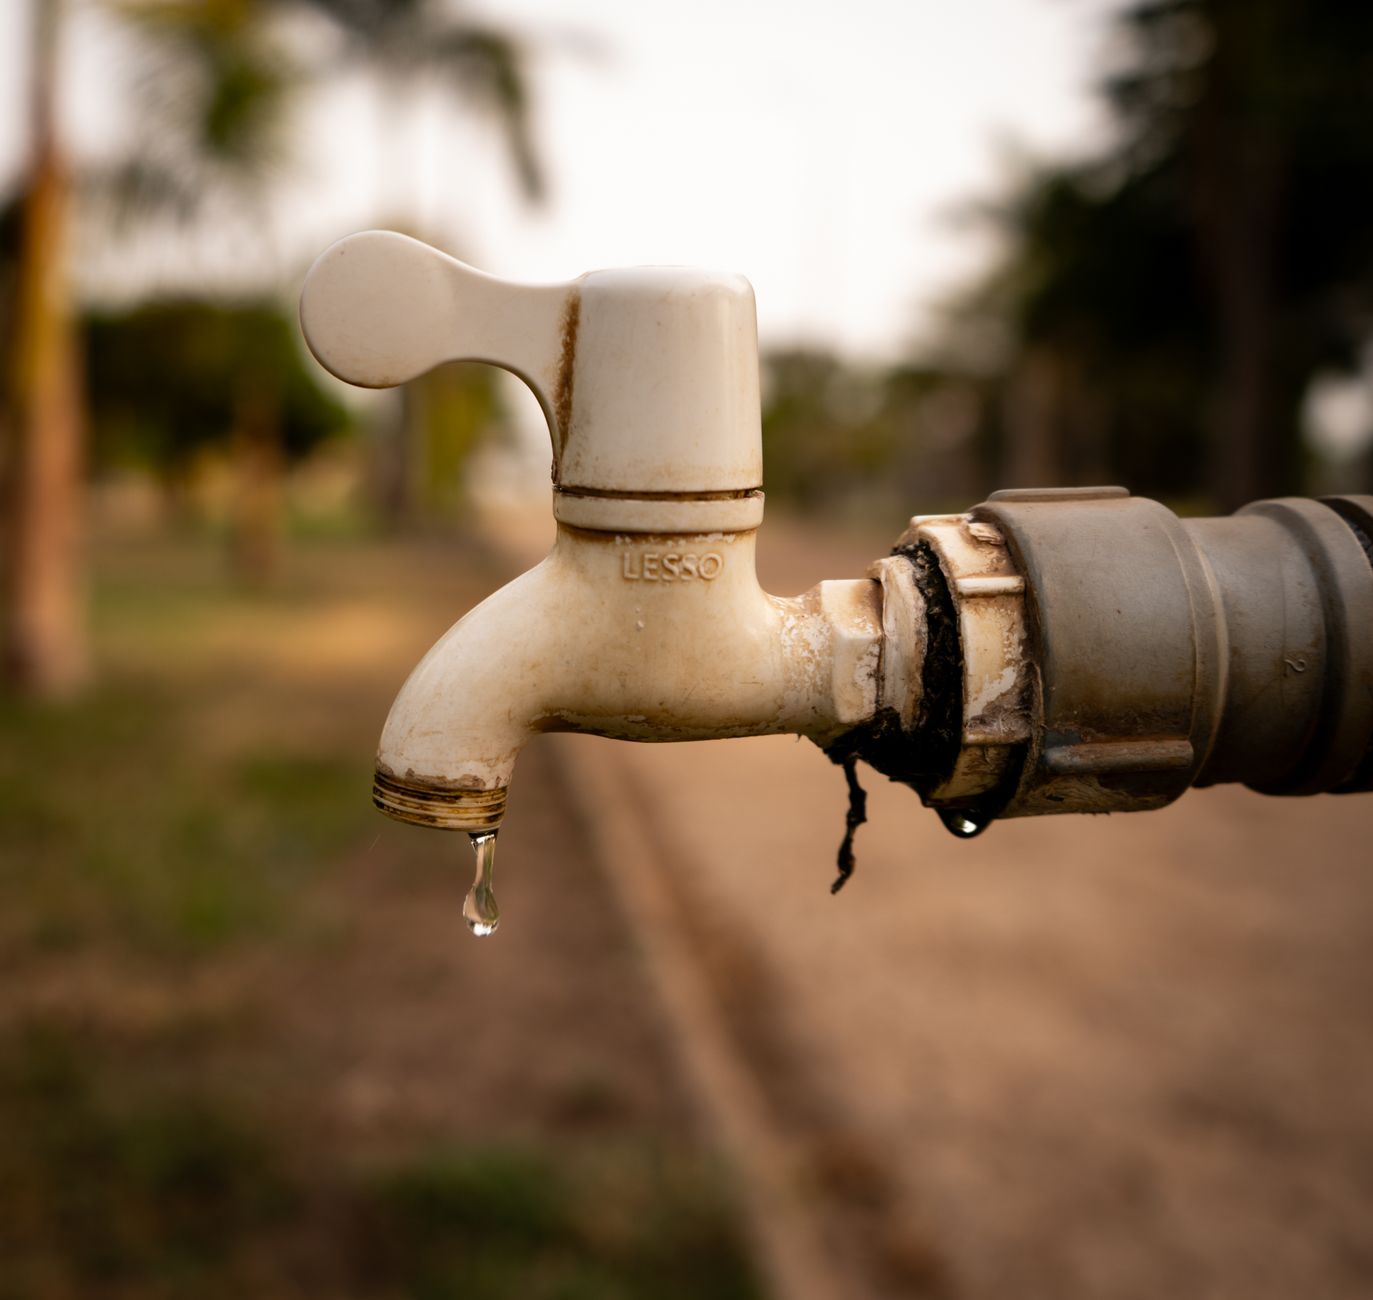
Drip. Drip. Drip. Every seven seconds, day and night, for about two months. I kept telling myself I would get to it. Then the water bill came and those seven-second drips had added up to about three extra dollars on the month. Not huge, but annoying enough that I finally crawled under the sink.
Most leaky faucets need a five-dollar part and about twenty minutes. The whole replacement fear — the one where you imagine flooding the bathroom and calling an emergency plumber — is almost never justified.
Figure Out Which Faucet Type You Have
Compression faucets have two handles — one for hot, one for cold. The leak is usually a worn rubber washer at the base of the stem. Cartridge, ball, and ceramic disc faucets usually have a single handle. The leak is often a worn O-ring or cartridge.
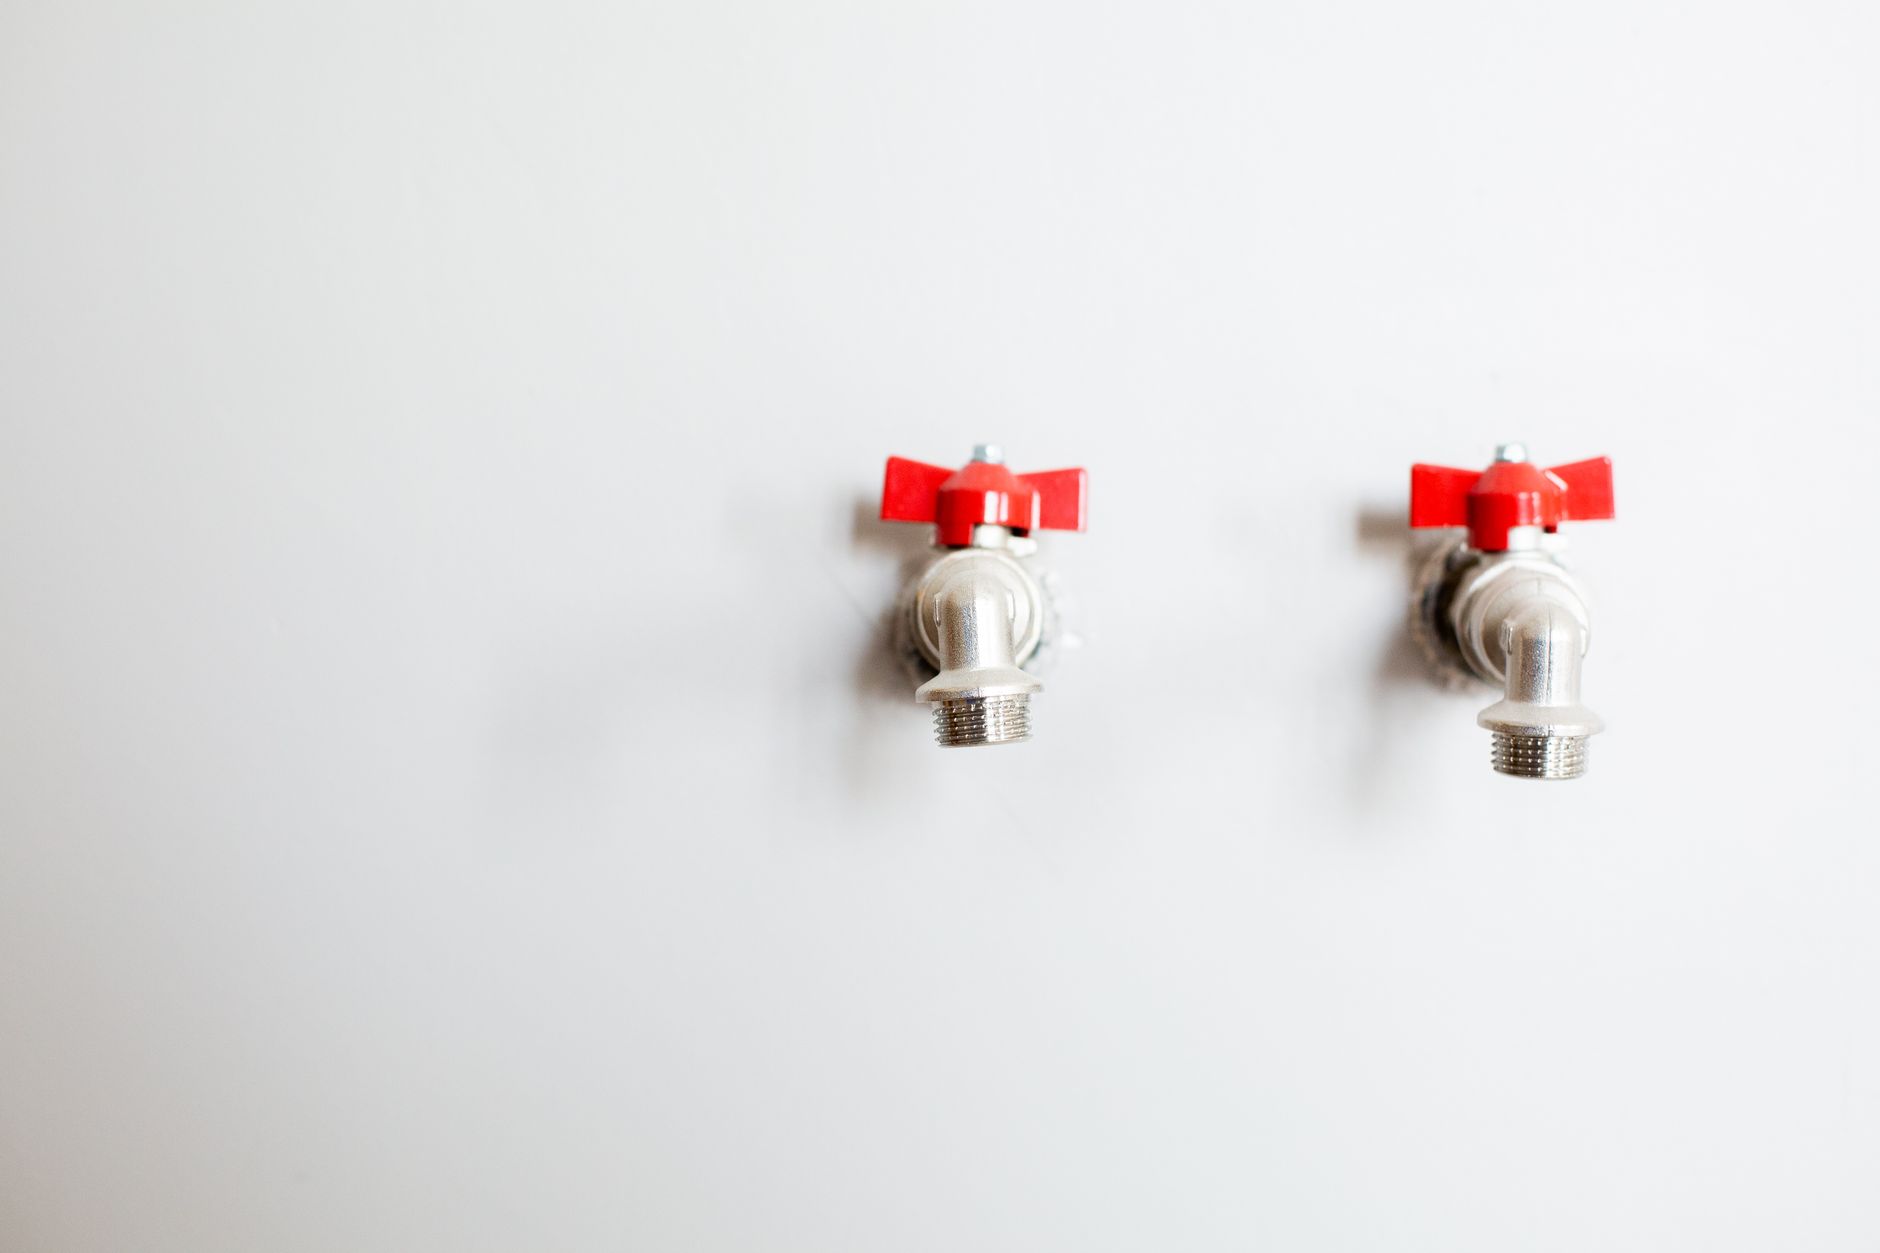
The fastest way to know is to turn off the water under the sink — there are two shutoff valves, one for hot and one for cold — then take the handle off and look. Most handles have a small set screw under a decorative cap. Pop the cap off with a flathead screwdriver, remove the screw, pull the handle up and off.
The Fix (Compression Faucet — Most Common)
- Remove the stem. Unscrew the packing nut with an adjustable wrench. The stem assembly comes out in one piece.
- Look at the bottom. There is a rubber washer held on by a brass screw. If the washer is flattened, cracked, or has a groove worn into it, that is your leak.
- Take the washer to the hardware store. Do not guess the size. Washers come in dozens of diameters and thicknesses. Bring the old one, match it exactly. They cost about fifty cents each — buy a few.
- Check the O-ring too. The O-ring sits on the stem above the washer. If it looks dry, cracked, or flattened, replace it too. Hardware stores have O-ring assortments for a few dollars.
- Put everything back together in reverse order. Hand-tighten the packing nut, then give it a quarter turn with the wrench. Overtightening damages the new washer. Turn the water back on slowly and test.
The Mistake I Made
I reassembled everything, turned the water back on, and the faucet still dripped — worse than before. I had put the washer in upside down. The flat side goes against the valve seat. The beveled side faces down. I flipped it, reinstalled, and the drip stopped immediately.
If the faucet still drips after replacing the washer, the valve seat itself might be pitted or corroded. There is a tool called a valve seat wrench — about eight dollars — that lets you unscrew and replace the seat without removing the whole faucet. I have never needed to go that far, but it is the next step before calling a plumber.
That five-dollar washer saved me about two hundred dollars in plumber fees and the dripping finally stopped. I also got unreasonably proud of myself for fixing it. My wife was less impressed than I expected.
📋 Quick Summary: Turn off water, remove handle and stem, replace the rubber washer at the bottom (bring old one to match size), replace O-ring while you are there, reassemble.