Fall Pumpkin Carving Tools You Already Own
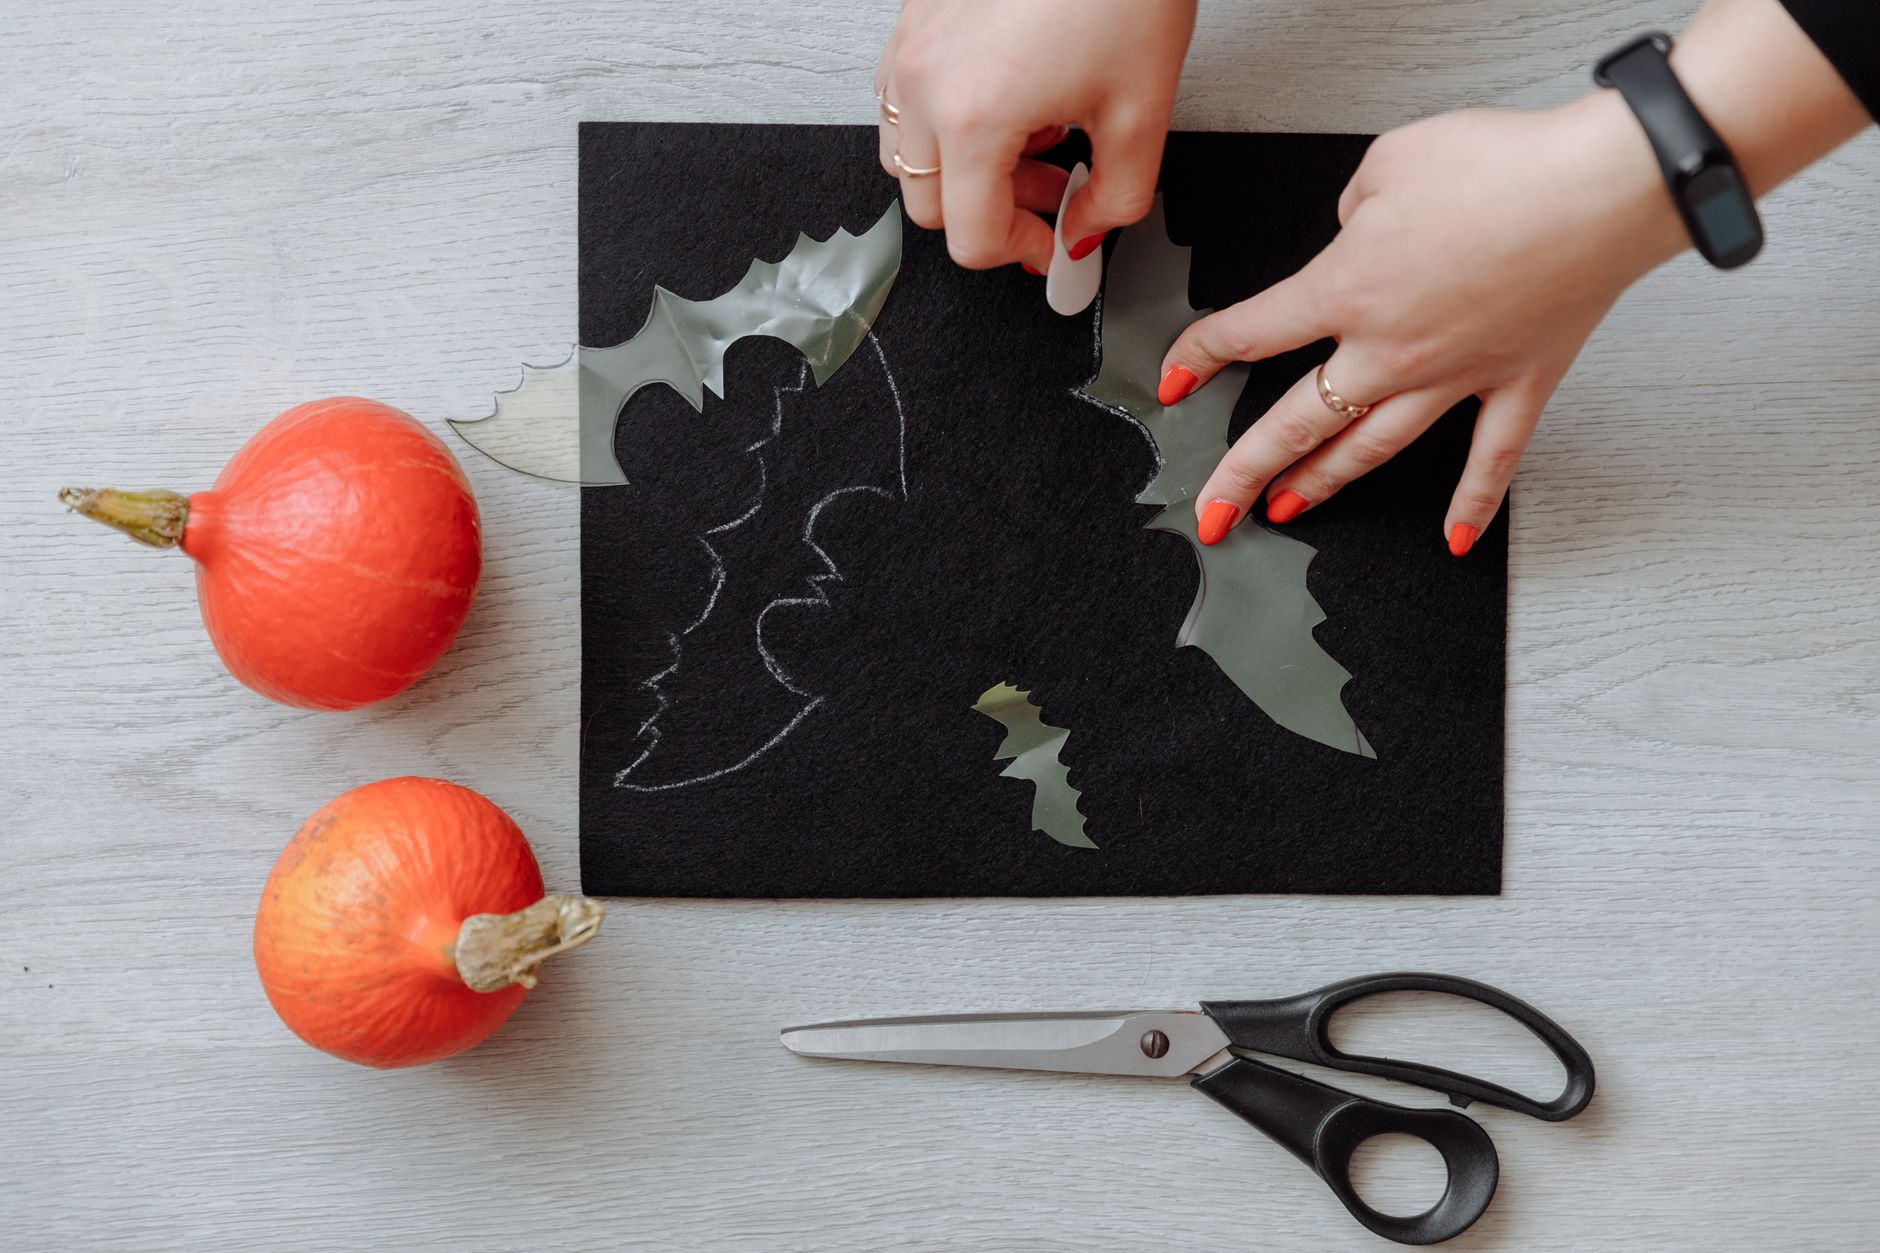
The pumpkin carving kits they sell at the grocery store every October are flimsy. The little saws snap, the scoop is too small, and the whole thing ends up in the trash by November first. I bought one exactly once and threw it away halfway through carving because the saw bent into a U-shape on the first pumpkin.
Turns out most of what you need for a good jack-o’-lantern is already in your kitchen drawers.
The Toolkit You Already Have
- A serrated steak knife for cutting the lid. The teeth grip the pumpkin skin and saw through it without slipping. Cut at an inward angle so the lid does not fall through.
- A metal serving spoon with a thin edge for scraping the insides. The thin edge cuts through the stringy pulp better than the thick plastic scoop in those kits. Scrape until the wall is about an inch thick where you plan to carve.
- A small paring knife for detailed cuts. The short blade gives you more control than a long chef’s knife.
- A pushpin or thumbtack for transferring your pattern. Poke holes along the lines of your paper template, remove the paper, and connect the dots with the paring knife.
- A metal nail file for smoothing rough edges after cutting.
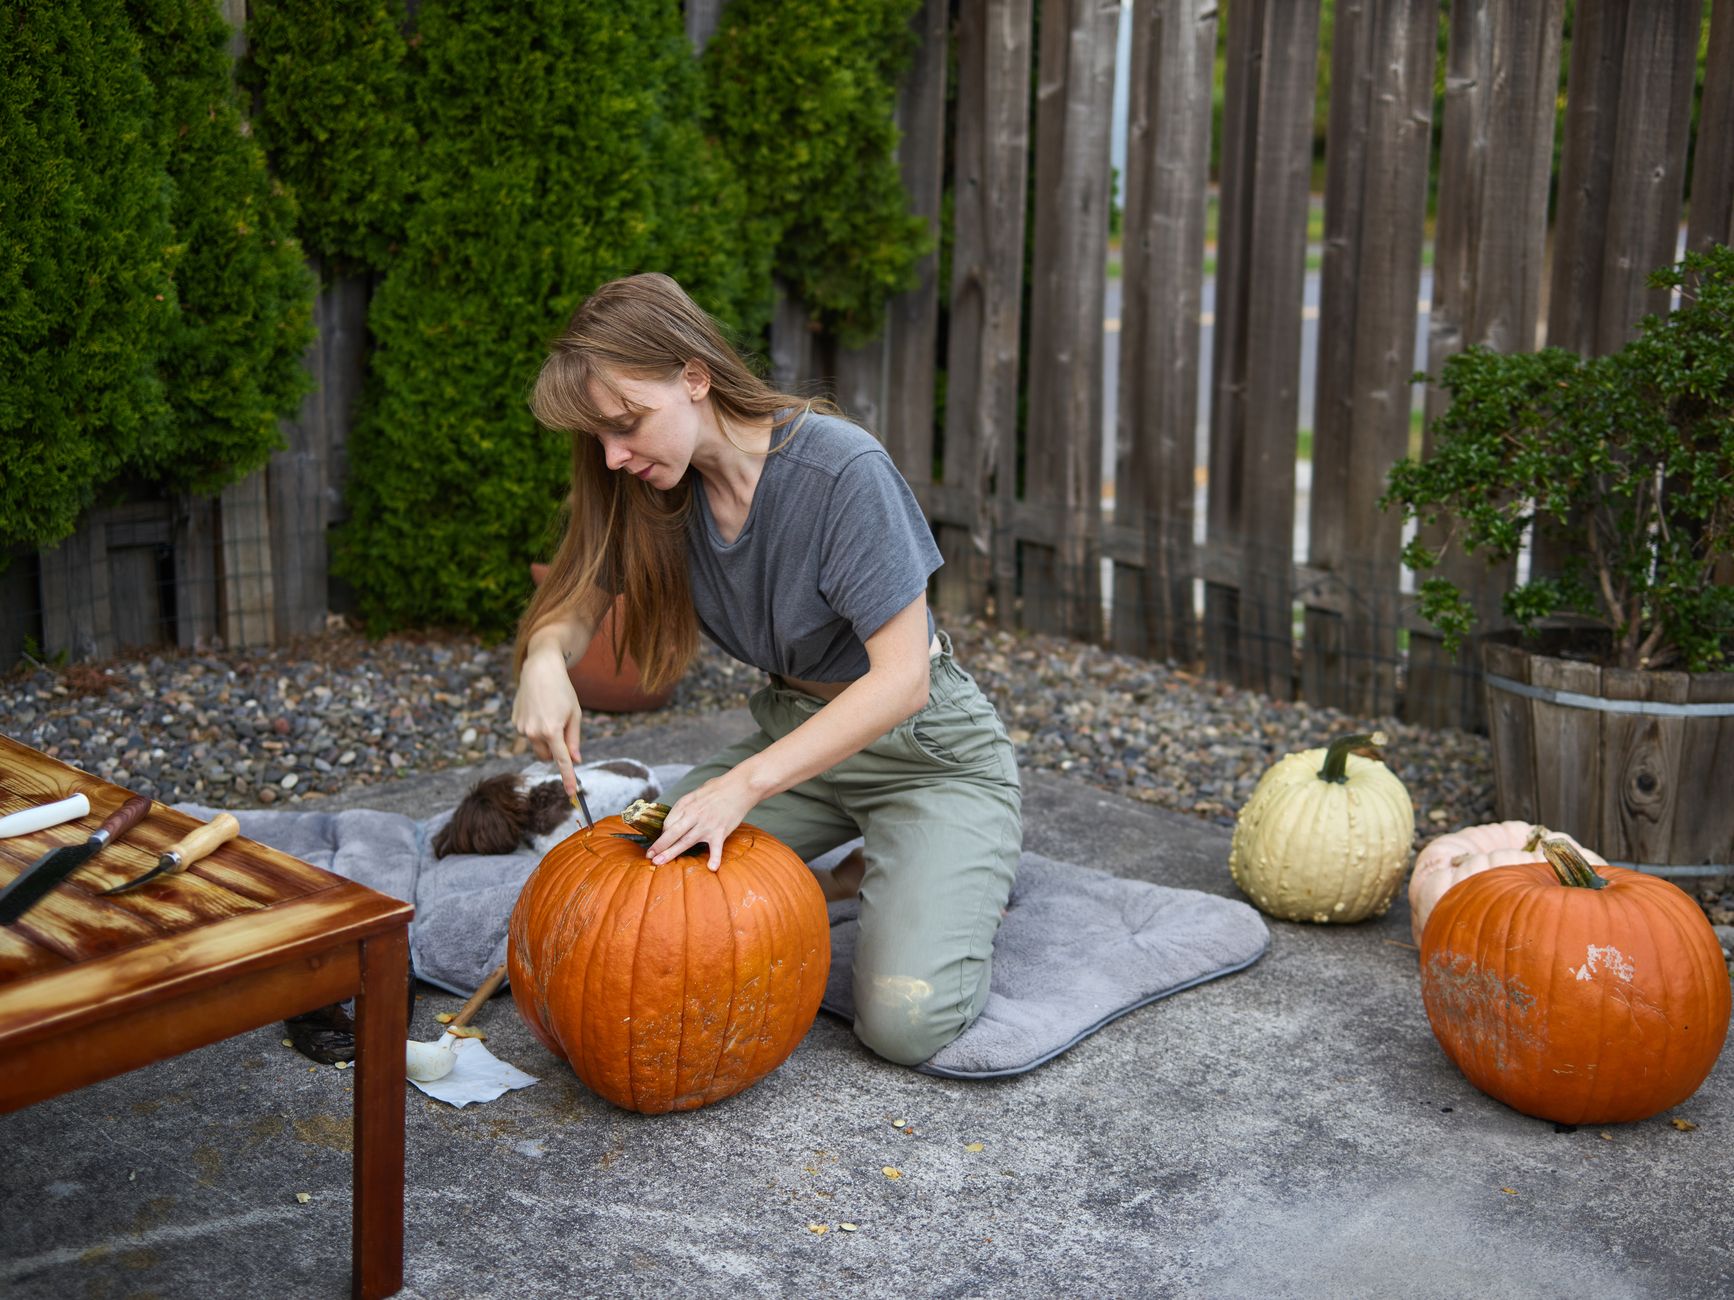
The Pattern Transfer Trick
Print your design on regular printer paper. Tape it flat against the pumpkin — the paper will wrinkle because pumpkins are round, but do your best. Use the pushpin to poke holes every quarter inch along every line of the design. Remove the paper and you have a connect-the-dots outline on the pumpkin skin. Rub a little flour over the holes to make them more visible if needed. Carve along the dotted lines with the paring knife.
I printed a cat silhouette my first year doing this. My freehand carving skills are nonexistent. The pushpin method made it look like I knew what I was doing.
Make It Last Longer
A carved pumpkin starts rotting within days. Spray the cut edges and the inside with a mixture of one part bleach to ten parts water — it kills the mold and bacteria that cause rot. Let it dry, then rub petroleum jelly on the cut edges to seal in moisture. Keep the pumpkin out of direct sun and bring it inside at night if temperatures drop below freezing.
One year I did the bleach spray and petroleum jelly routine and my pumpkin lasted two full weeks on the porch instead of the usual four days. My neighbor asked if I had bought a fake pumpkin.
📋 Quick Summary: Steak knife for the lid, metal spoon for scraping, paring knife for details, pushpin for pattern transfer. Skip the flimsy carving kit.