Install a Ceiling Fan Where a Light Fixture Used to Be
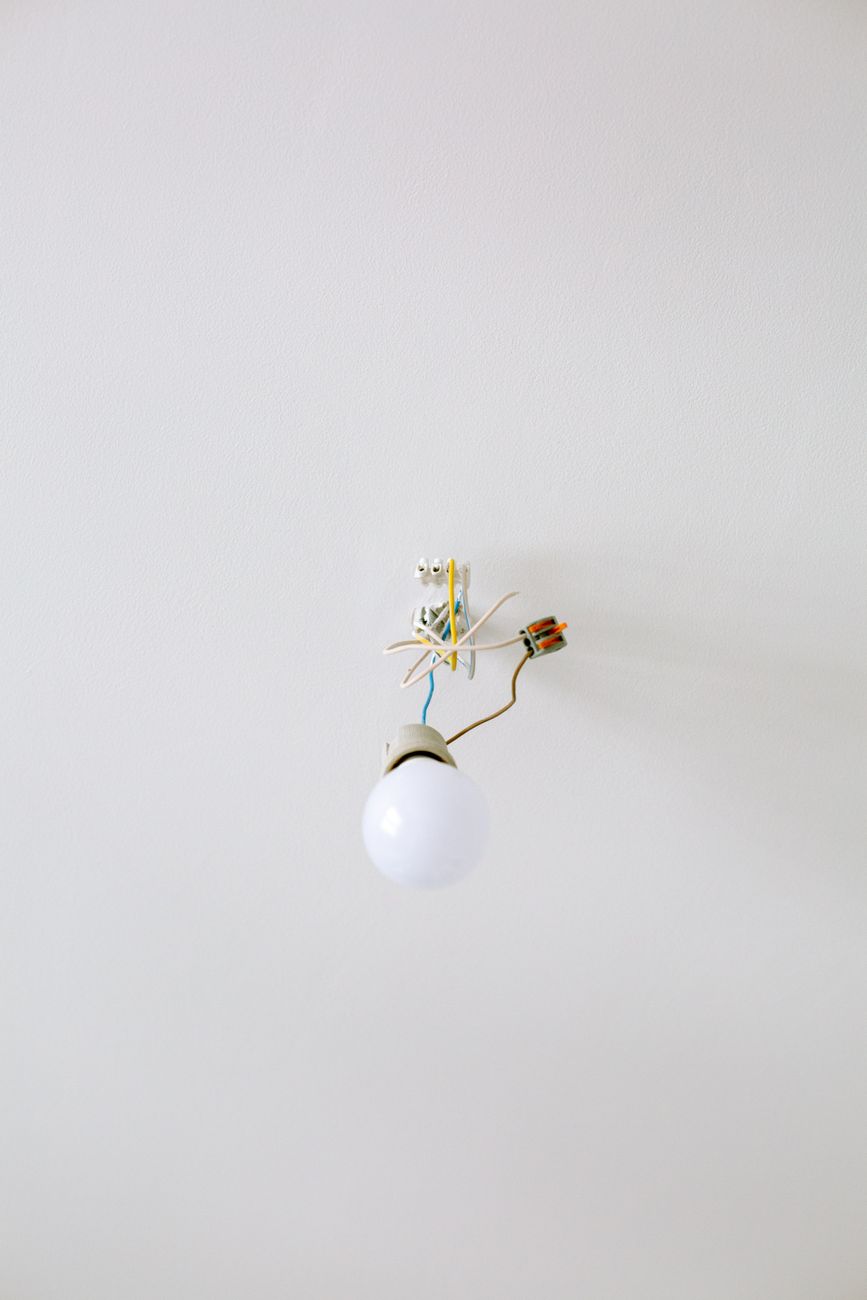
I installed a ceiling fan in my bedroom last summer. The first attempt took six hours. The second attempt — in the guest room — took ninety minutes. The difference was not skill. It was knowing which mistakes to skip.
The biggest one: I assumed the existing electrical box could hold a fan. It could not. Ceiling fans weigh twenty to forty pounds and they vibrate. A standard light fixture box is rated for maybe ten pounds of static weight. I found this out when I read the tiny stamp on the old box halfway through the install and had to backtrack to Home Depot.

Check the Box Rating First
Turn off the breaker. Remove the old light fixture. Look inside the electrical box for a stamp that says “rated for fan support” or a weight rating of at least thirty-five pounds. If you do not see that stamp, the box is not fan-rated and you need to replace it.
Replacing the box is the hardest part. You need a fan-rated retrofit brace kit — it spans between two ceiling joists and has a threaded box that hangs down through the existing hole. You feed the brace through the hole, expand it until it bites into the joists, and attach the new box. It is awkward to do through a four-inch hole while looking up, but it takes about thirty minutes and is the only part of this job that requires anything beyond basic wiring.
Assemble on the Ground
Do not try to build the fan piece by piece while standing on a ladder. Unbox everything, read the instructions, and assemble as much of the fan as you can on the floor — usually the motor housing, the blade brackets, and the downrod. A second person to hold the assembled fan while you connect the wires is worth bribing a friend with pizza for.
The Wiring Is Straightforward
Most ceiling fans have three wires: black for the fan motor, blue for the light kit, white for neutral, and green or bare copper for ground. If your ceiling box has two switches — one for the light and one for the fan — connect black to the fan switch wire and blue to the light switch wire. If you have only one switch, connect both black and blue to the single hot wire and control the fan and light separately with the pull chains or the remote that came with the fan.
Wire nuts must be tight. Tug each connection. Tape around the wire nuts with electrical tape for extra insurance — vibration from the fan can loosen connections over time.
Balance It Before You Call It Done
A wobbling fan is annoying and eventually damages the motor bearings. Most fans come with a small balancing kit — a plastic clip and adhesive weights. Clip it onto a blade, run the fan, see if the wobble improves. Move to the next blade and repeat. Once you find the right blade, stick the weight on top of the blade at the point where the clip helped.
Also: tighten every visible screw. Most “defective” wobbly fans in Amazon reviews are just fans that were assembled with loose screws.
📋 Quick Summary: Verify the electrical box is fan-rated, replace with a retrofit brace if needed, assemble on the ground, connect black and blue to the hot wire, and balance the blades — your second install will take half the time of your first.