Refinish Furniture Instead of Buying New
My wife wanted a solid wood dresser for the bedroom. We went to a furniture store. Eight hundred dollars. For pine. Not even hardwood. I remembered the oak dresser sitting in my mother-in-law’s garage — scratched, water-stained, twenty years old but built like furniture used to be built. “I can fix that,” I said. My wife looked skeptical. I was also skeptical, but I was not paying eight hundred dollars for pine.
What you can refinish versus what to leave alone
Solid wood anything is worth refinishing. Oak, maple, walnut, cherry, mahogany — these woods are expensive new and almost indestructible old. The scratches and stains are just in the finish, not the wood.
Skip these: particleboard covered in a wood-print sticker (IKEA, most flat-pack furniture). Veneer that is already peeling or cracked — you will sand through it. Plastic laminate. Painted MDF.
How to tell solid wood from veneer: look at the edges. Solid wood has grain that continues from the top surface around the edge. Veneer has a visible seam where the thin wood layer meets the edge banding. Also, solid wood is heavy in a way that particleboard is not.
The process — one weekend, maybe two
- Remove hardware. Knobs, pulls, hinges. Put them in a zipper bag so you do not lose screws.
- Strip the old finish. Chemical stripper — the citrus-based ones work and do not require a respirator. Brush it on thick, wait twenty minutes, scrape off the bubbling finish with a plastic putty knife. Do this over a drop cloth. The goo will ruin whatever it touches.
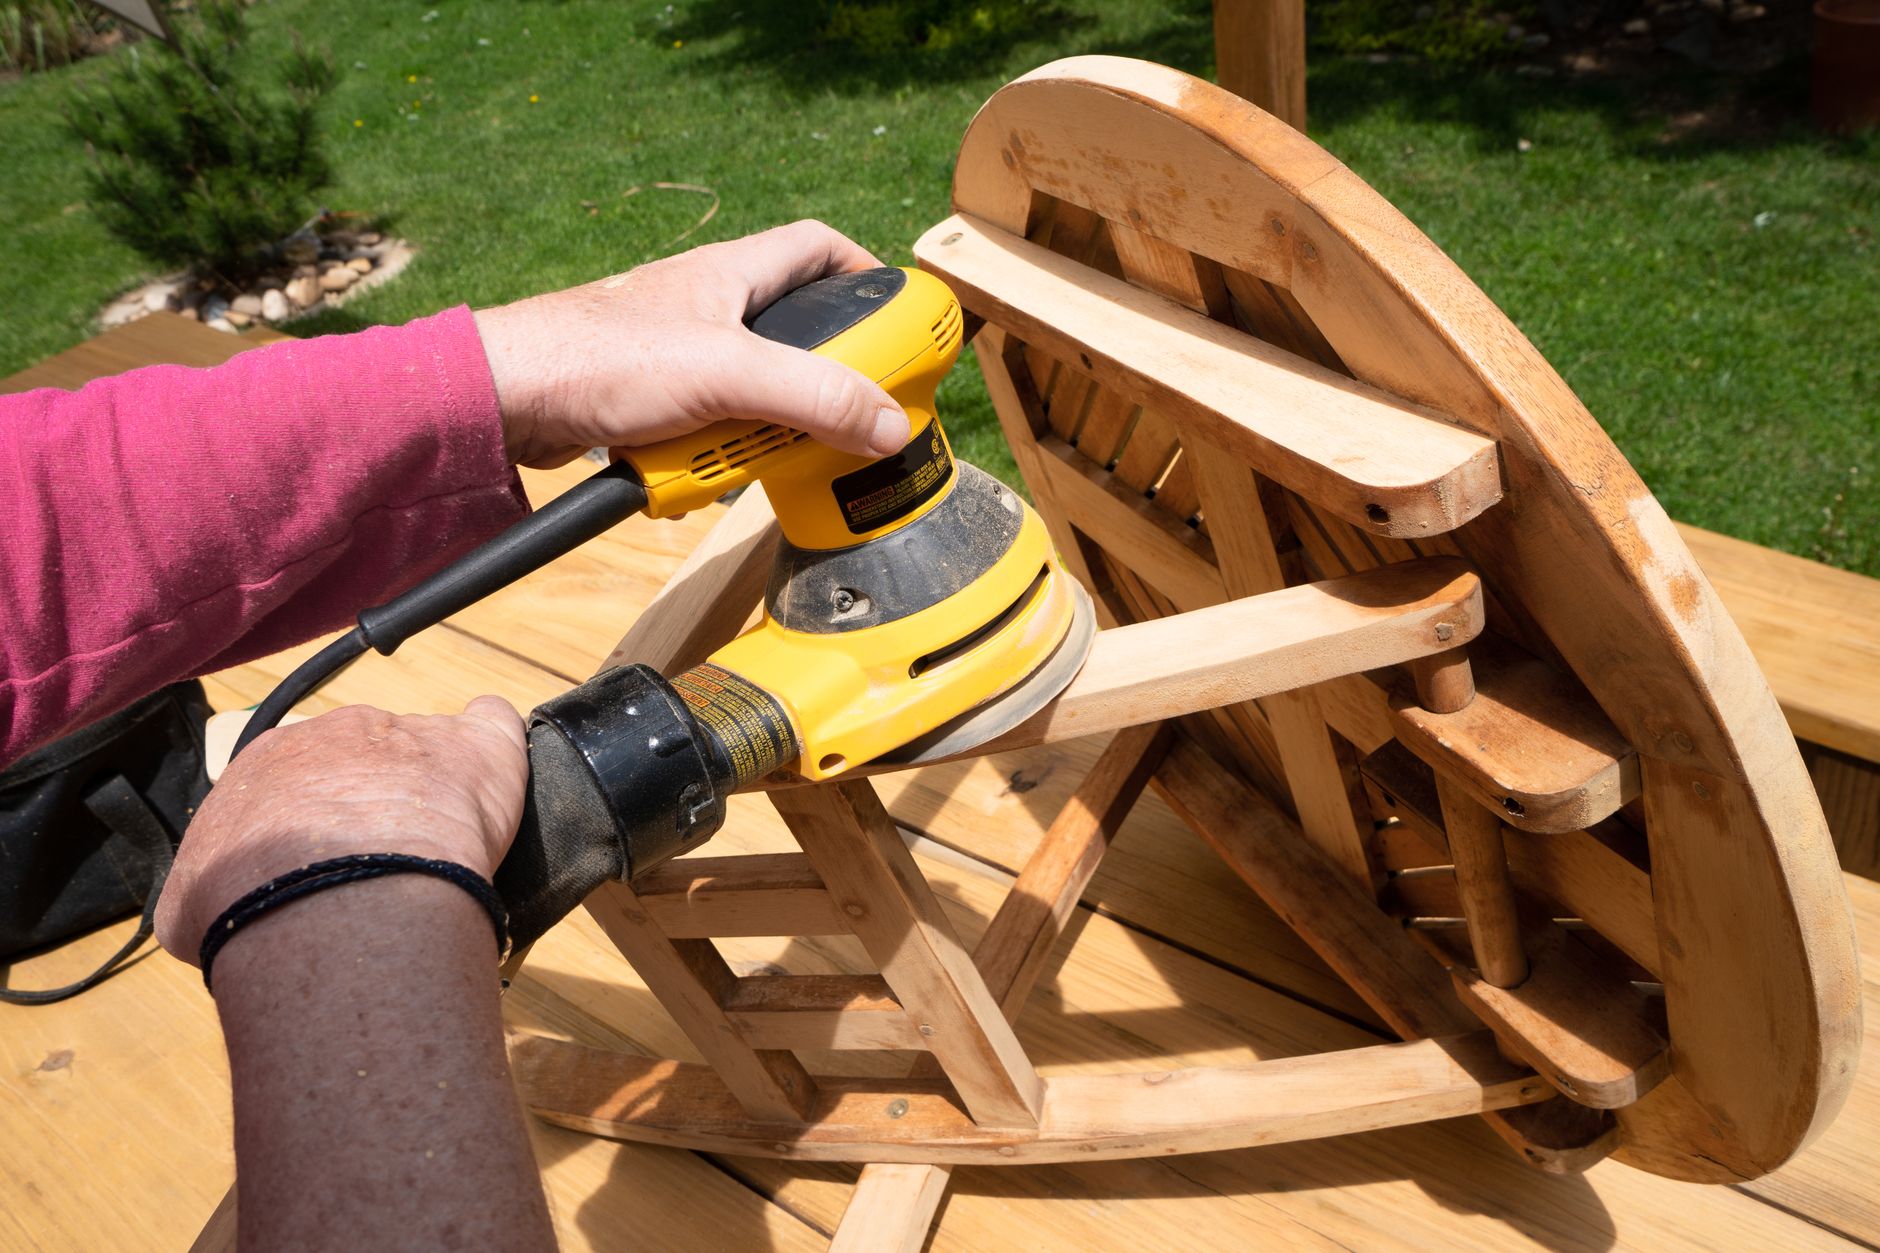
- Sand. Start with 80-grit to remove remaining finish and smooth scratches. Move to 120-grit, then 220-grit. Always sand with the grain, not against it. Cross-grain scratches show through the new finish.
- Fix deeper damage. Water rings — white cloudy spots — come out with an iron. Place a cotton cloth over the spot, iron on medium heat, check every ten seconds. The heat draws moisture out of the finish. For dents, place a damp cloth over the dent and iron it. The steam swells the wood fibers back to level.
- Stain if you want to change the color. Oil-based stain: wipe on with a rag, wipe off the excess, let dry overnight. Gel stain: same process but thicker, better for vertical surfaces. Water-based stain: dries fast, less odor, raises the wood grain so you need one more light sanding after.
- Apply the protective finish. Polyurethane is the most durable. Oil-based polyurethane: amber tint, takes longer to dry, more durable. Water-based polyurethane: clear, dries fast, less odor. Apply with a foam brush in thin coats. Three coats minimum. Lightly sand with 320-grit between coats to knock down dust nibs.
The total cost
Stripper: ten dollars. Sandpaper: eight dollars. Stain: twelve dollars. Polyurethane: fifteen dollars. Foam brushes and rags: five dollars. Total: about fifty dollars. The dresser took one Saturday of stripping and sanding, one Sunday of staining and finishing. It is now the nicest piece of furniture in our bedroom. My mother-in-law wants it back.
Quick Summary: Solid wood = worth refinishing. Strip, sand with grain (80 → 120 → 220), fix water rings with an iron, stain, apply three coats of polyurethane. About fifty dollars and a weekend.