Paint Your Kitchen Cabinets Without Sanding — I Did It and It Worked
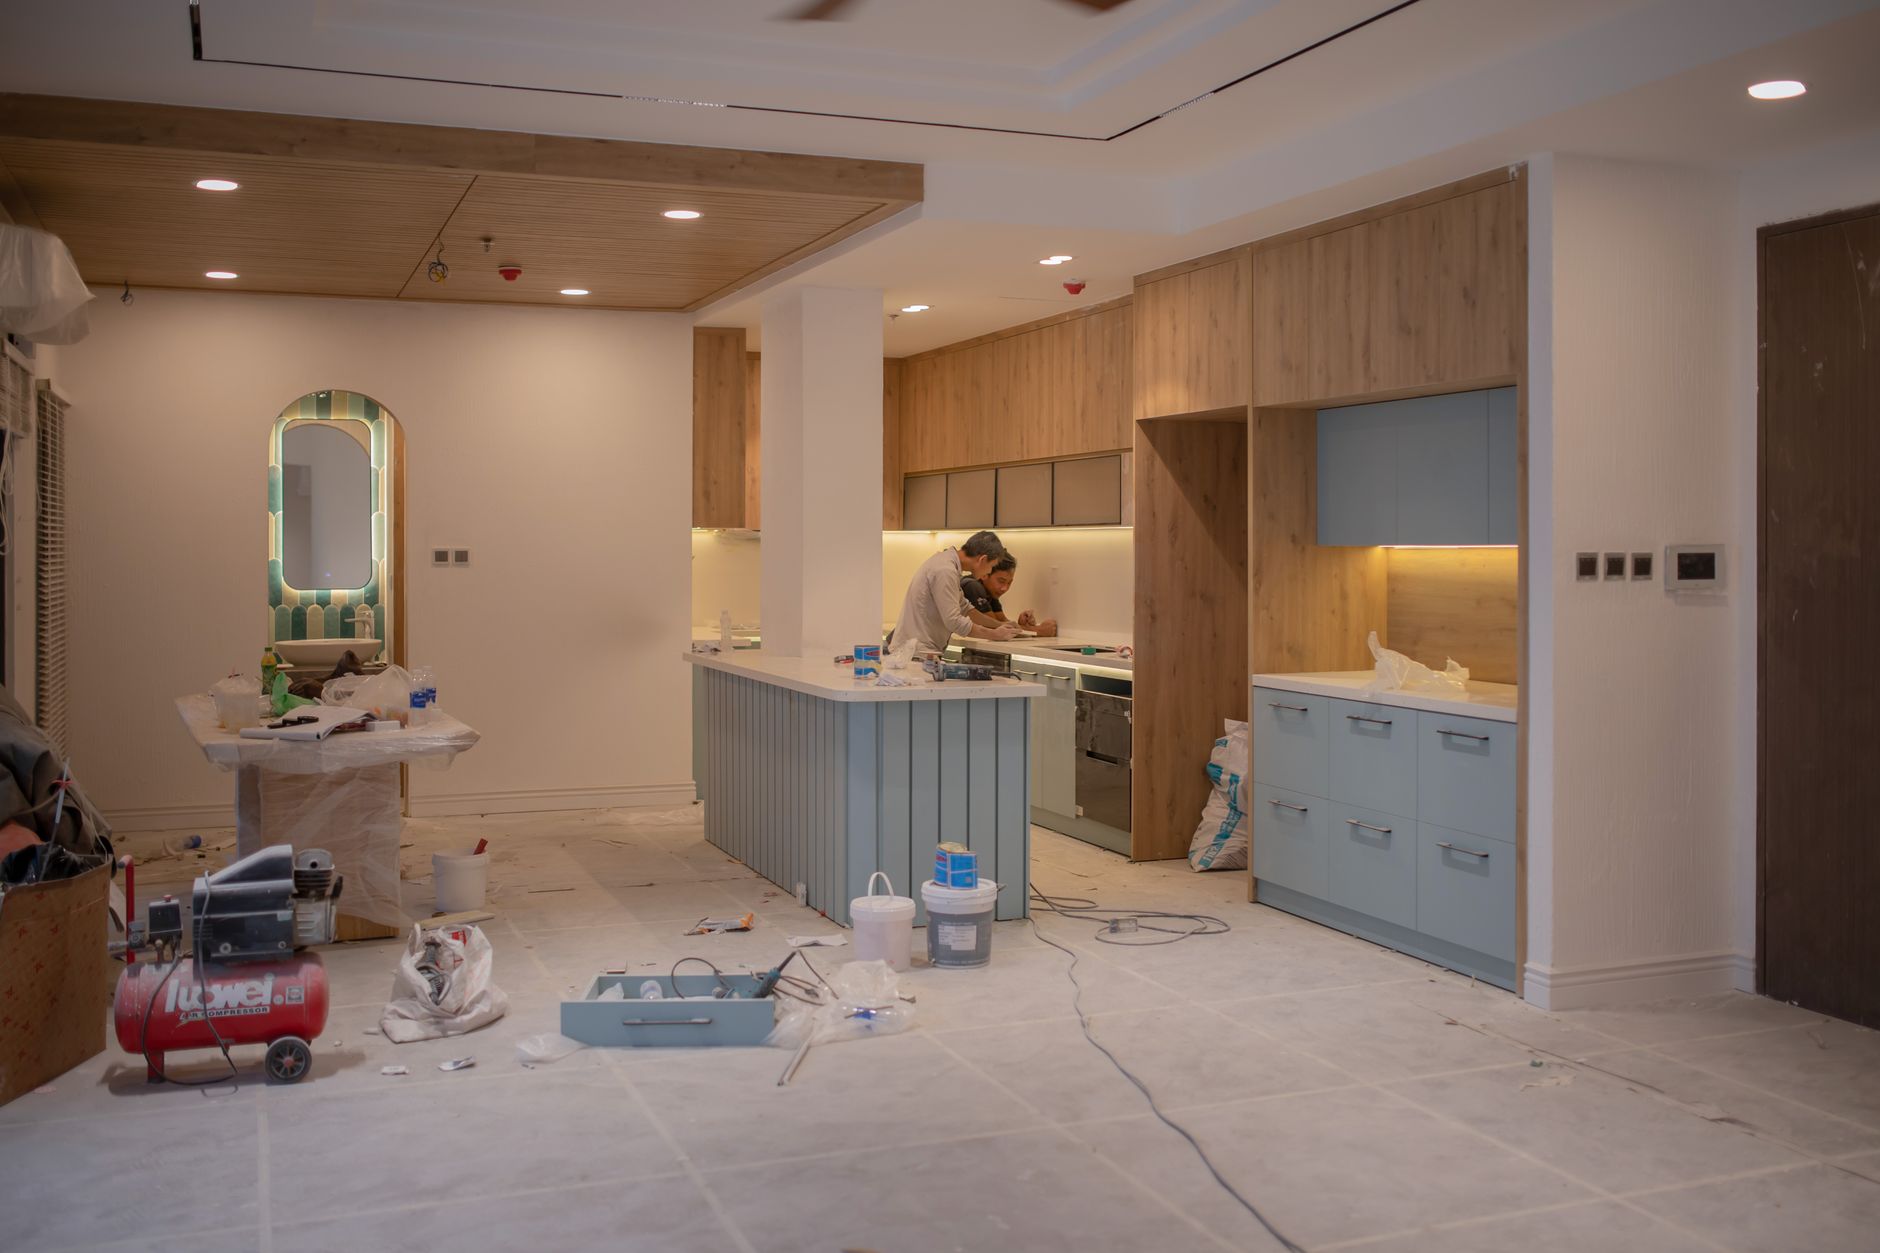
My kitchen cabinets were a sad, yellowish oak from the early 2000s. I wanted them white. Every tutorial and YouTube video said the same thing: “You must sand first.” Sanding kitchen cabinets is a nightmare — dust everywhere, hours of work, and you have to remove every single door.
I procrastinated for eight months. Then a friend who flips houses told me about a product that makes sanding optional. I painted all my cabinets over a weekend. Two years later, they still look great. No sanding. No peeling. Here is exactly what I used and how I did it.
The Product That Changes Everything
Deglosser — also called liquid sandpaper. It is a chemical that etches the glossy surface of your cabinets so paint can bond without mechanical sanding. You wipe it on with a rag, wait the recommended time (usually fifteen to thirty minutes), and the surface is ready for paint.
It smells strong — use it in a well-ventilated kitchen with windows open and a fan running. Wear gloves. But it takes about twenty minutes to degloss every cabinet surface in an average kitchen, compared to hours of sanding.
The Full Process
- Remove cabinet doors and hardware. Label each door and its hinges with painter’s tape so you know where everything goes back. I used a numbering system — door #1, hinge #1, etc.
- Clean everything thoroughly. Kitchen cabinets collect years of grease and grime. Use TSP (trisodium phosphate) or a strong degreasing cleaner. Paint will not stick to grease.
- Apply deglosser with a lint-free rag. Work in sections. The glossy surface will look slightly dulled when it is ready — that is the etching you want.
- Prime. Do not skip this. A good bonding primer (I used Zinsser Bulls Eye 1-2-3) gives the paint something to grip. One coat, let it dry completely.
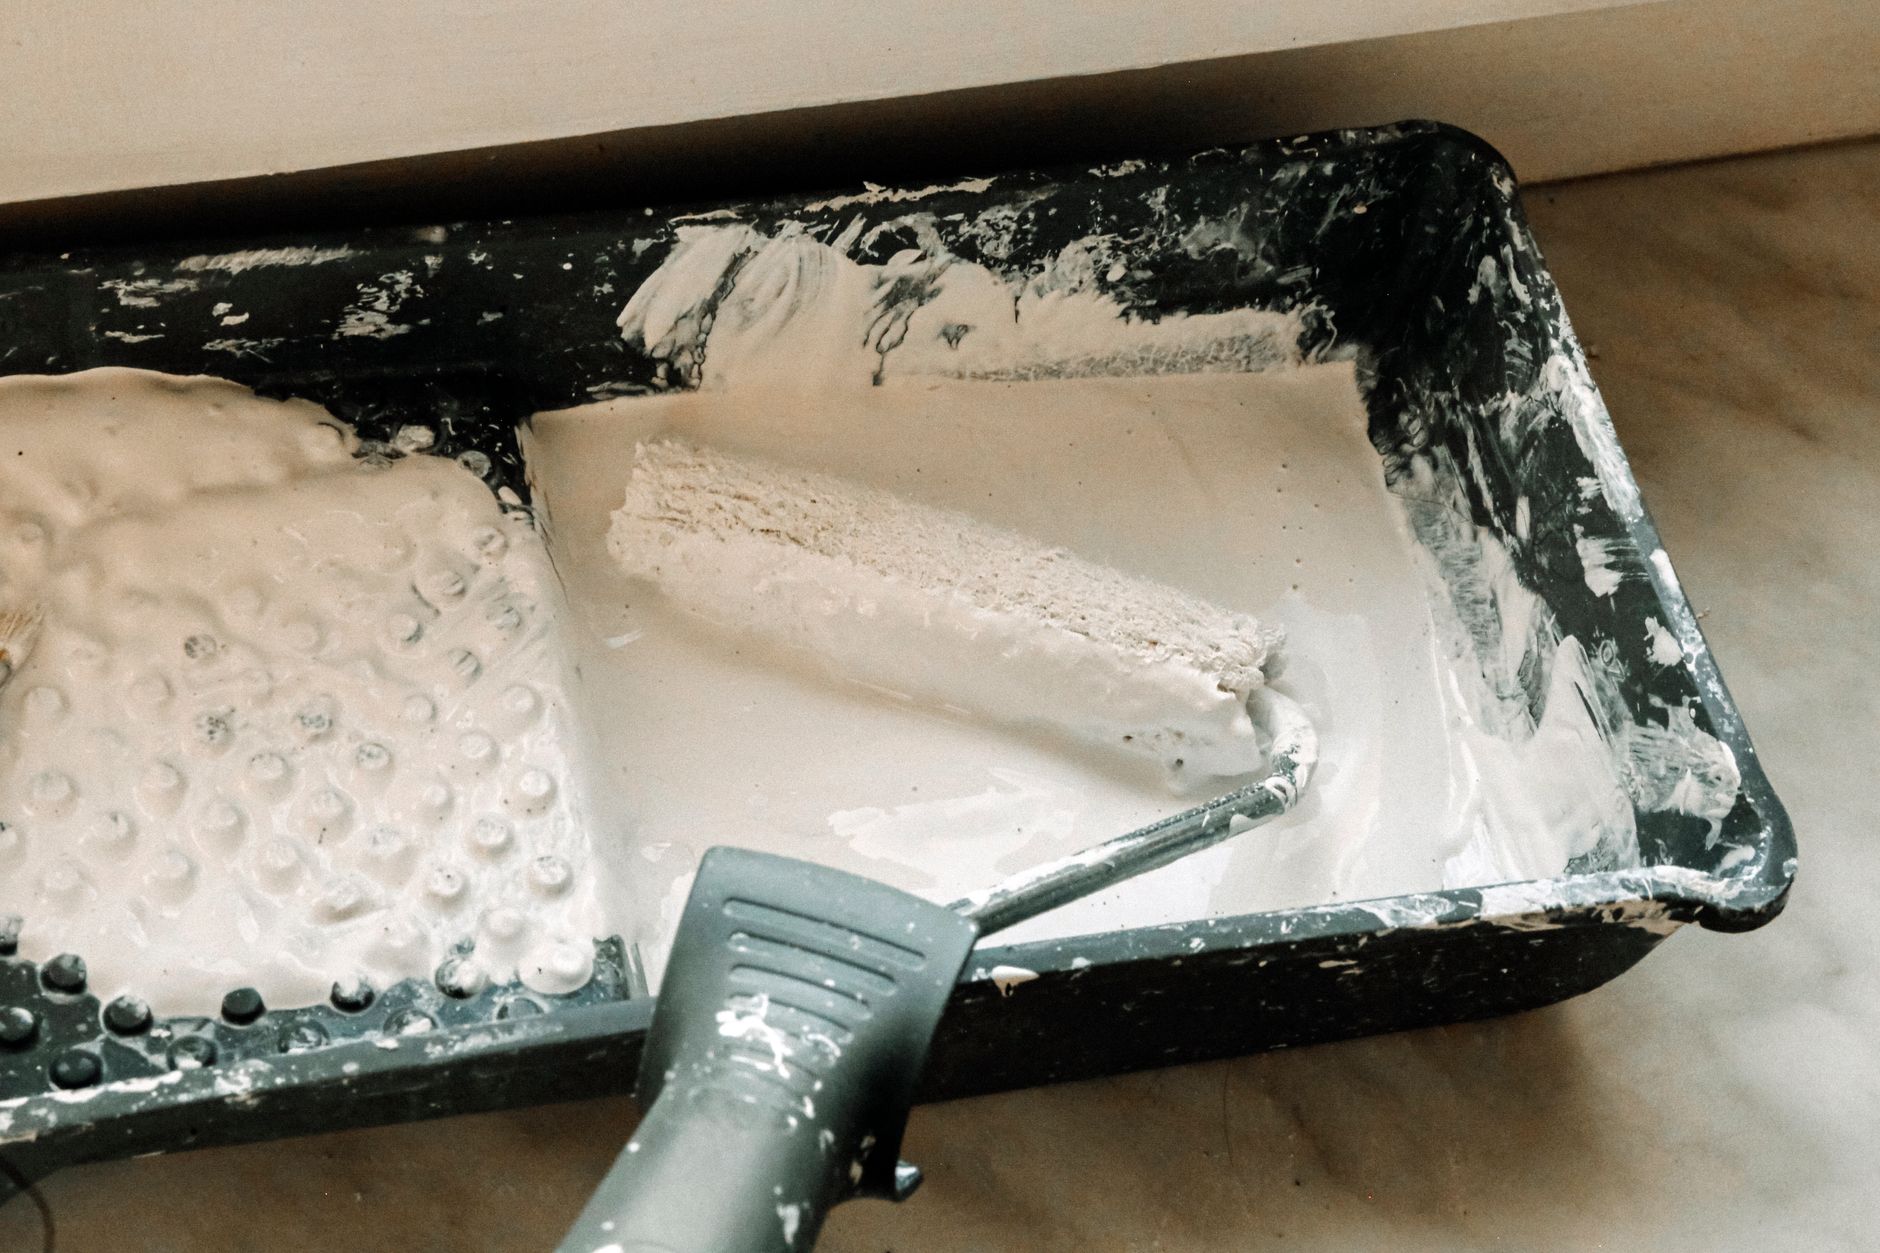
- Paint. Two thin coats are better than one thick one. I used a small foam roller for the flat surfaces and an angled brush for the corners and details. Wait for the first coat to fully dry before the second.
- Let everything cure for at least 24 hours before reattaching doors and hardware. This is the hardest part — you want to put it all back together immediately. Do not.
What Kind of Paint?
Chalk paint is the easiest option — it sticks to almost anything without primer. But it needs a protective topcoat (wax or polyurethane) because it is not durable on its own. Latex enamel is more durable and wipeable, which matters in a kitchen. I went with a satin latex enamel and it has held up beautifully to cooking splatters and daily use.
Two years in, one small chip near the trash pull-out where it gets banged constantly. That is it. The rest looks like the day I painted it. Eight months of procrastination for a weekend of actual work. The math on that is embarrassing.
Quick Summary: Use liquid deglosser instead of sanding. Clean with TSP first, apply deglosser with a rag, prime with bonding primer, then two thin coats of latex enamel paint. Let cure 24 hours before reassembling. Chalk paint is easier but needs a topcoat.